Graphics Tablet Tutorial: How to get started?
When you want to start making digital drawings or retouching images on a regular basis, there is an indispensable tool in the daily life of a draftsman, illustrator, graphic artist or designer: the graphic tablet. There are many models, for novices as well as professionals, and for those who have never had the opportunity to use one, having a tutorial with basic advice can be a real asset to avoid getting discouraged during the learning process. Here we will help you understand the basics of using a standard pen tablet, from its installation to the first drawings in digital drawing.
What to do with a drawing tablet ?
The graphics tablet is now a must for designers or illustrators wishing to make sketches, drawings, or retouch images and photographs using specialized software such as Adobe Photoshop, Illustrator or Gimp. Working for the most part with Windows and Mac OS, its efficiency compared to the mouse or trackpad allows you to draw on a computer effortlessly and smoothly. Graphic designers will appreciate the ergonomics and execution speed that can be obtained with a graphic pad. Once you master its use, the possibilities are endless. All you have to do is put your pen on your operating surface, and it's up to you to manage layers and software options to make a creative work. Both experienced artists and beginners will still need to know the basics of traditional drawing before getting started with digital drawing. In fact, especially for beginners, pencil sketching is usually a necessary step in the creative process until the final digital retouching on software. The latter will also have to learn to tame their graphic palette, composed of the tablet and the pen, before being able to imagine making quality illustrations. Tablet with or without screen, graphics tablet bridging the gap between traditional and digital drawing like the Repaper tablet … there are many models of drawing tablet that exist today, but they all work more or less on the same principle. It is therefore necessary to know the basic tips to learn how to draw effectively on a computer.

Learn how to use a drawing pad : essential tips!
To start off well.
Set up your workspace.
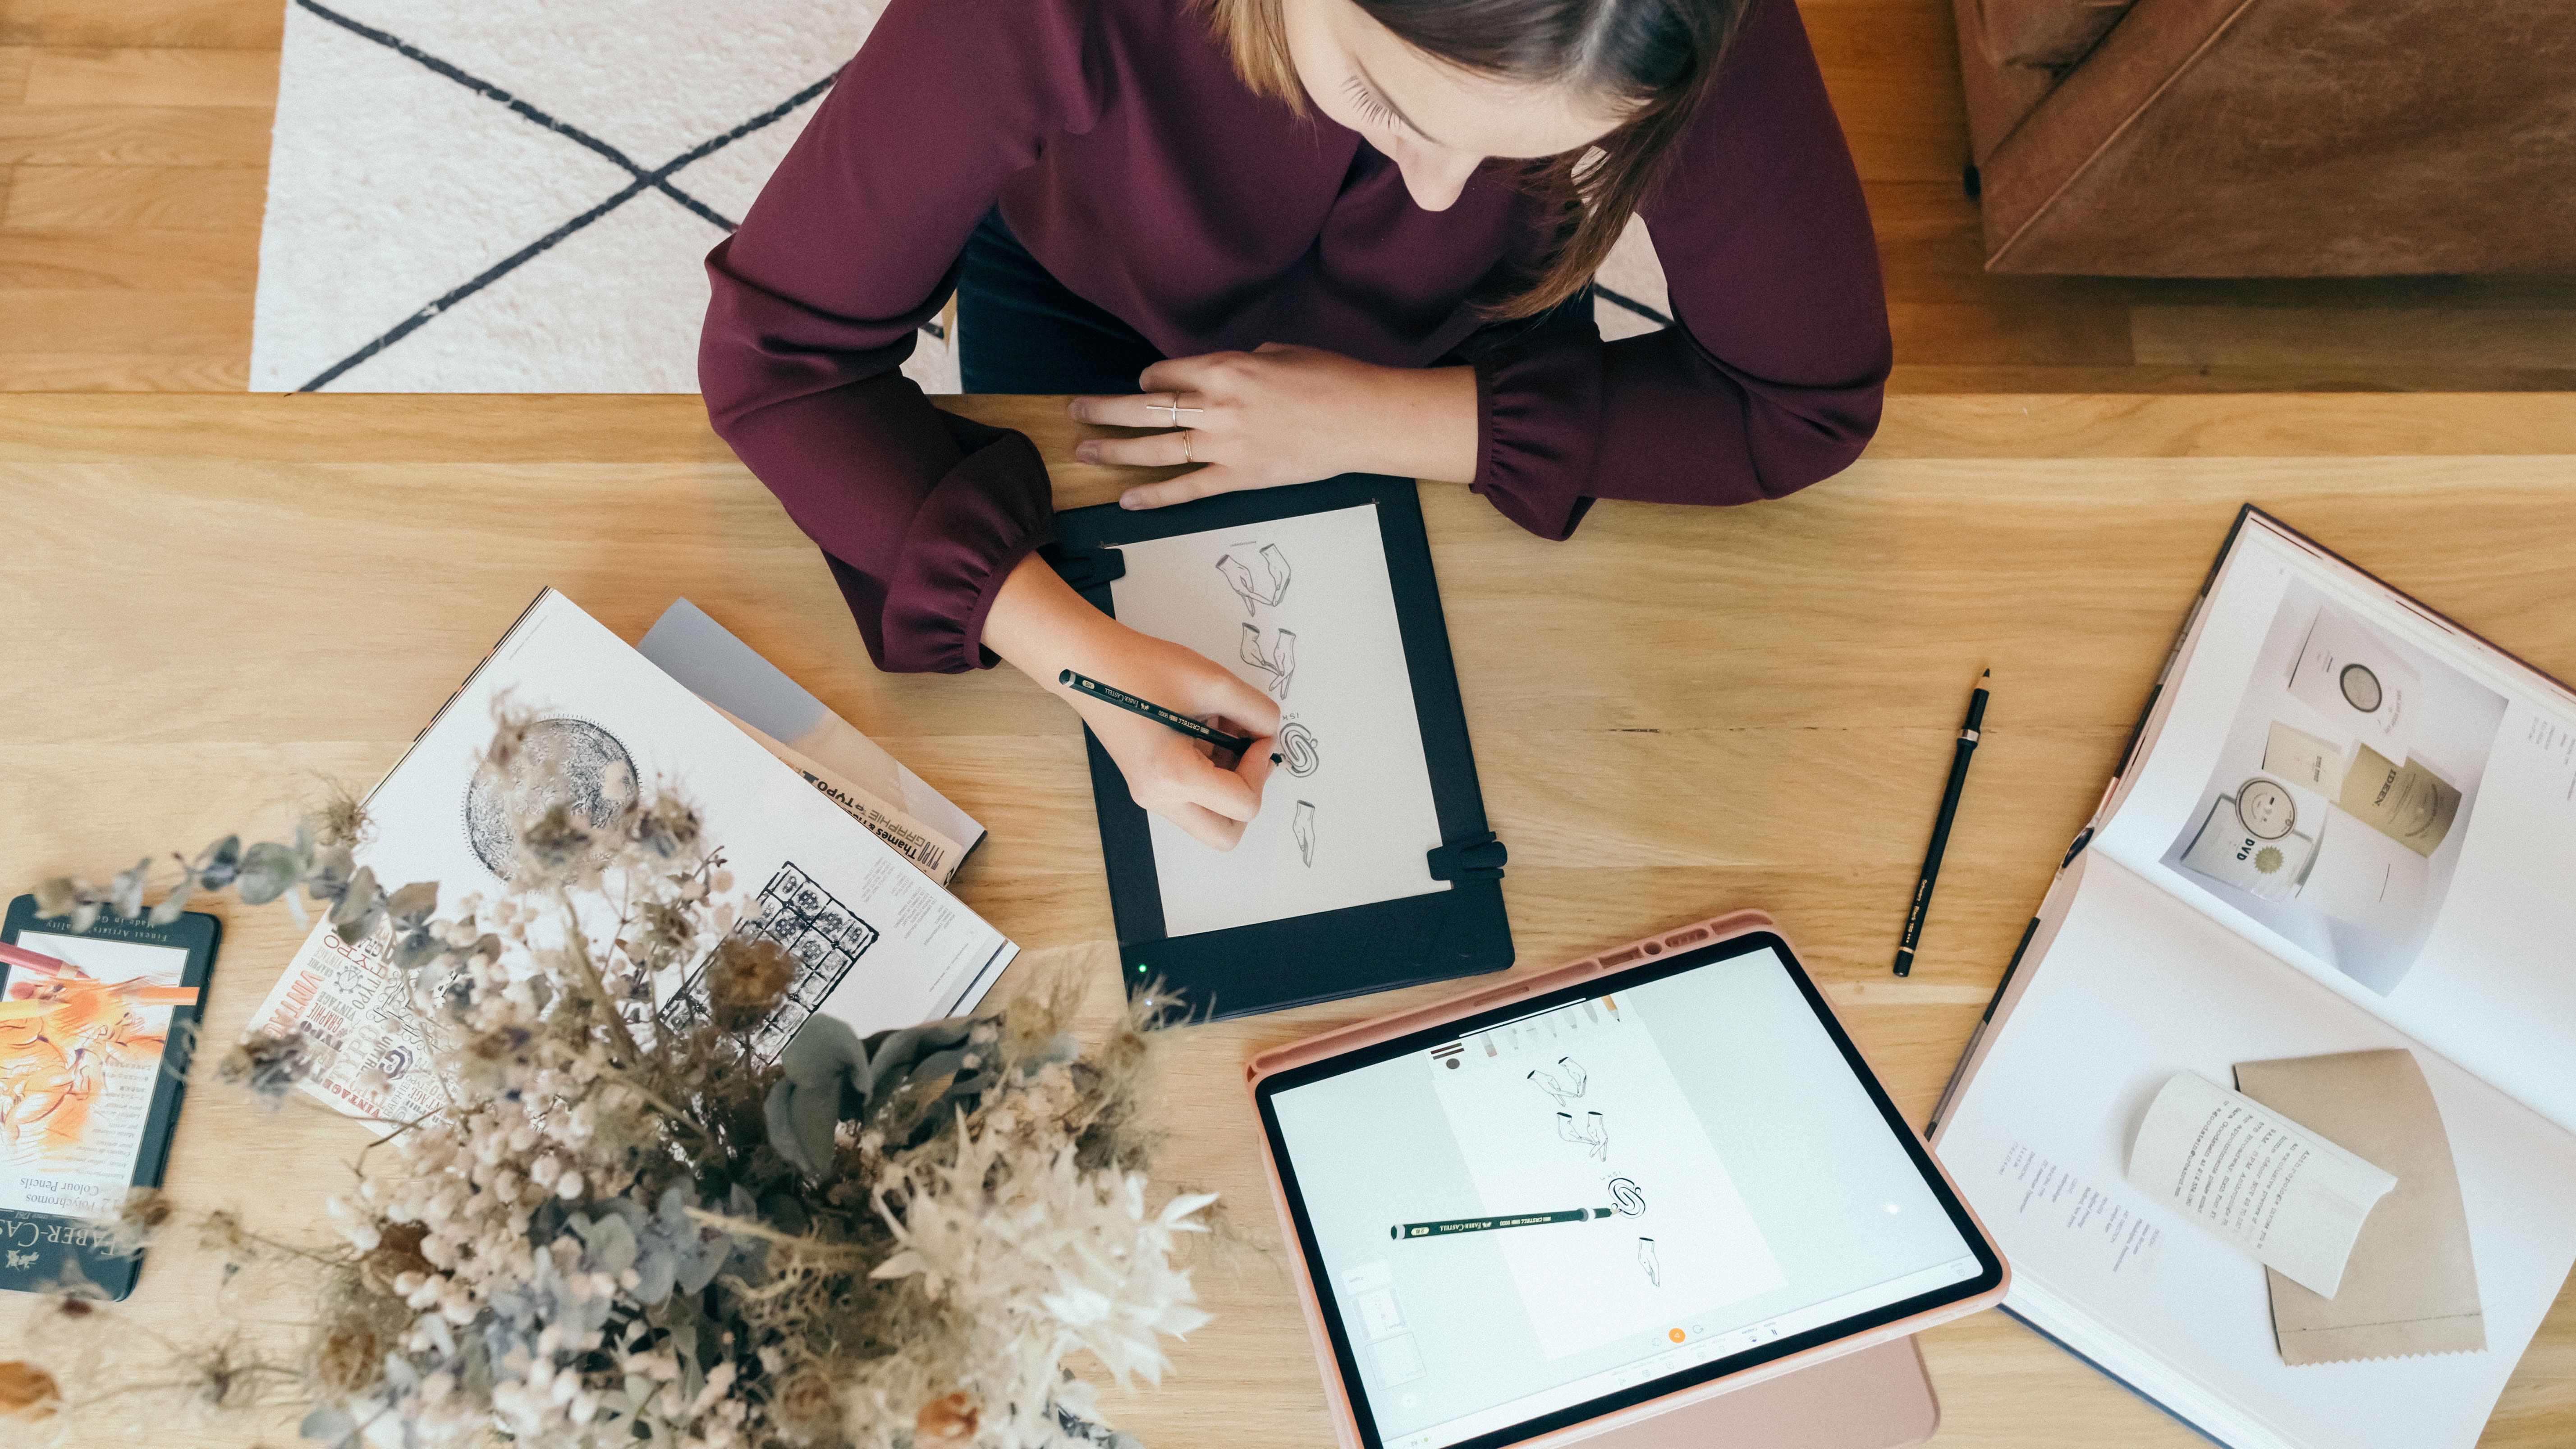
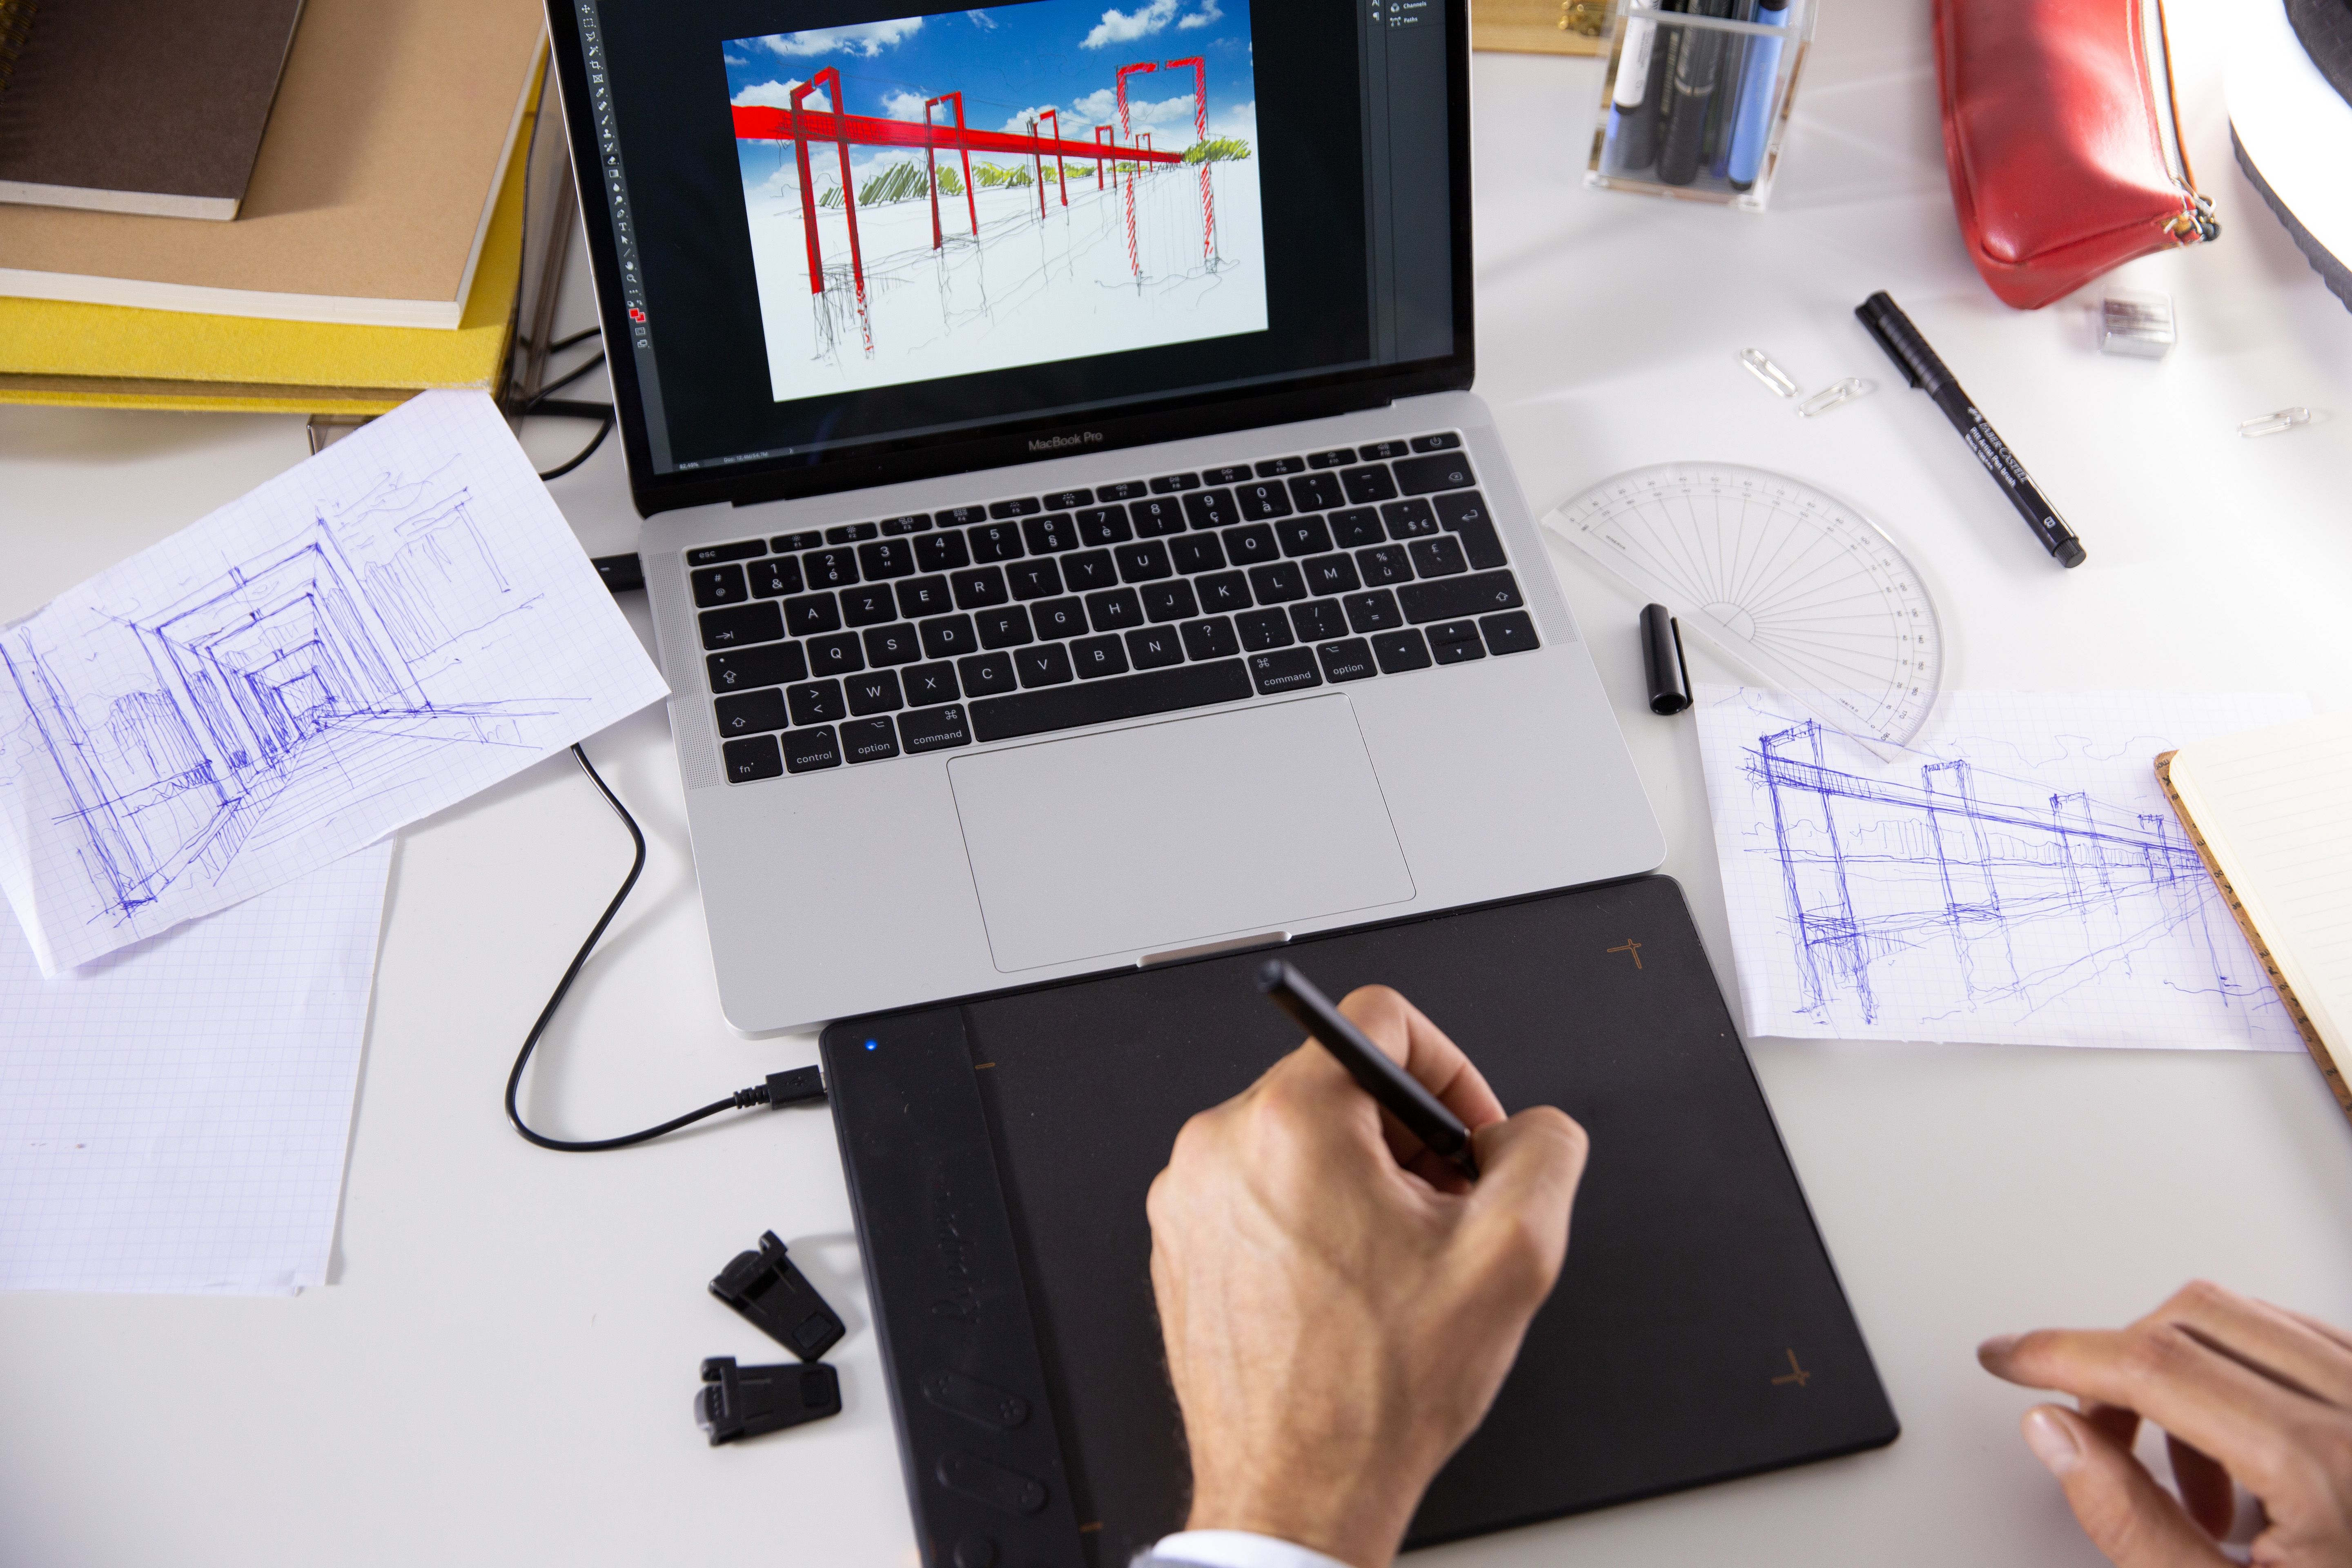
It may seem like a small thing, but organizing your peripherals to make your drawing area ergonomic is essential to getting the most out of your user interface. Drawing tablet and their pens take up much less space than if you were working with pencils and paper. However, it is important to place the various elements in your work area so that you can access all the shortcuts and options at a glance and in an intuitive way, and thus make your entire environment easier to use. Whether you are left- or right-handed, you will obviously have to adapt the following tips.
First, think about the location of the drawing tablet. It's the main element among your peripherals. Make it the centerpiece, along with your computer screen, so you can draw as if you were drawing on a sheet of paper. Some people prefer to move it slightly to the right, for right-handed people, and vice versa for left-handed people, the main thing being to be really comfortable and free of obstacles in the forearm to draw naturally. The mouse will be on the right side of the tablet. This one will be, indeed, little used thanks to the absolute mode of the graphic tablet, allowing to point a place of the screen directly according to where one exerts the pressure on the tablet, much more practical than the relative mode of a mouse when it is a question of carrying out a drawing on computer. The keyboard will be placed on the left side to have quick access, thanks to your free hand, to the pre-recorded shortcuts on your favorite drawing software. Thus, your space will be optimized and will allow you to exercise, without embarrassment, your talents of drawing.

Make your tablet and your graphics software compatible.
You might think that once you've bought the best tablet for your needs, plugging the USB cable of your device into your laptop or desktop computer is enough to make it work. If this is true in most cases, especially with Apple products, on MacOS, or if you use an iPad pro as a monitor for example, Windows computers regularly require plugins and drivers to ensure proper interaction between your drawing tablet and your graphics software, raster using pixel technology, vector or your photo editing software like Lightroom for example. Once each necessary plugin is installed, you can start your digital painting work and create a lot of works.
Set up your shortcuts.
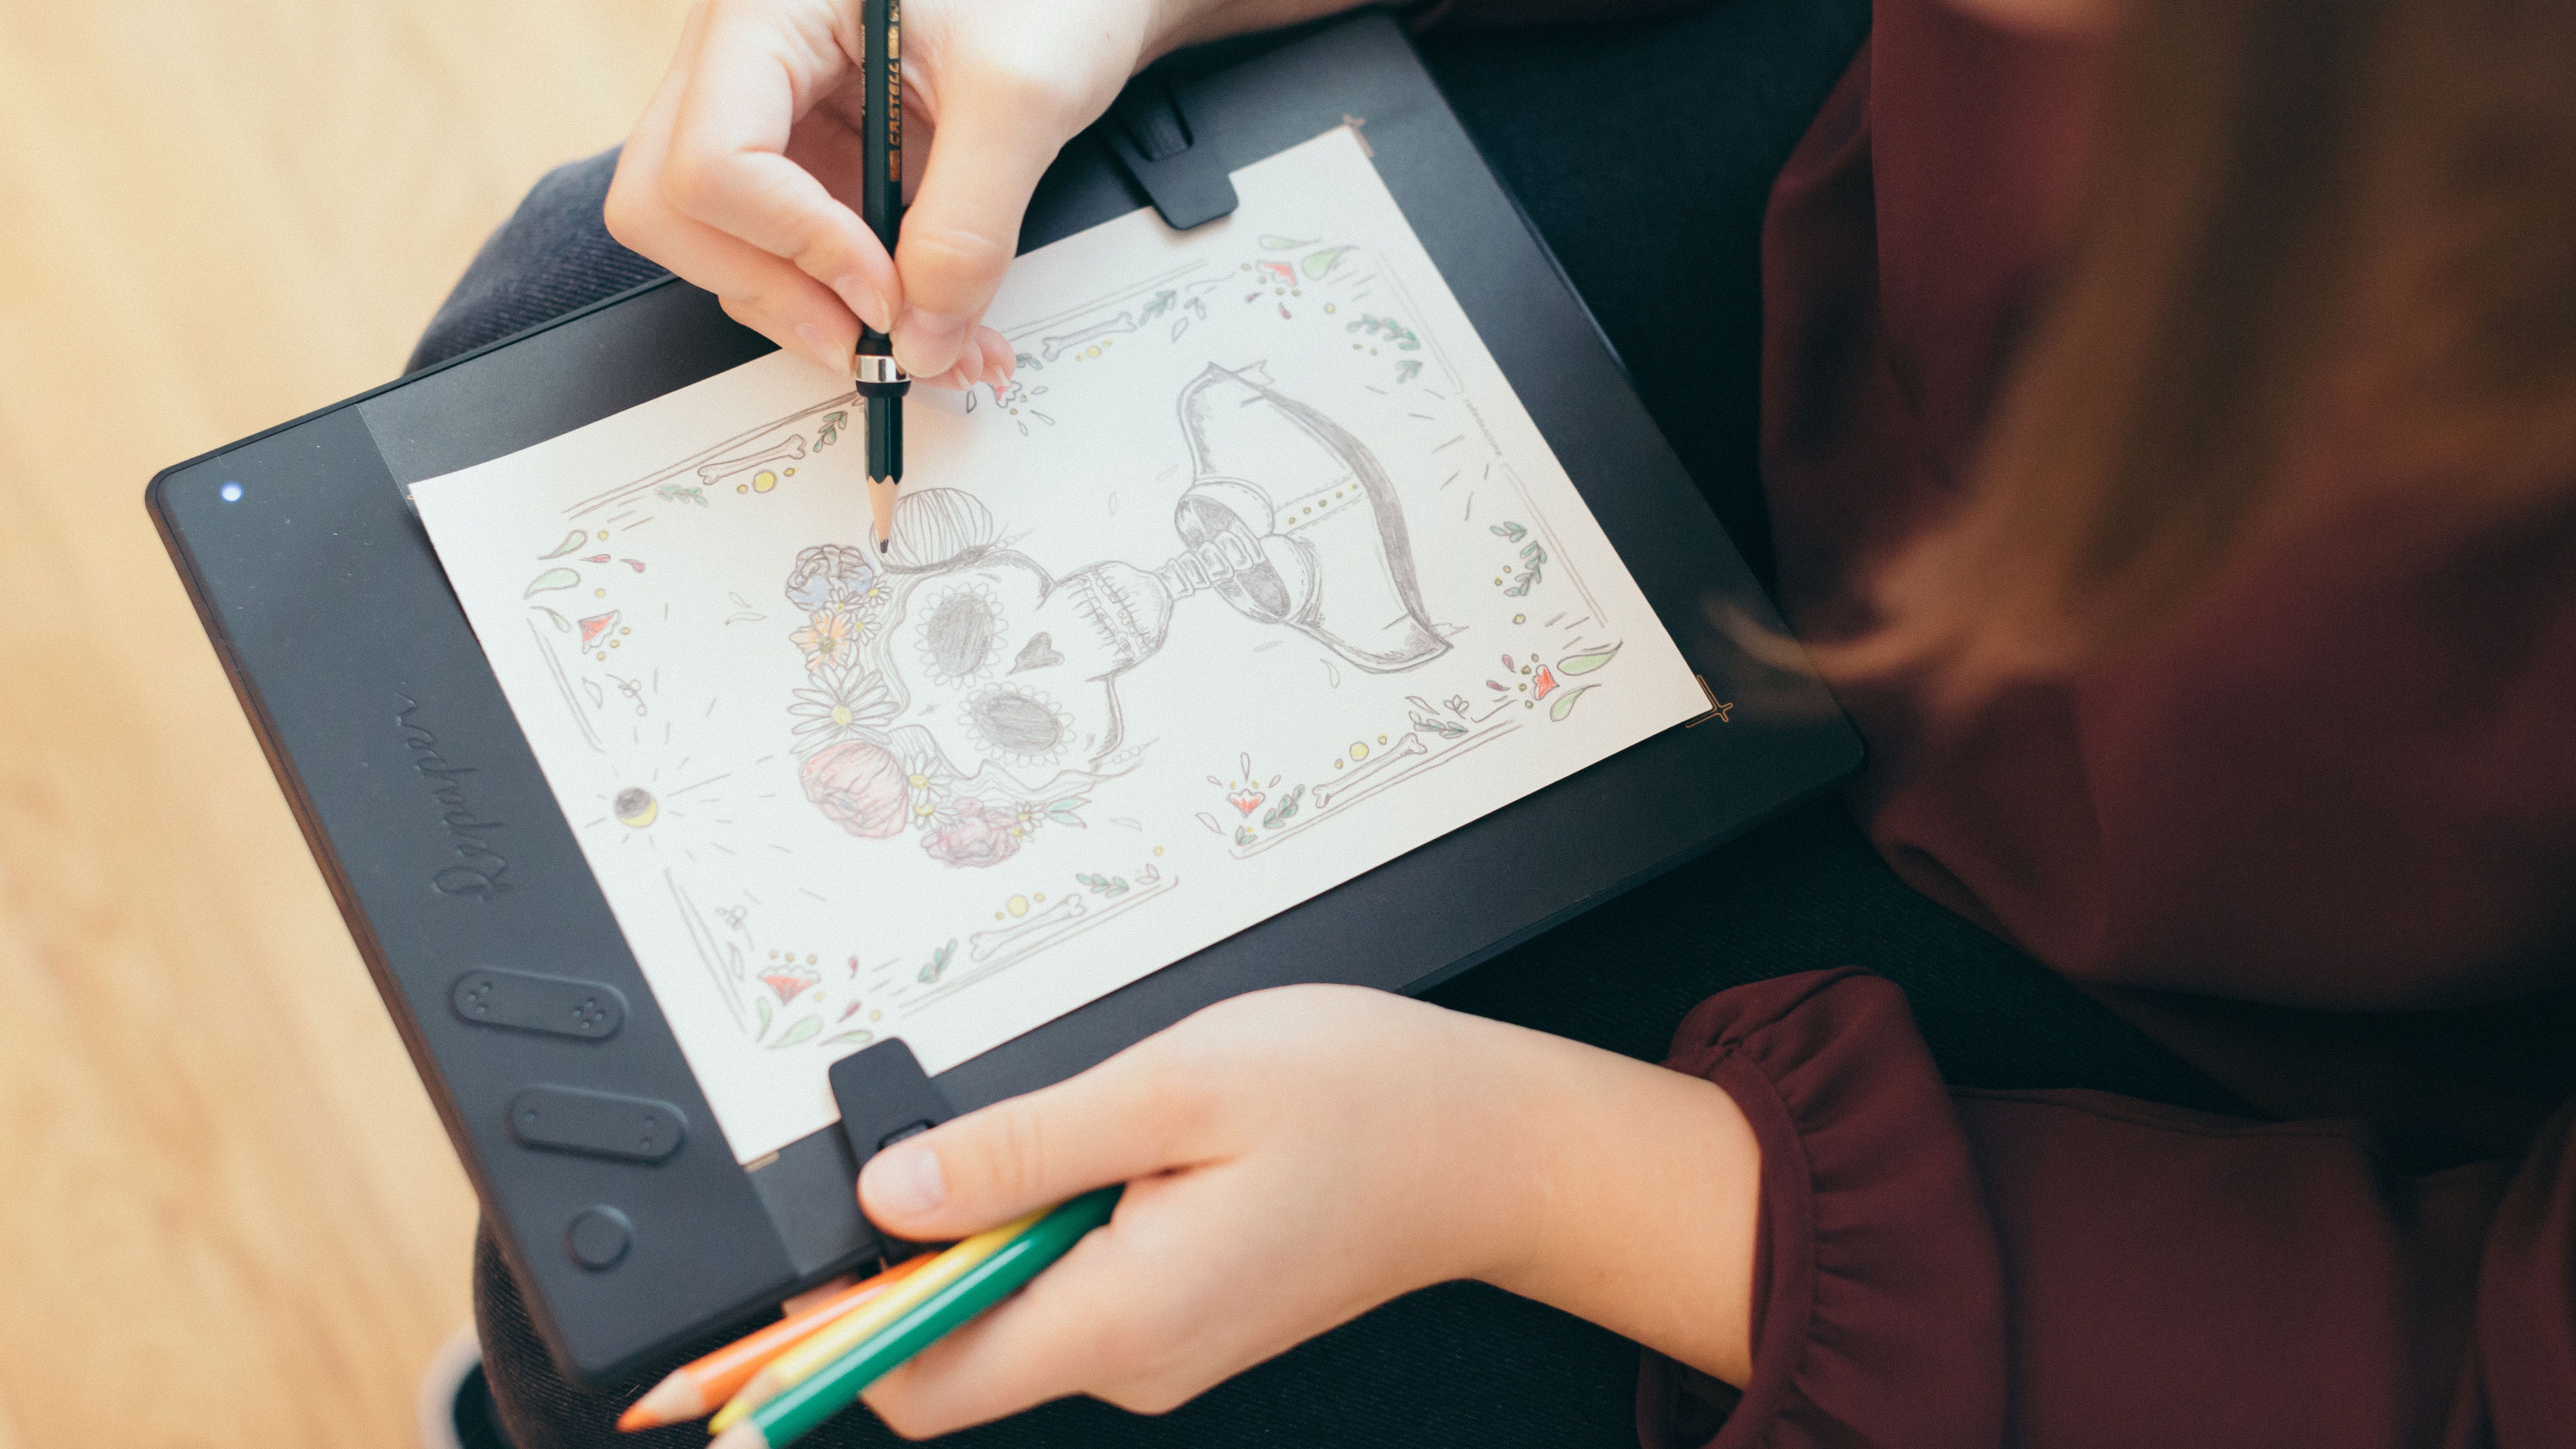
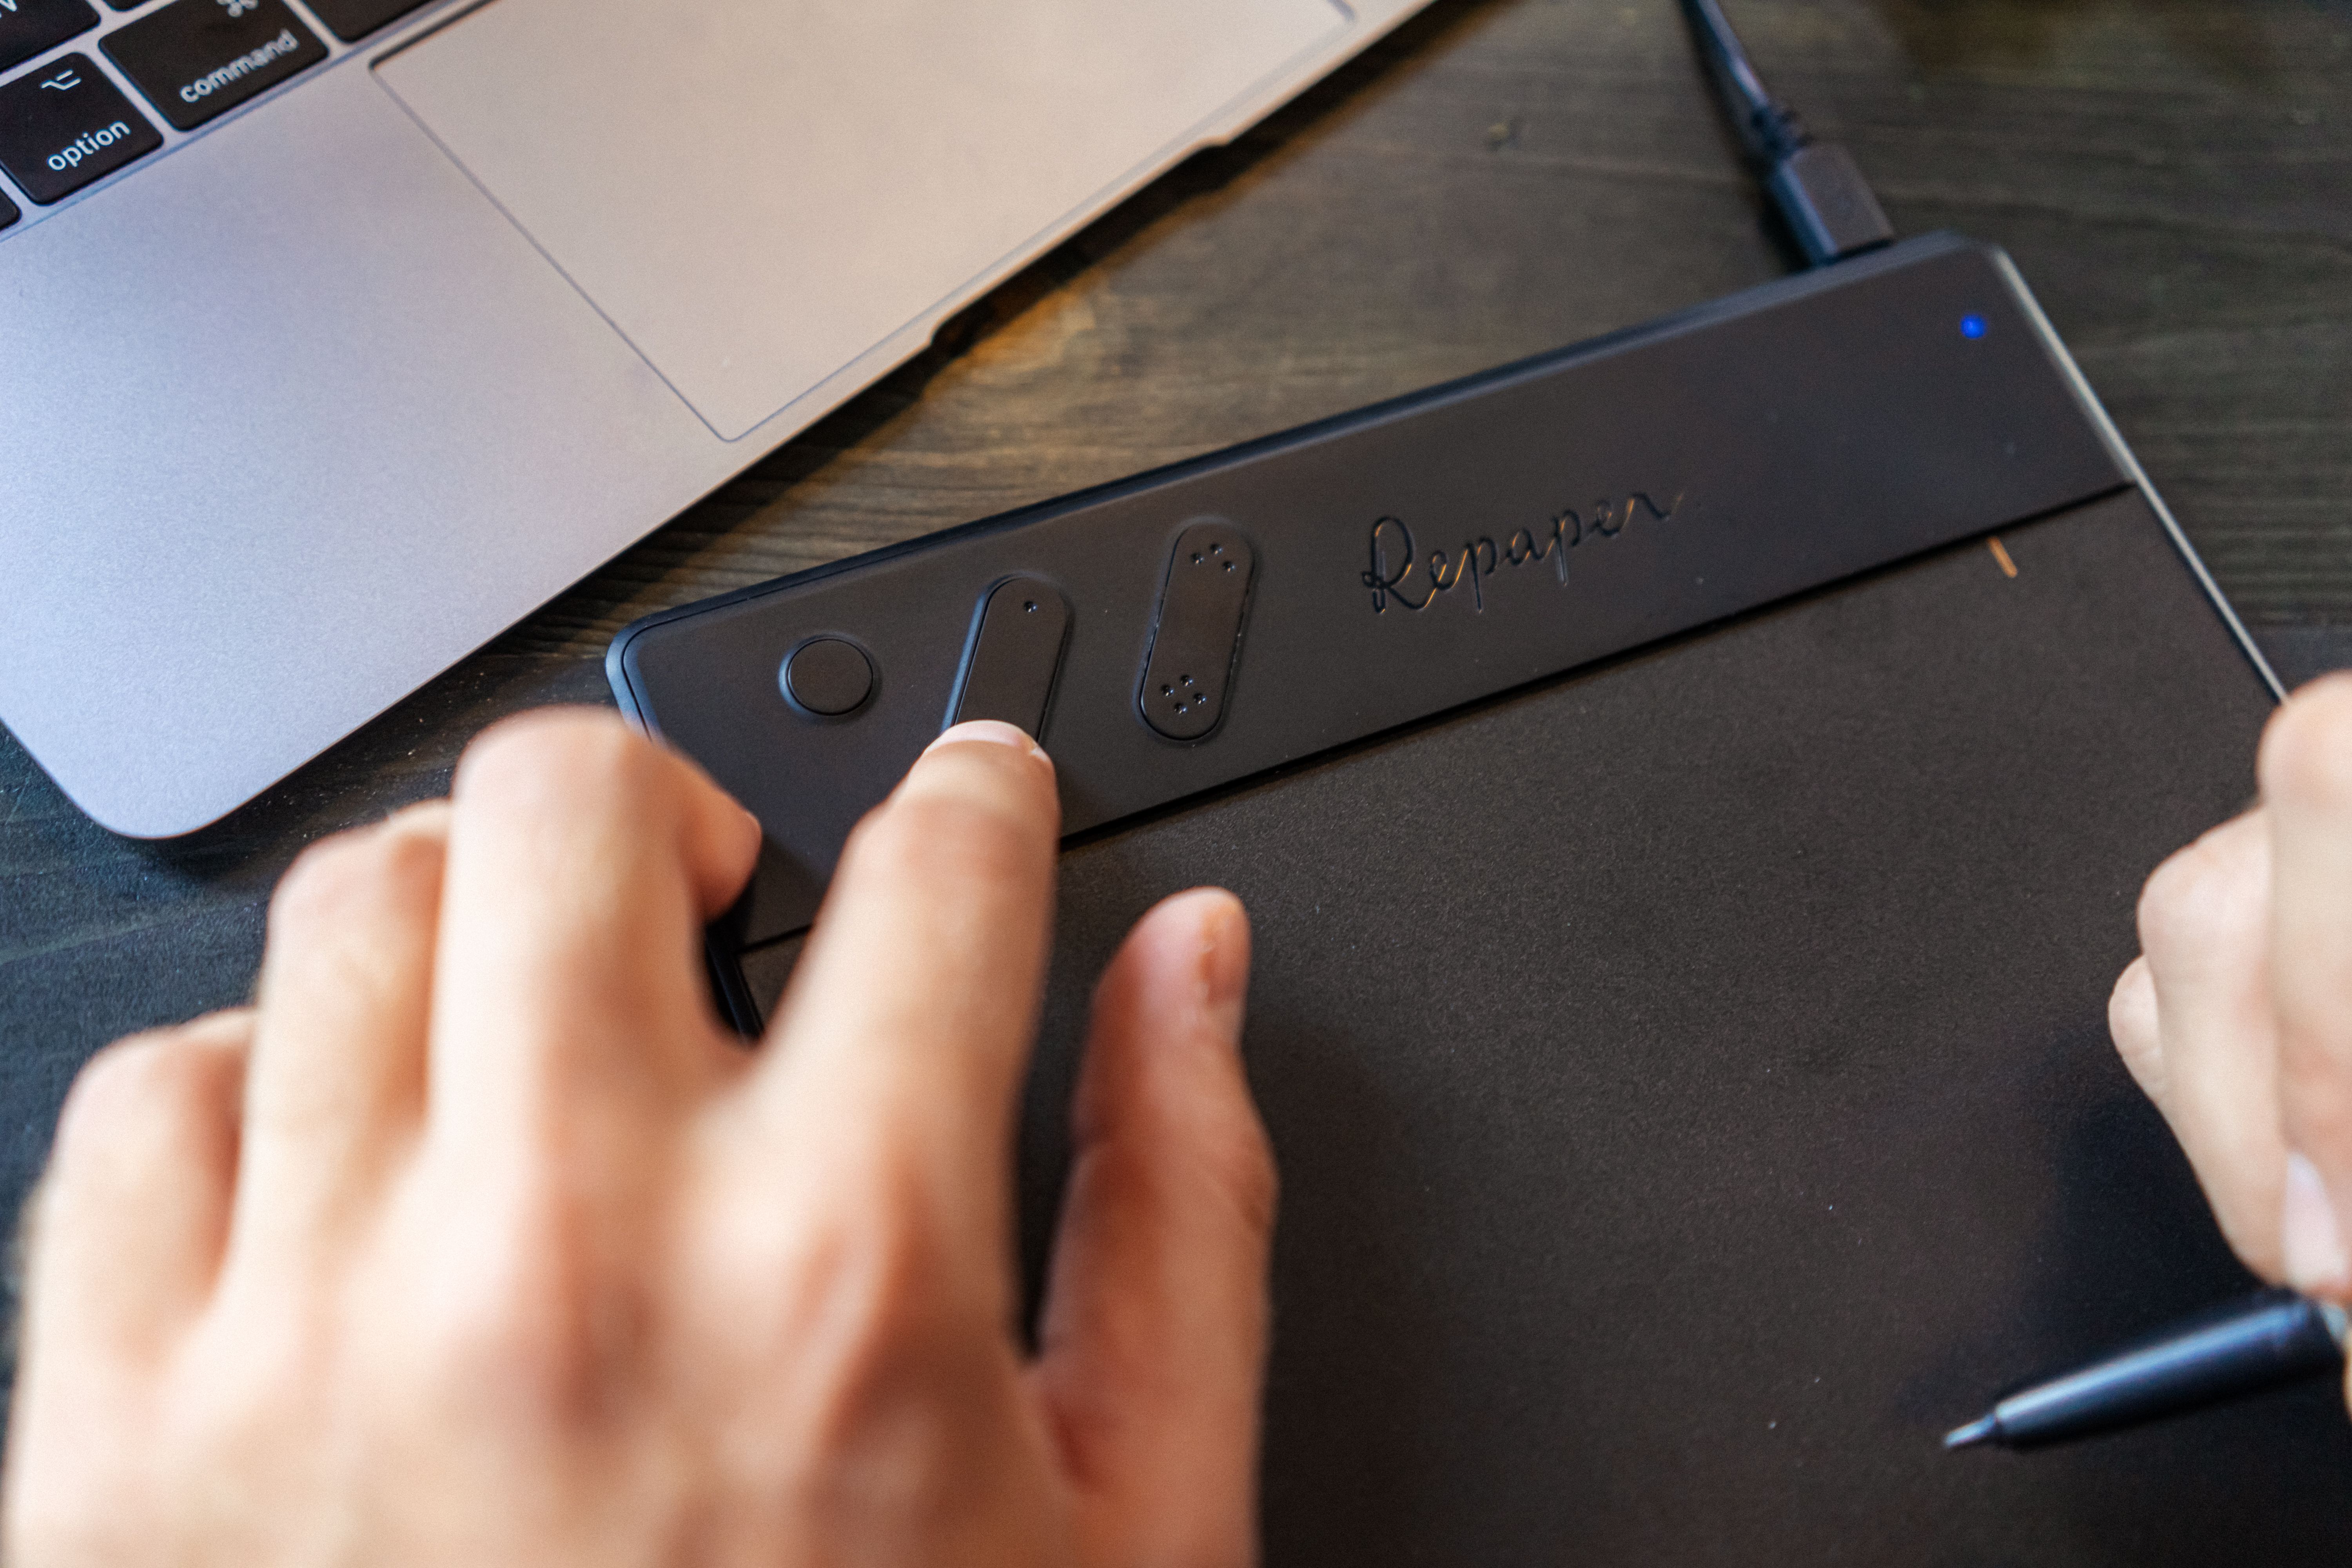
Getting to grips with your software so that creating graphics, or retouching images already created, becomes an intuitive act is important to get the most out of the sensations of digital painting. To do this, don't hesitate to assign a shortcut to each button on your pen or tablet. First of all, your pen will generally have a button, at thumb level, allowing you to perform a previously defined action with a single press. Because of the extremely accessible position of this shortcut, it's a good idea to assign an undo shortcut to it, as this is the most common of all the options you'll use most frequently, when you miss a line or color, for example. On drawing tablets like the Repaper, the pen is replaced by your pencil. This is certainly advantageous because, unlike a traditional pen, losing, breaking or stealing your traditional drawing tool will not incur significant costs if you have to replace it, but you will not have any shortcuts affixed to it.
However, to make up for this, several buttons are usually present on the most popular models, which give you access to other programmable shortcuts. Backspace, brush or pencil change, zoom... It's up to you to define which options are the most interesting to put on your tablet, which remains the other element really at hand. Finally, your keyboard is not left out to install customizable shortcuts. With its many keys, if some are already predefined by image editing software, such as Photoshop and Illustrator, you can program many more according to your needs. Your left hand being free, it is up to you to define your needs according to the work you will do, and thus to manage your drawing tools with a master hand, in a single movement.

Manage the pressure and precision of your style.
You are now ready to use your drawing tablet with your favorite software. However, as a beginner, it is important to know the sensitivity levels of the active multi-touch surface of your hardware before you actually start drawing. Knowing the level of pressure to apply with your stylus will give you greater precision when drawing, and you will have fewer imperfections on your digital works. To do this, there are several simple exercises you can do to tame your graphic palette. For example, place two circles, one black and one white, on either side of your layer, and try to connect them with a suitable black brush, making the most natural gradient between the first and the second, thanks to the pressure, more or less strong, applied by the stylus.
This will allow you to know how to manage the pressure levels on the surface of the active area of the tablet, so that you know when to force the line or not when you draw. Another interesting exercise can be to position circles of different diameters on your canvas, and to connect them, from the largest to the smallest, to practice precision when handling the pen. All these exercises will help you to progress in the use of your material, but will also allow you to adjust the sensitivity of the stylus in the settings of your software or your computer. You will then be completely at ease when you start a new sketch.
Have a clean and precise line.
On tablets without screen, it can be difficult at the beginning, especially for the beginner, to start on this type of tool. Indeed, getting the habit of looking at the screen instead of the hand is not natural for the drawer, and paradoxically, one is usually obliged to use these tablets, which are the most affordable to start with, unlike a tablet with a full-HD screen, which is more intuitive, but also much more expensive.
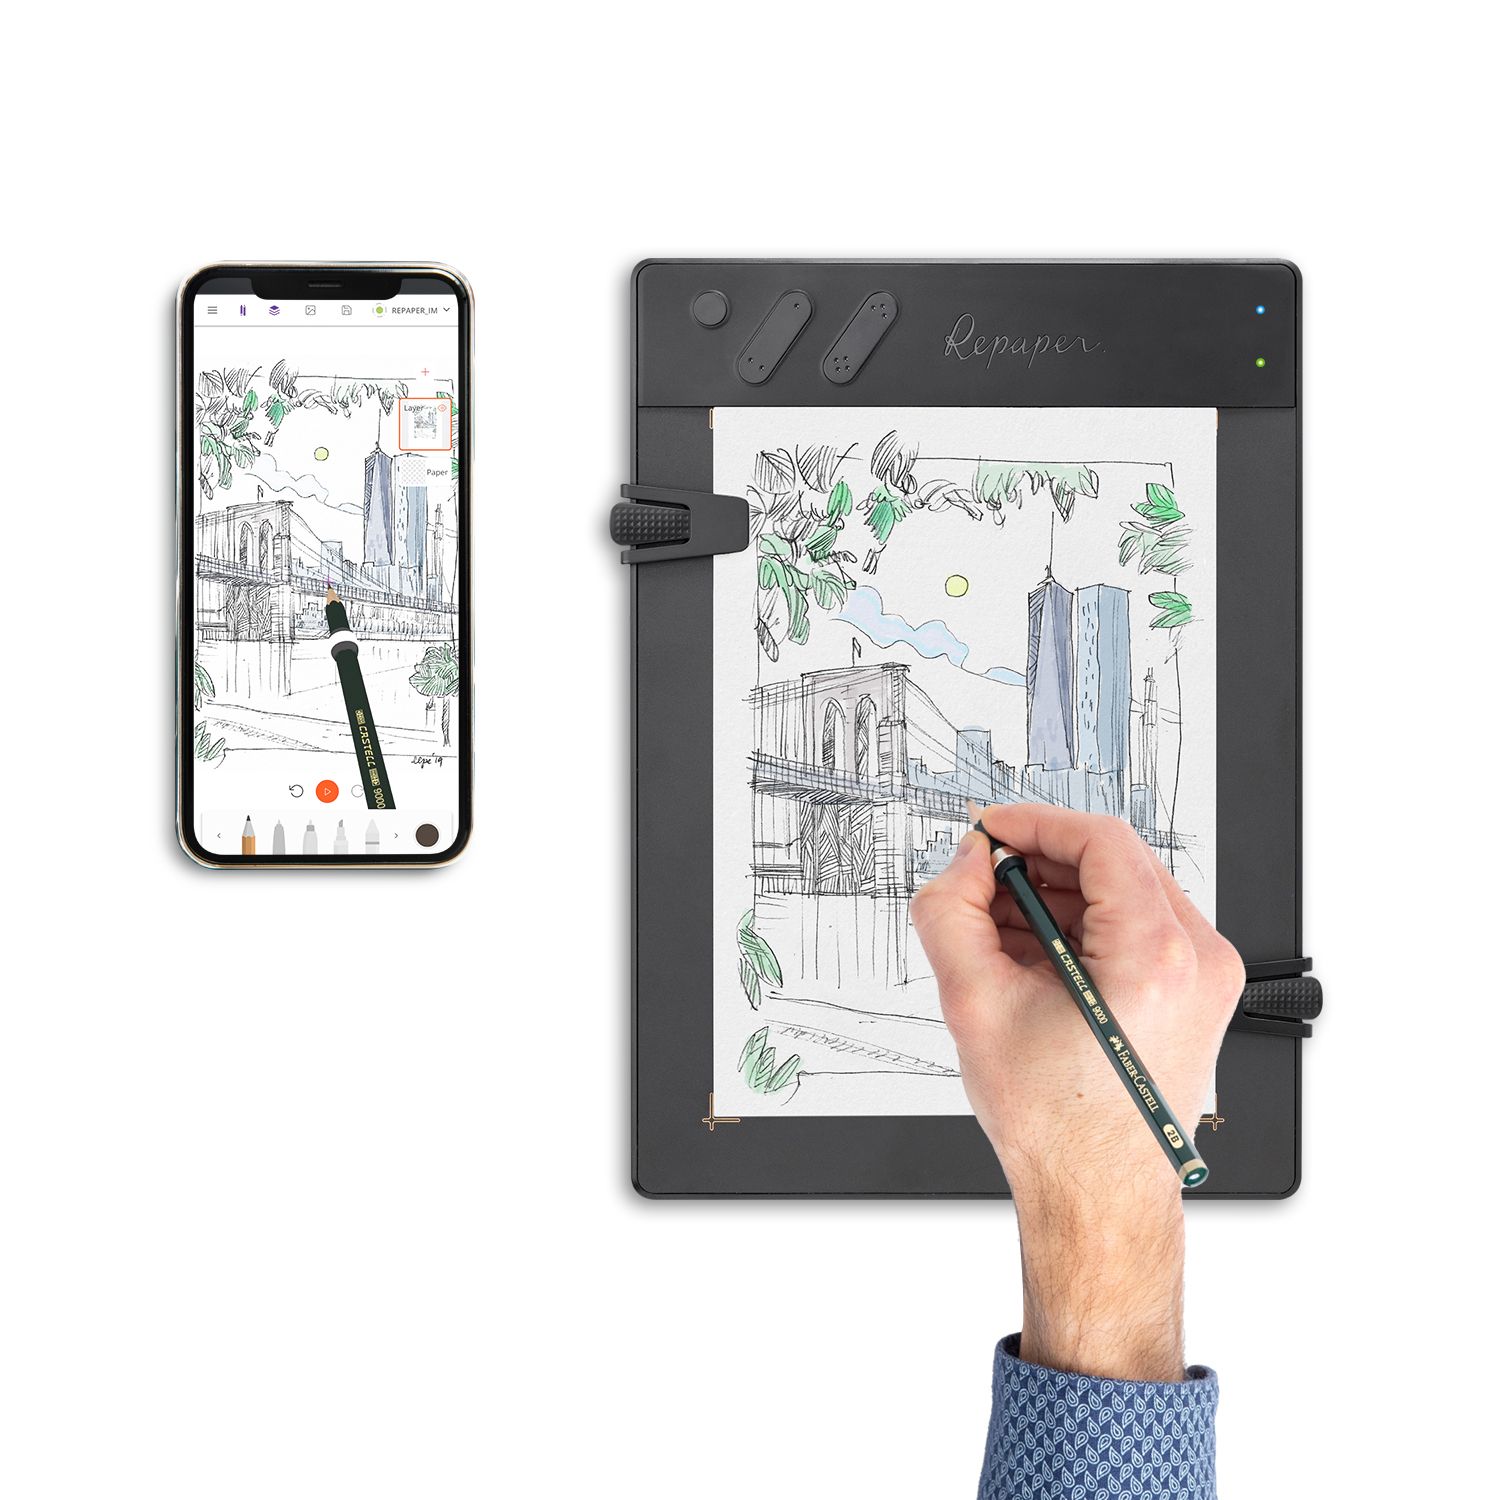
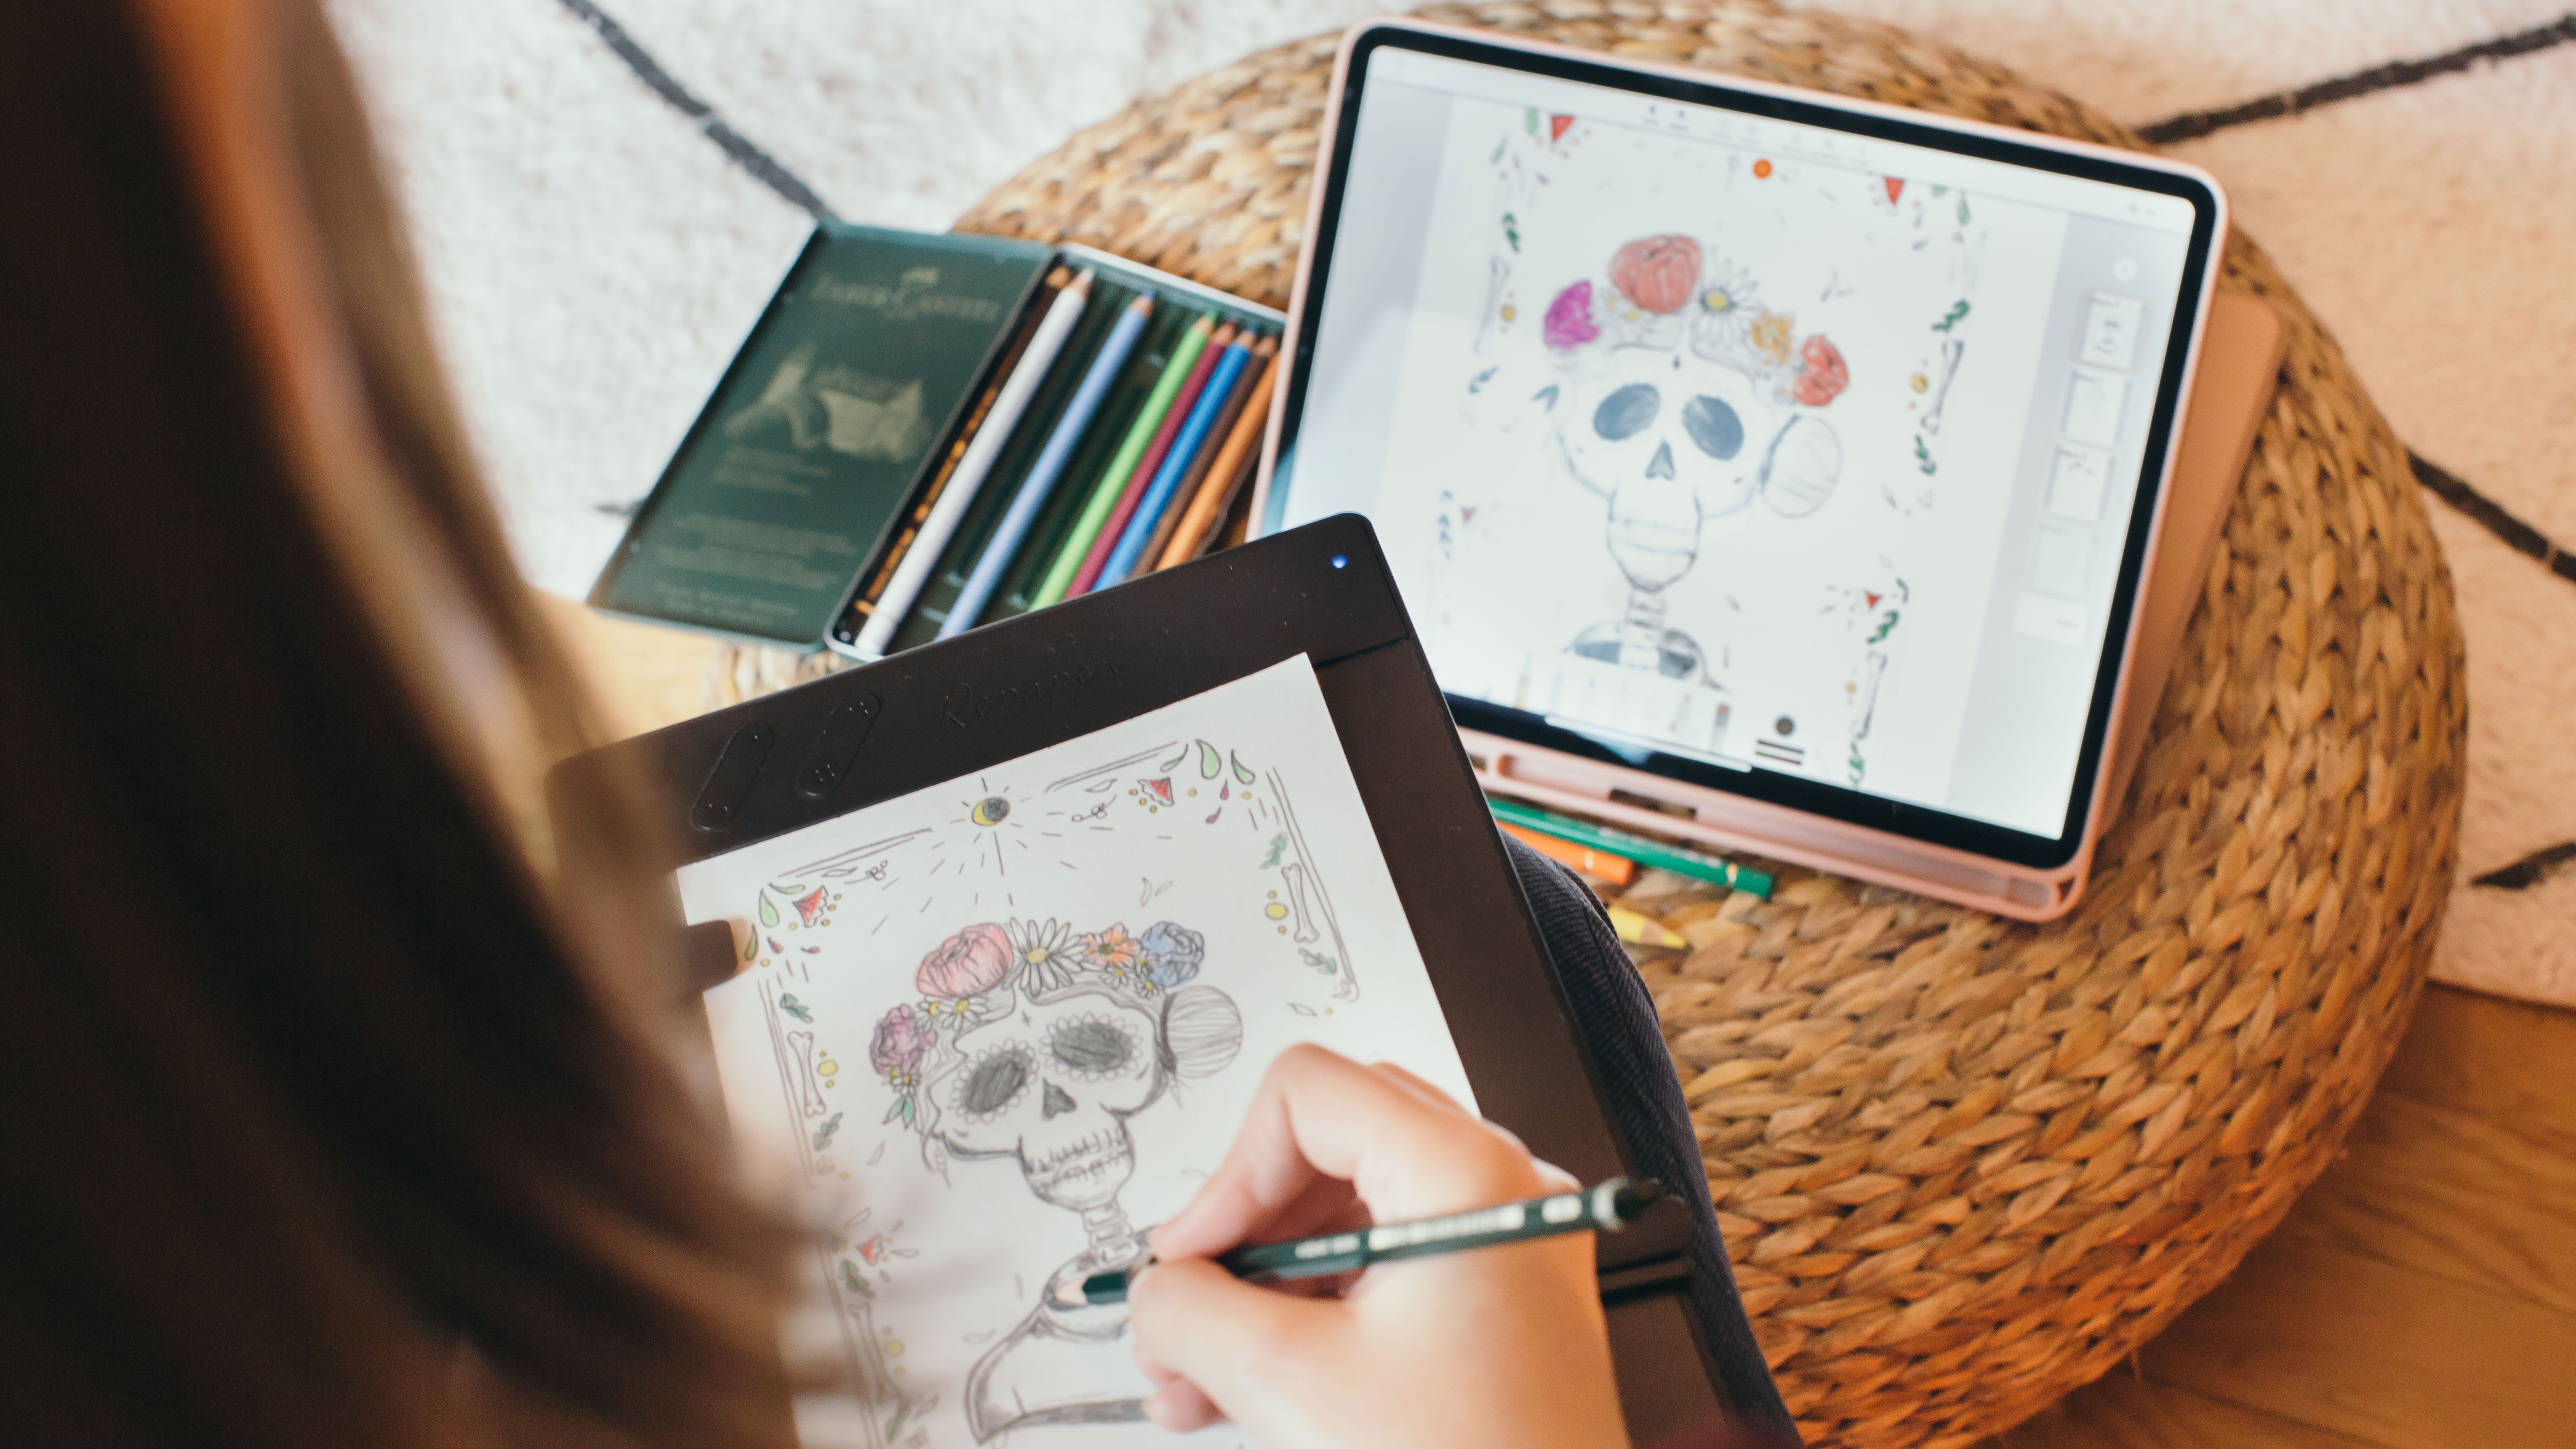
So how to draw with a sure stroke, despite this new way of drawing? There are several tricks, the first of which is to place the undo shortcut, or Ctrl+Z, directly on the pen. This will allow you to go back regularly to draw a straighter, cleaner line, make corrections, and make quick edits. You won't be afraid of making a mistake, you'll draw more clearly, and even if it takes you ten or fifteen times before you get the perfect line, it won't be a problem, as correcting the image is instantaneous after a failure. Think about drawing tablets like the Repaper, which can be an excellent alternative to tablets without a screen, with the same advantages, but with the added benefit of being able to draw directly on a sheet of paper with a live transcript of your sketch on your computer screen. The affordable price of these tablets makes them a serious option to continue to benefit from direct hand-eye coordination, while being able to edit your sketches later on your computer.
To paint digitally with even greater clarity, don't hesitate to use ghosting. These natural movements, often instinctive for experienced artists, train your wrist to make the stroke you want to make, by making, without actually drawing, small rapid movements that reproduce the final gesture you will make to draw your stroke. Ghost movements prevent you from making mistakes and save you a considerable amount of time in creating your digital image.
Finally, use and abuse layers. This remains one of the greatest advantages of digital painting. Using one or more layers allows you to make a quick sketch, with the proportions of your upcoming drawing. By juxtaposing a layer on top of your sketch layer, you can draw the lines more cleanly and without making mistakes. Over time, the graphic designer or digital artist who is comfortable with his equipment will, in the vast majority of cases, use less and less of these pure drawing techniques. The latter will work directly on the volumes and the light of the silhouettes and landscapes, before realizing precise and clean lines. It is however important for the beginner to start with line drawing, closer to animation drawing or traditional drawing on paper, to use only a few tools, three brushes maximum, and to start by working only in black and white, with grey levels, in order not to get lost in the plethora of options offered by digital drawing software. Then, only time, work and perseverance will allow you to progress and be able to glimpse more and more techniques and tools making your works more complex and impressive.
To go further.
Once you begin to master your graphic design tool, feel free to go further and discover new techniques to advance your computer drawing skills. Start by trying out and understanding the new tools and effects that your software offers. You will be able to try out new techniques and, as we have already seen, move from line drawing to volume and light drawing. Managing brushes, contour effects and shading will open up new horizons for increasingly sophisticated digital drawings. Nevertheless, you must go through the first step before glimpsing incredibly technical works: the colorization of the image. Once again, layers are your best friends for practicing. Take an existing image, create a layer on which you will reproduce its contours with the line techniques seen previously, and on a second layer, apply the color in order to reproduce as faithfully as possible the original drawing, its gradations and its nuances. If you do well, with practice, by removing the outline layer, you should have an image similar to the original. Once you have mastered colorization, you can move on to other effects requiring more and more technical skills. Then everything becomes possible with digital drawing.

Discover more
Drawing with a graphic tablet: tips and tricks.
Digital drawing allows many possibilities and the drawing tablet has become a must-have.
How does a graphic tablet work?
Discover the functioning of a graphic tablet, and the specificities between the different types of existing models.

Why not be tempted by cheap graphics tablets?
We explain why, despite the temptation, it is not advisable to invest in a cheap graphics tablet, and which model you should consider.
€10 discount
when subscribing to our Newsletter, for purchases over €100.
Free standard delivery
for purchase over €80
30-day returns
on all products
Secure payment
with Stripe & PayPal
Pay in 3
with Alma
Customer service
chat with us