How to Draw Monuments ? Famous monuments step-by-step drawing guide
How to draw monuments?
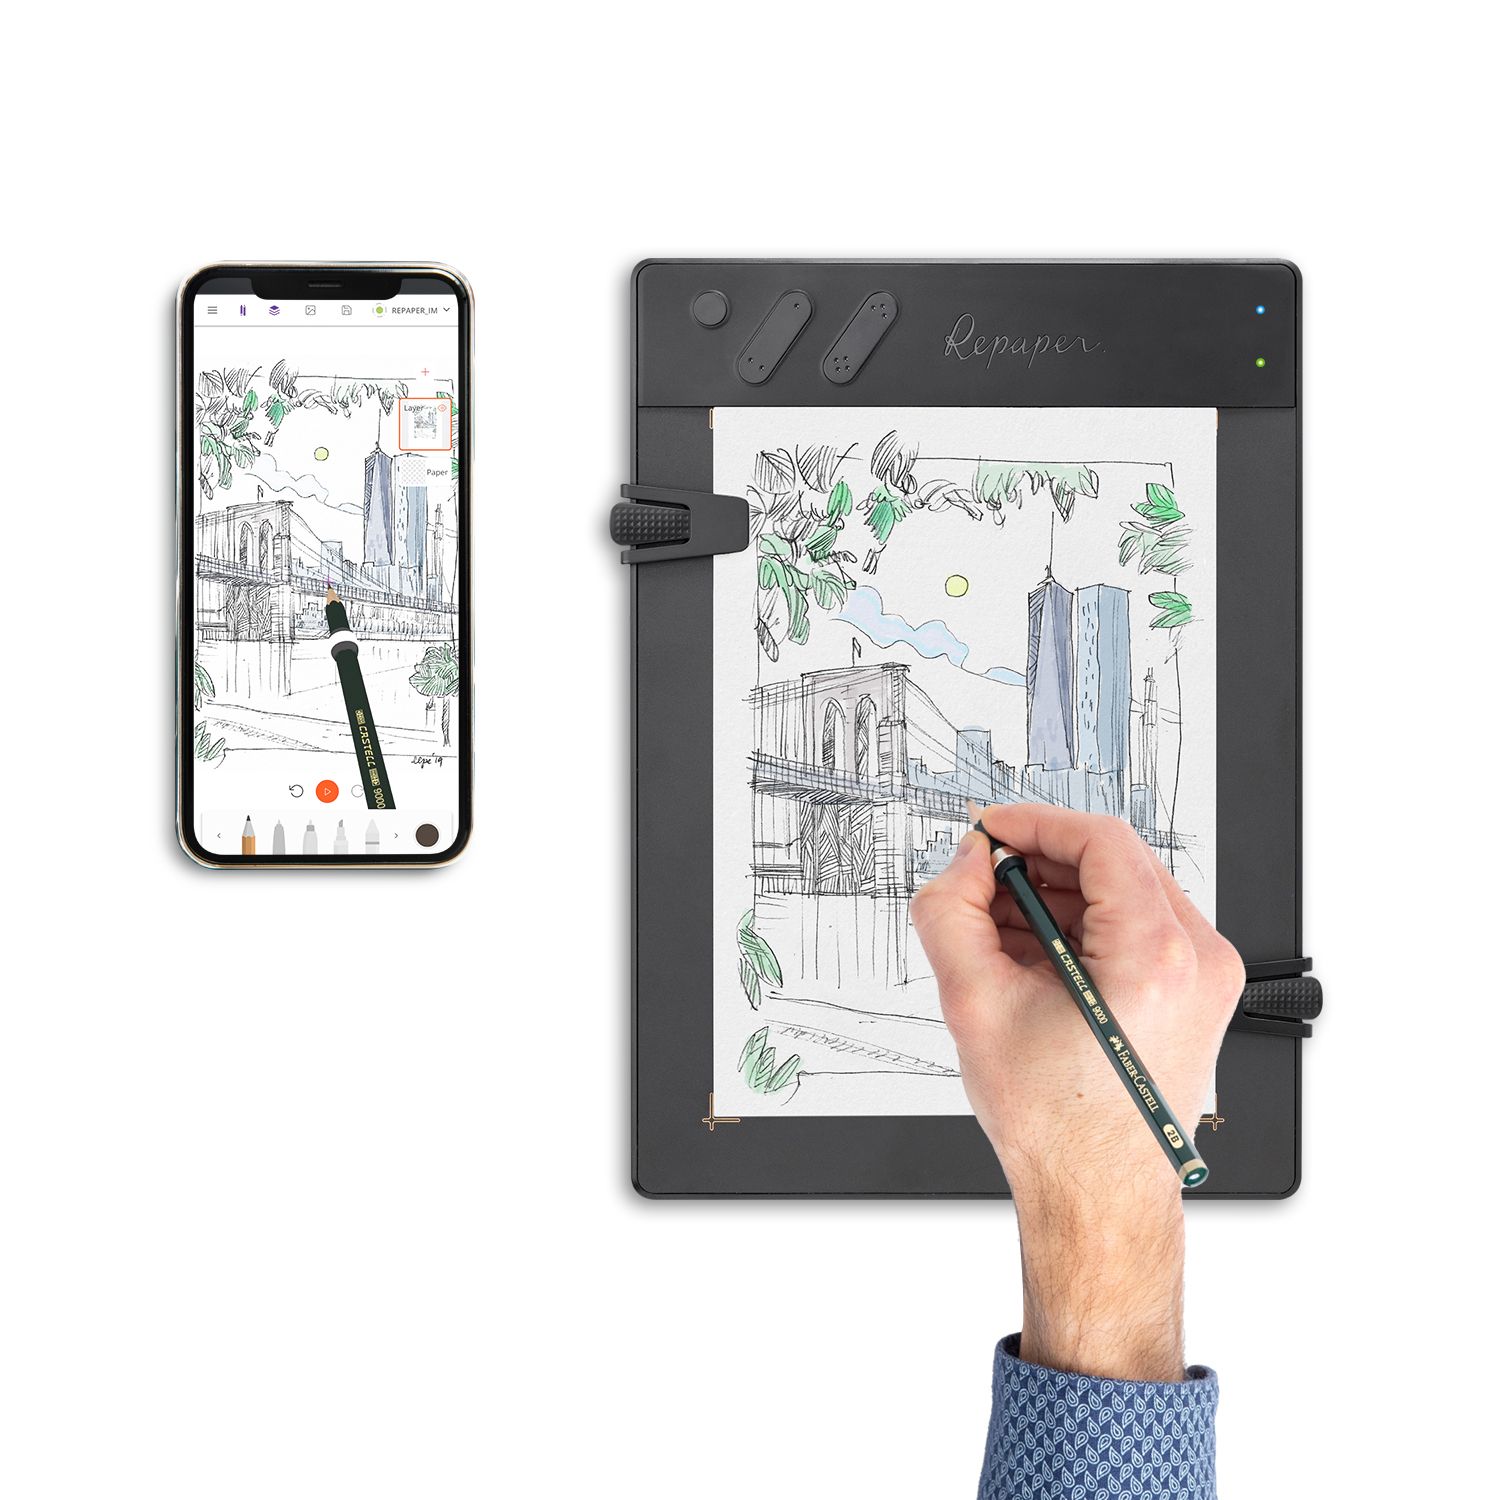
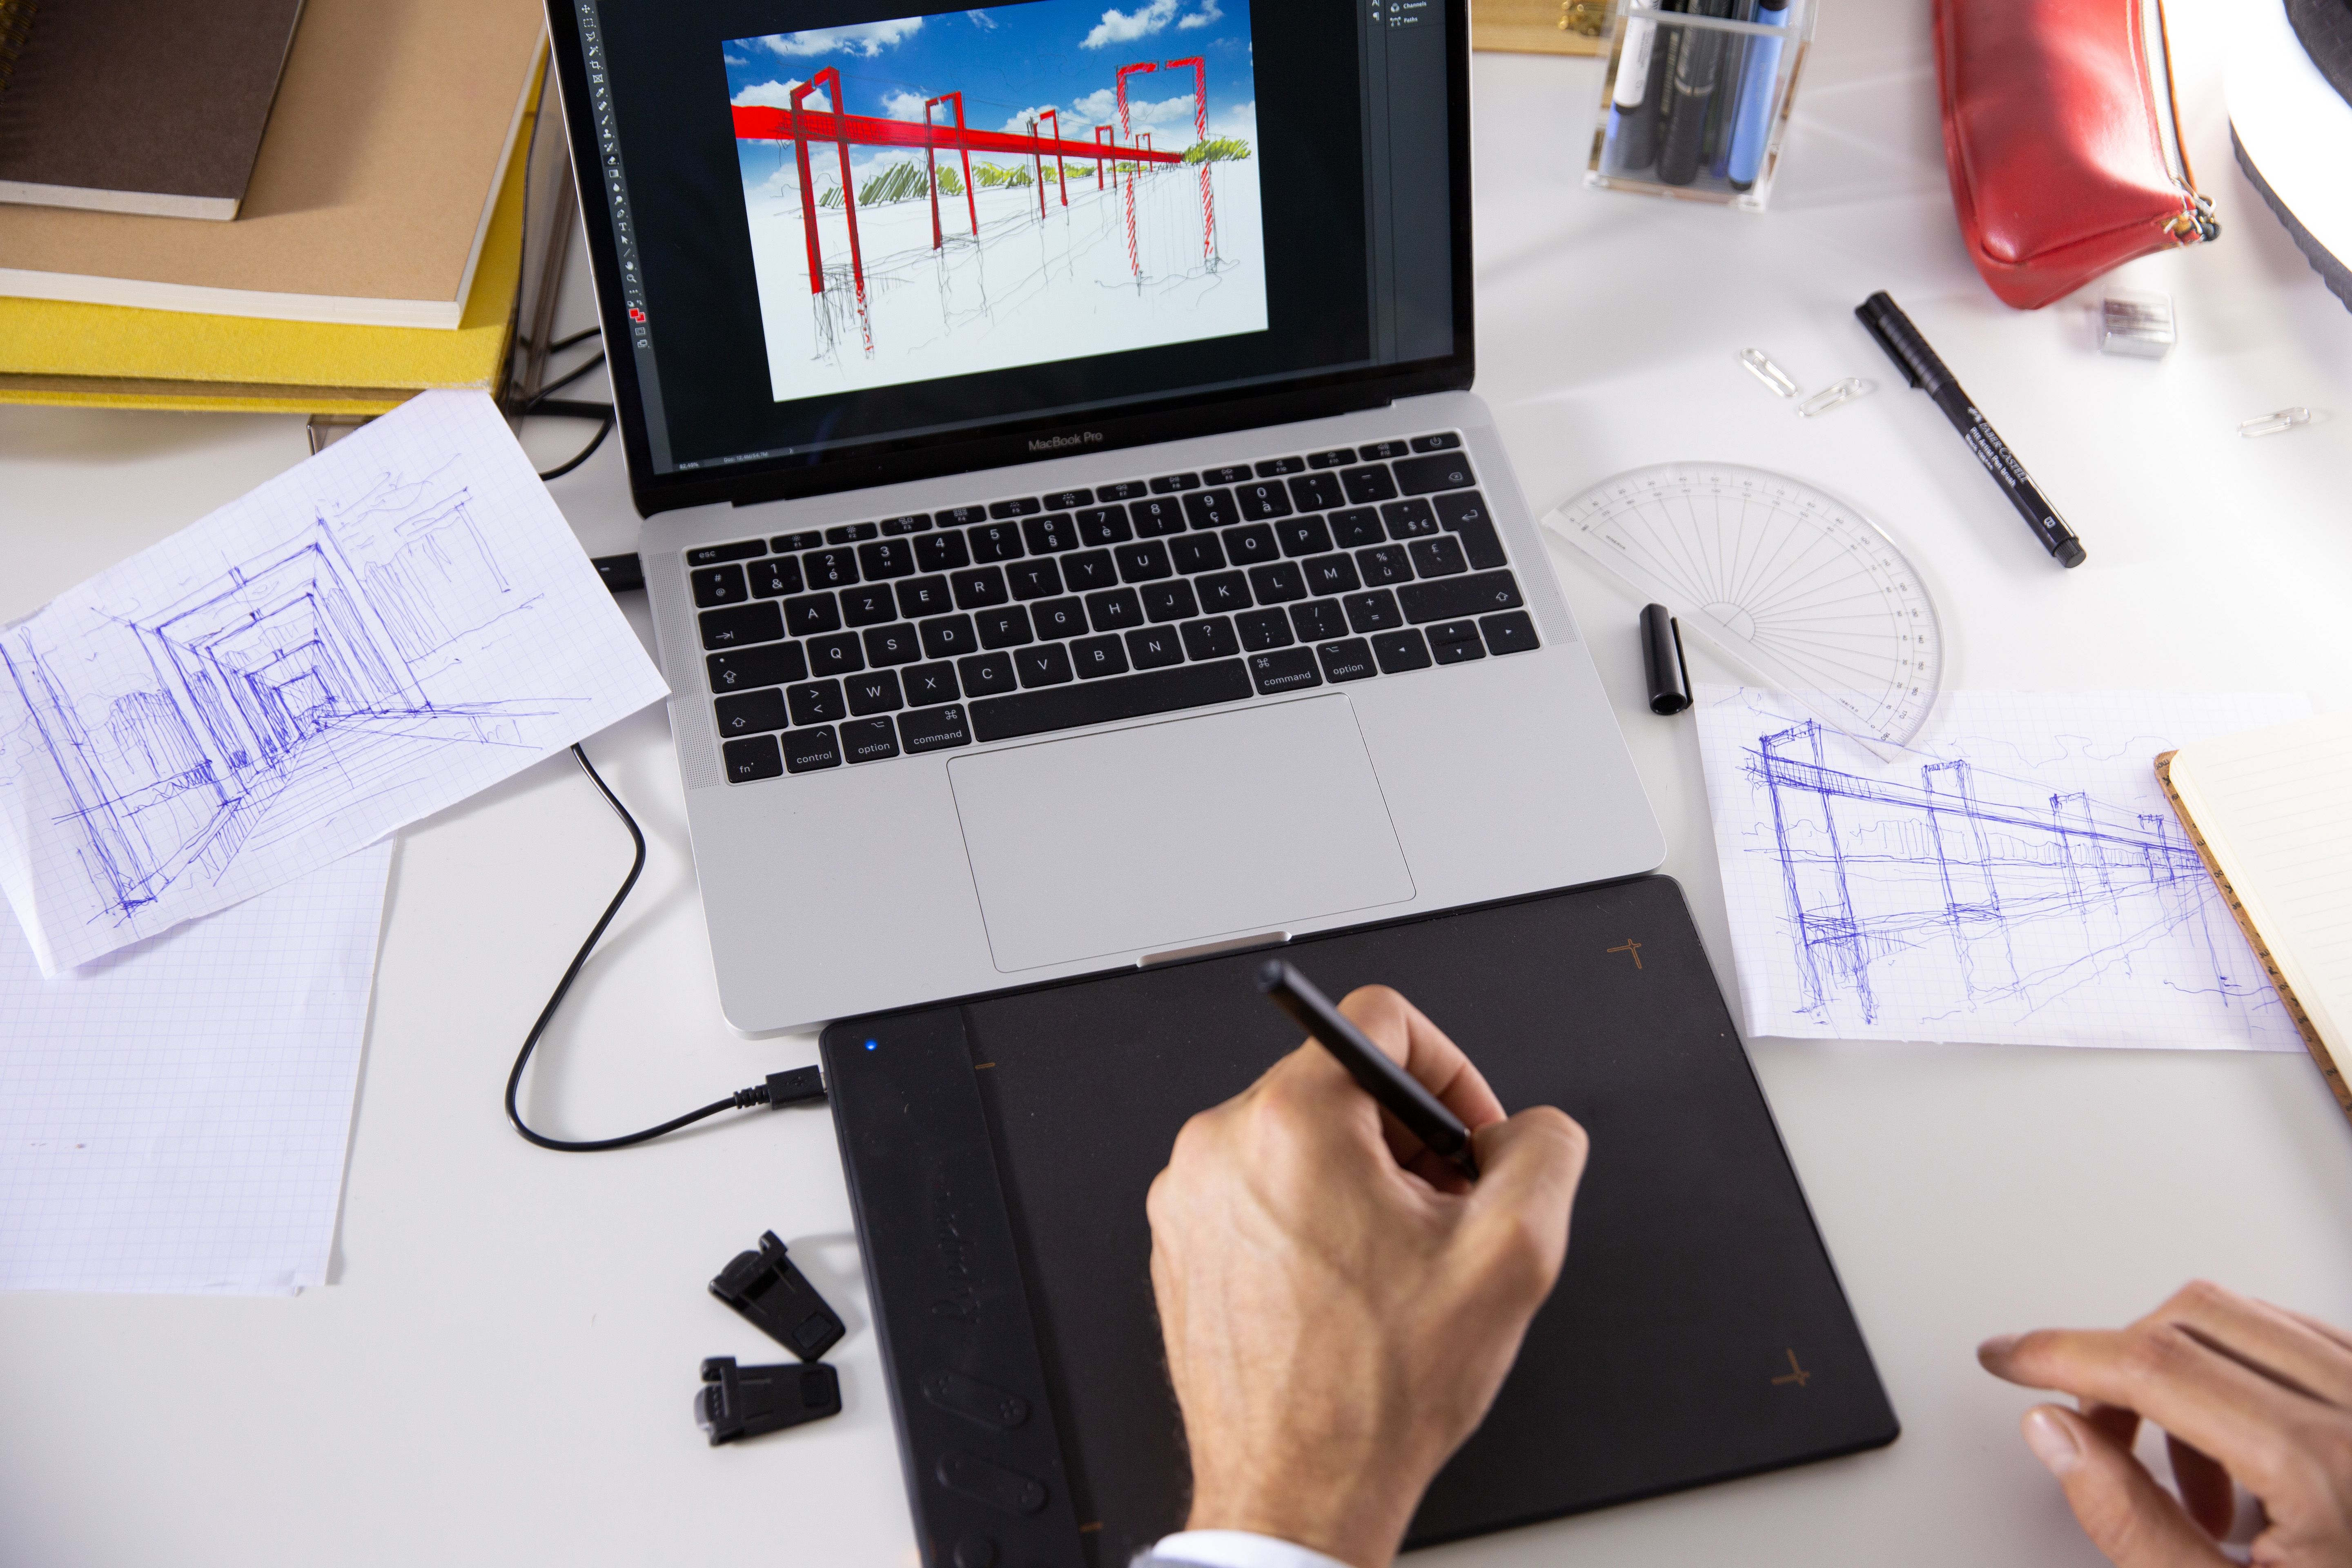
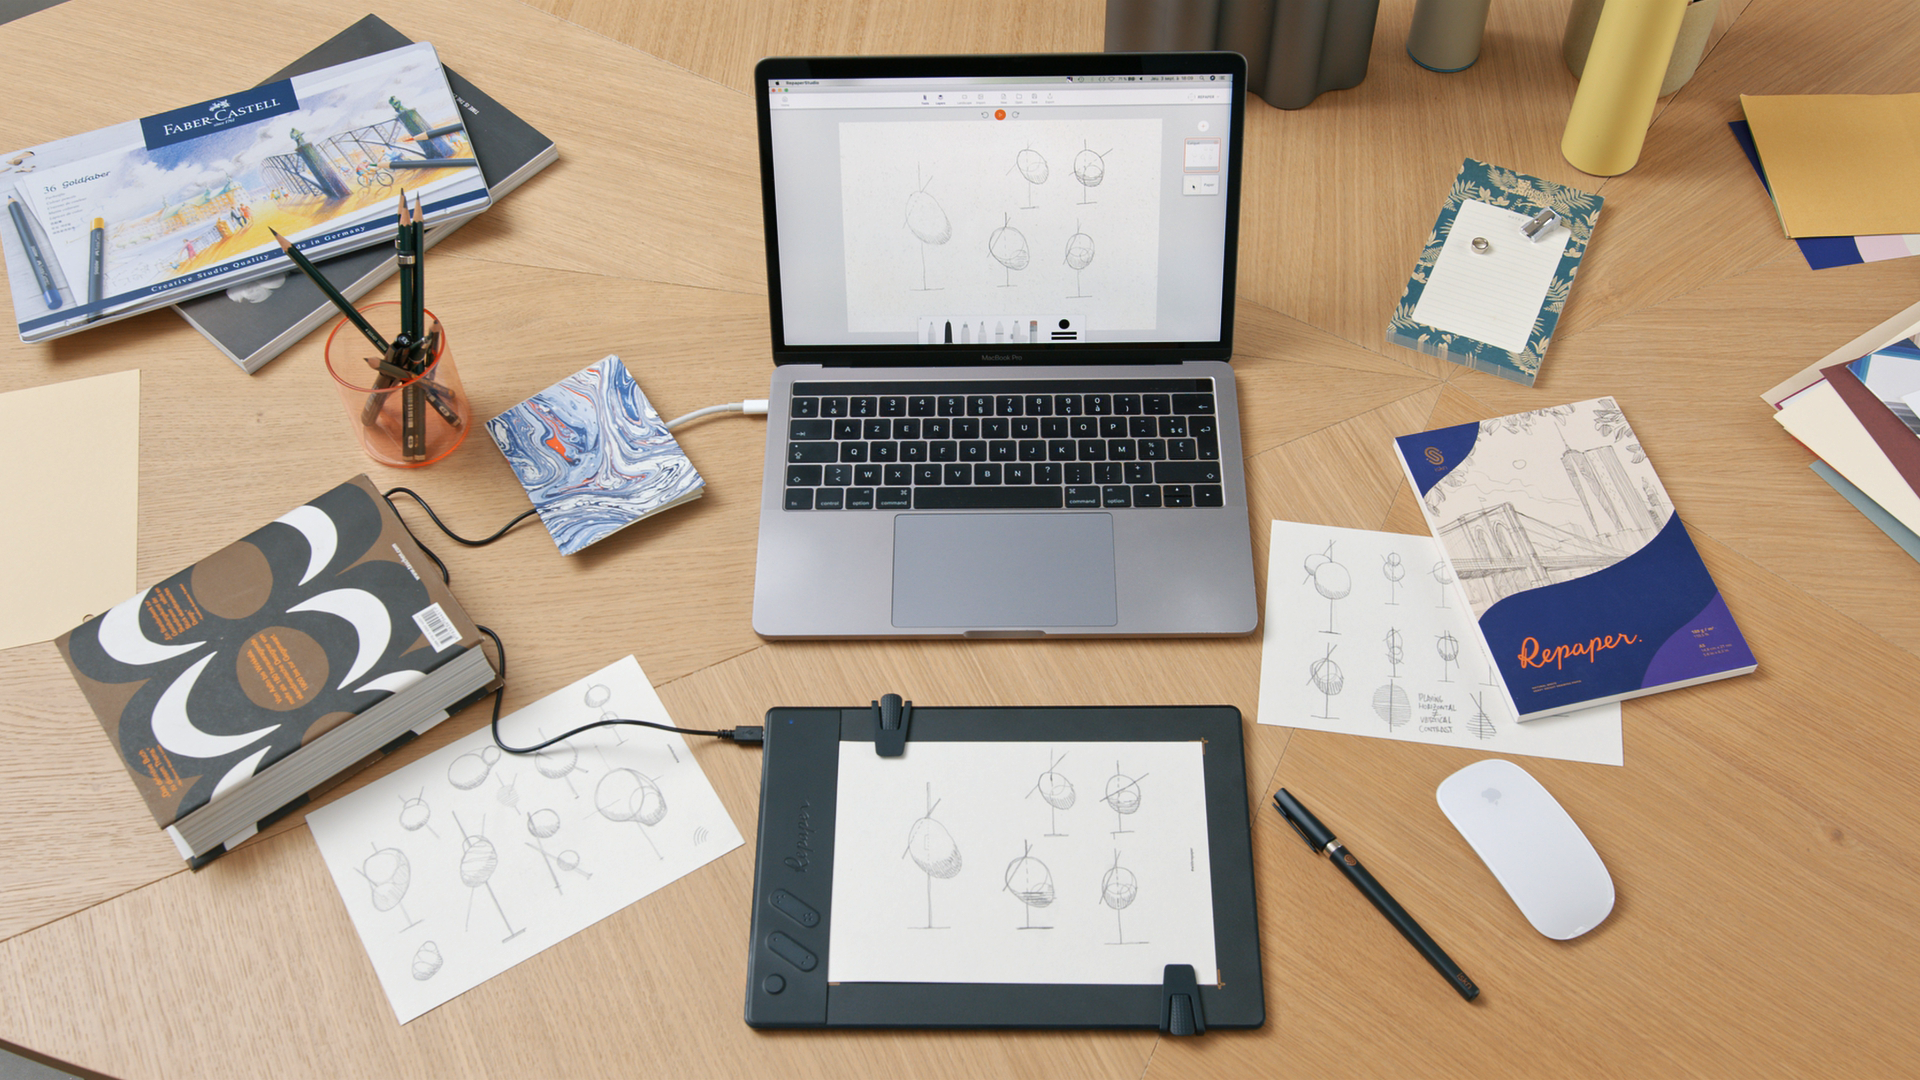
Monuments hold a special place in our collective history and memory, symbolizing the achievements and cultures of those who built them. As an artist, capturing these iconic landmarks can be a rewarding and challenging experience. In this comprehensive guide, we will walk you through the process of drawing four famous monuments from around the world: the Eiffel Tower, the Statue of Liberty, the Great Pyramid of Giza, and the Colosseum. With a focus on breaking down each structure into simple shapes and forms, this guide will help you master the art of drawing monuments. Get your Repaper drawing tablet ready along with paper and pencil and let’s start getting creative.
Best practices on how to draw a monument
Research the monument: Before you start drawing, take some time to research the monument you want to draw. Look for photographs, sketches, and other artwork that depict the monument, and read about its history and significance. This will help you understand the monument's structure, shape, and unique features.
Study perspective: Perspective is important when drawing monuments, as it helps create the illusion of depth and three-dimensionality. Study perspective techniques, such as vanishing points and horizon lines, and practice drawing objects from different angles and viewpoints.
Use a grid: If you're struggling to get the proportions and angles of the monument just right, try using a grid. Draw a grid over the reference image you're using, and then draw a corresponding grid on your drawing paper. This can help you accurately transfer the proportions and details of the monument onto your paper.
Start with simple shapes: When you begin drawing, start with simple shapes to establish the overall structure of the monument. Use light pencil strokes to sketch out the basic shapes and forms, and gradually build up the details and textures.
Pay attention to lighting: Lighting is key to creating a realistic and impactful drawing of a monument. Observe the way light falls on the monument in your reference images, and use shading and highlights to create depth and contrast.
Don't be afraid to make mistakes: Drawing monuments can be challenging, and it's okay to make mistakes. Don't get discouraged if your drawing doesn't turn out exactly as you had hoped. Instead, use your mistakes as an opportunity to learn and improve your skills.
Practice regularly: As with any skill, practice is key to improving your drawing abilities. Set aside time each day or week to practice drawing monuments, and don't be afraid to try drawing different types of monuments and structures to challenge yourself.

Made on paper with the Repaper by @elpe_art
How to draw the Eiffel Tower in Paris ?
Begin by drawing two vertical lines, slightly converging as they extend upward, to establish the outer edges of the Eiffel Tower. These lines should be divided into thirds by two horizontal lines, marking the levels of the tower.
Draw two more vertical lines within the outer edges, also converging upwards. These lines will represent the inner support beams of the tower.
Within the bottom third of the tower, draw diagonal lines connecting the outer edges to the inner support beams. Add an "X" shape between the support beams for extra detail.
Repeat this process for the middle and top thirds, adjusting the angles of the diagonal lines as needed. Add a small rectangle at the top of the tower for the flagpole.
Sketch the tower's arches on the bottom third using curved lines, and add small horizontal lines along the support beams to represent the tower's lattice structure.
Finish by refining your lines, adding shading, and including any additional details you'd like.

Made on paper with the Repaper by @elpe_art
How to draw the Statue of Liberty in New York City
Start by sketching a simple vertical line to represent the centerline of the statue, dividing it into sections for the pedestal, torso, head, and torch.
At the base, draw a trapezoid shape for the pedestal, and add vertical lines to suggest its architectural features.
For the torso, sketch a rectangular shape above the pedestal, and add the folds of the robe with curved lines.
Draw an oval for the head, with a slight protrusion at the back for the statue's hair. Add the facial features and crown using simple shapes and lines.
Sketch the statue's raised arm by drawing two parallel lines extending upward from the shoulder, with a curved line for the torch handle. Add a flame shape at the end.
Draw the tablet held in the statue's left arm using a rectangular shape, and add the folds of the robe hanging from it.
Refine your lines, add shading, and include any additional details to complete the drawing.
How to draw the Great Pyramid of Giza
Draw a large equilateral triangle for the main pyramid, with its base parallel to the bottom of the page.
Add two smaller triangles on either side of the main pyramid for the adjacent pyramids, making sure their bases align.
Divide each pyramid into horizontal rows using parallel lines, representing the layers of stone blocks.
Add subtle vertical lines within each row to indicate the individual stone blocks.
For added depth, draw the edges of the pyramid faces that are not directly visible, using lines parallel to the sides of the visible faces.
Complete the drawing by refining your lines, adding shading to create a sense of depth, and incorporating any additional details you'd like, such as the surrounding desert landscape, the Sphinx, or people for scale.

Made on paper with the Repaper by @lucyclaireillustration
How to draw the Colosseum in Rome ?
Sketch a large oval shape for the Colosseum's base, with a slightly smaller oval inside it to represent the interior structure.
Divide the outer oval into three horizontal sections, indicating the different levels of the monument.
Add evenly spaced, small vertical rectangles in each section to represent the Colosseum's arches and pillars.
Draw the Colosseum's partial upper structure by sketching an irregular, broken line on the top section.
Add details like the inner walls, staircases, and seating area by drawing horizontal lines inside the smaller oval.
How to draw the Taj Mahal in Agra
Start with a large rectangle for the main structure, and add a smaller rectangle on top to create the base for the dome.
Draw a large, semi-circular dome on top of the smaller rectangle.
Sketch four elongated, narrow rectangles at the corners of the base rectangle for the minarets.
Add domes on top of each minaret.
Draw an arched doorway in the center of the base rectangle and smaller arches on either side.
Add details like windows, decorative patterns, and the platform.
Discover more

How to Draw a Tree : Step-by-Step Guide and Tips.
When drawing a tree, you will need a sharp, dark pencil. A mechanical HB pencil will work well for this task.
Drawing with a graphic tablet: tips and tricks.
Digital drawing allows many possibilities and the drawing tablet has become a must-have.
Tutorial: A good start in digital painting.
For the last twenty years, with the democratization of the computer and software intended for artistic creation, digital painting has become more and more important in many fields.
Newsletter
Keep up to date with iskn news and events
Free standard delivery
for purchase over €80
30-day returns
on all products
Secure payment
with Stripe & PayPal
Pay in 3
with Alma
Customer service
chat with us