How to draw a portrait? Easy Tips and Tools for Beginners
How to draw a face? How to draw it with ease and with the right tools? Knowing how to draw a portrait is not easy and these are questions that the beginner illustrator quickly asks himself. We have compiled in this tutorial different tips so that the illustrator draws the most resembling portrait in relation to his model, with simple and easy to implement bases.
Prepare your drawing material.
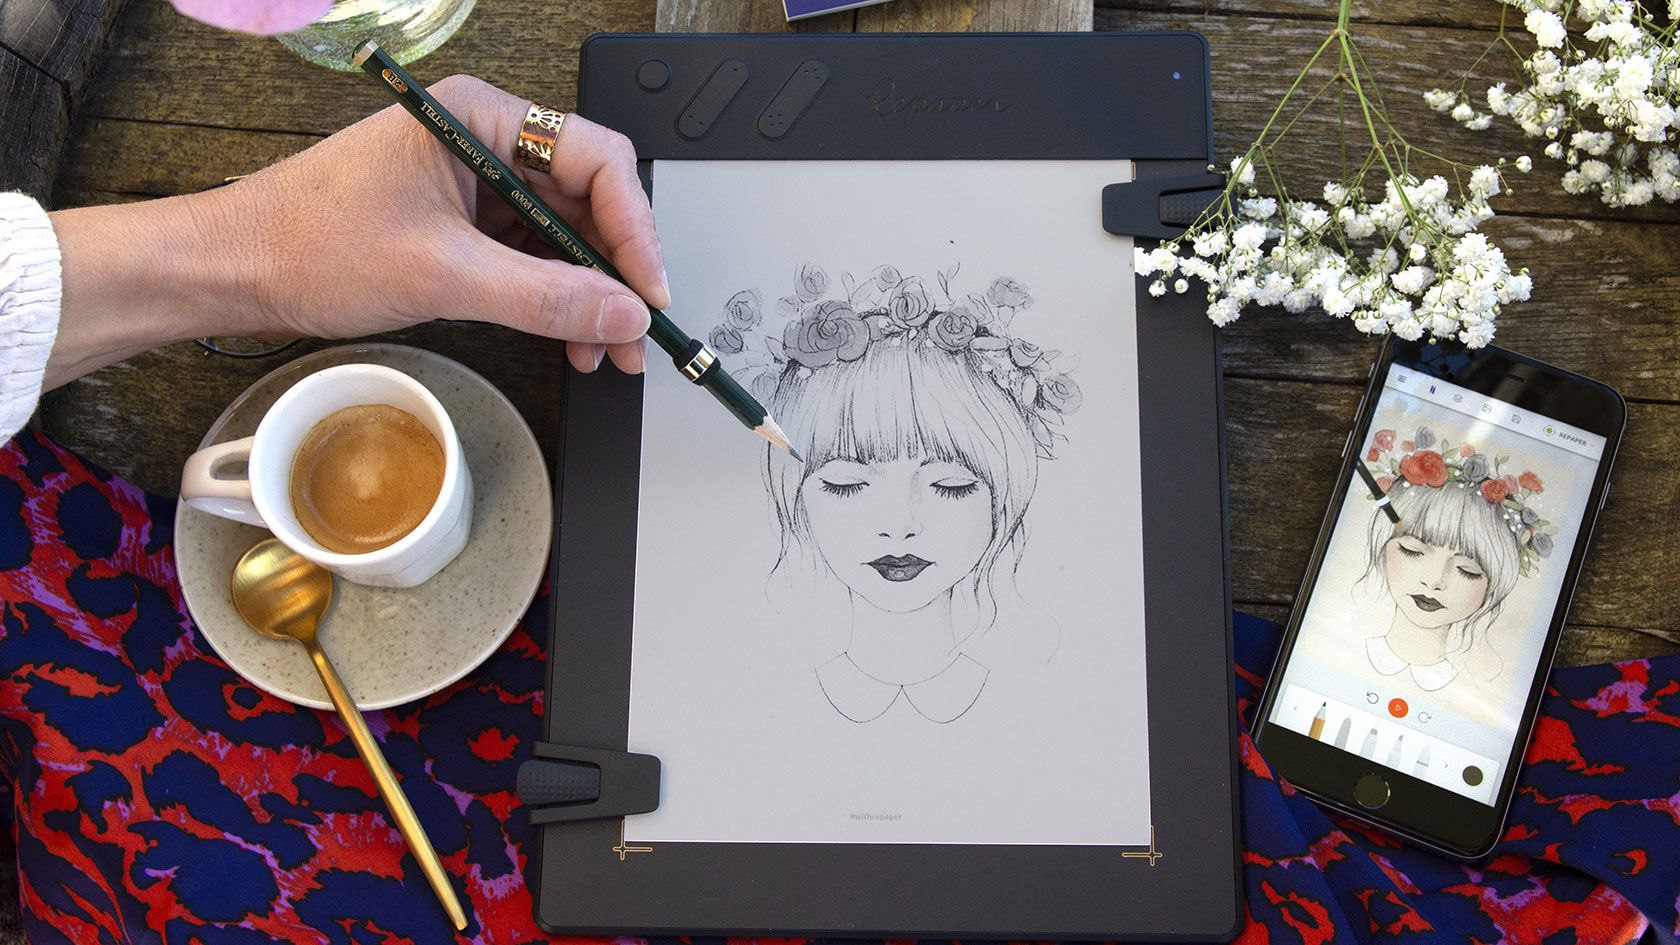
First and foremost, preparing your equipment to be able to draw a realistic portrait correctly is essential for the drawer. Whatever the drawing technique, for traditional drawing as well as for a drawing on a drawing tablet, selecting the right tools and proper settings should not be neglected to avoid wasting precious time and obtaining a disappointing result during the creation phase. While artists wishing to draw on paper must remember to check the condition of their pencils, the digital artist will think about adjusting the tablet and calibrating peripherals to obtain a rendering corresponding to his expectations. This is especially the case with graphics tablets, such as the ISKN Repaper, which uses the digital technology of graphics tablets, coupled with that of traditional drawing on paper, which requires the use of a quality pencil, such as those of the Faber-Castell brand, supplied with the Repaper pack, and to calibrate the magnetic ring around the pen, in order to obtain an accurate line when transposing it live on the drawing software.
Selecting the right tools.
The selection of drawing tools is very important to achieve a quality portrait. Numerous pencils, brushes and paintbrushes are available in the different drawing software. It is necessary to learn to know them and to make the right settings in your digital application, the ideal being to get as close as possible to the rendering that you could have in reality. The ideal is to get as close as possible to the way it would look in real life, so you need to find a tool that gives you a result close to, or even identical to the pencil you use to sketch. Beginners in digital drawing can therefore select a brush with a thickness close to HB pencils, the most common for sketching, and keep the sensitivity and smoothness settings on a medium value at first. Although there are many tutorials describing the best settings, the best thing to do is to try many different combinations, and find the way you can make the portrait you want, with the options that make you feel most comfortable drawing.

How to easily draw a portrait?
Making the sketch.
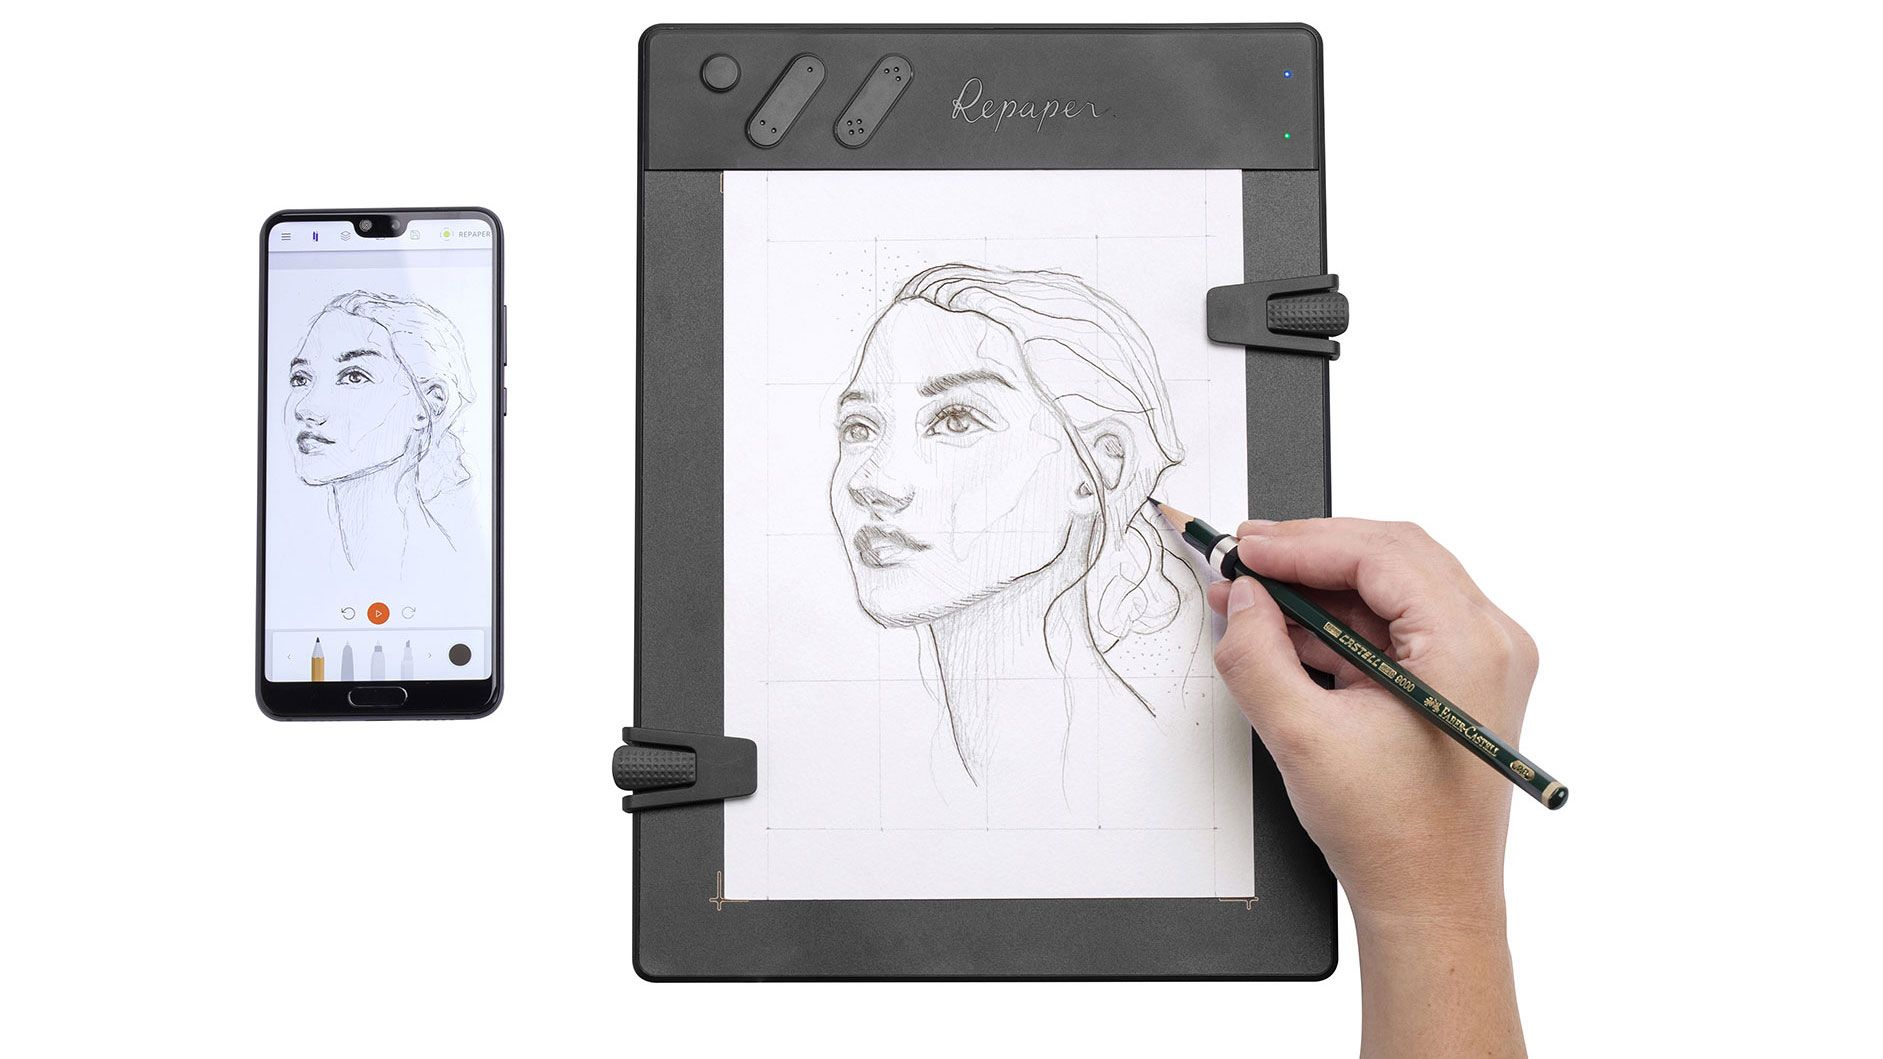
Sketching your portrait is the first step to focus on when learning to draw a face. When drawing a portrait, you must take into account the anatomy of your model, and clearly delineate the shape of the face. To do this, you can first draw circles to create the different parts of the face. Each of these circles will serve as a reference to get the right proportions and to establish more precise contours later on. Once done, always start by drawing the eyes, nose and mouth in a simple way. In the same way, quickly sketch the physical characteristics of your model. All these elements of the face are indeed those that will attract the most attention, and will allow you to move quickly on the rest of your graphic work. Then sketch the rest of the elements of your model briefly so that you have a first draft on which you can work. Remember that the sketch is a quick drawing, intended to show only the proportions, shapes and features of the face. You can then use your eraser to erase the previously drawn circles, in order to clarify your work base.
Finalize the portrait with a pencil.
Focus on details.
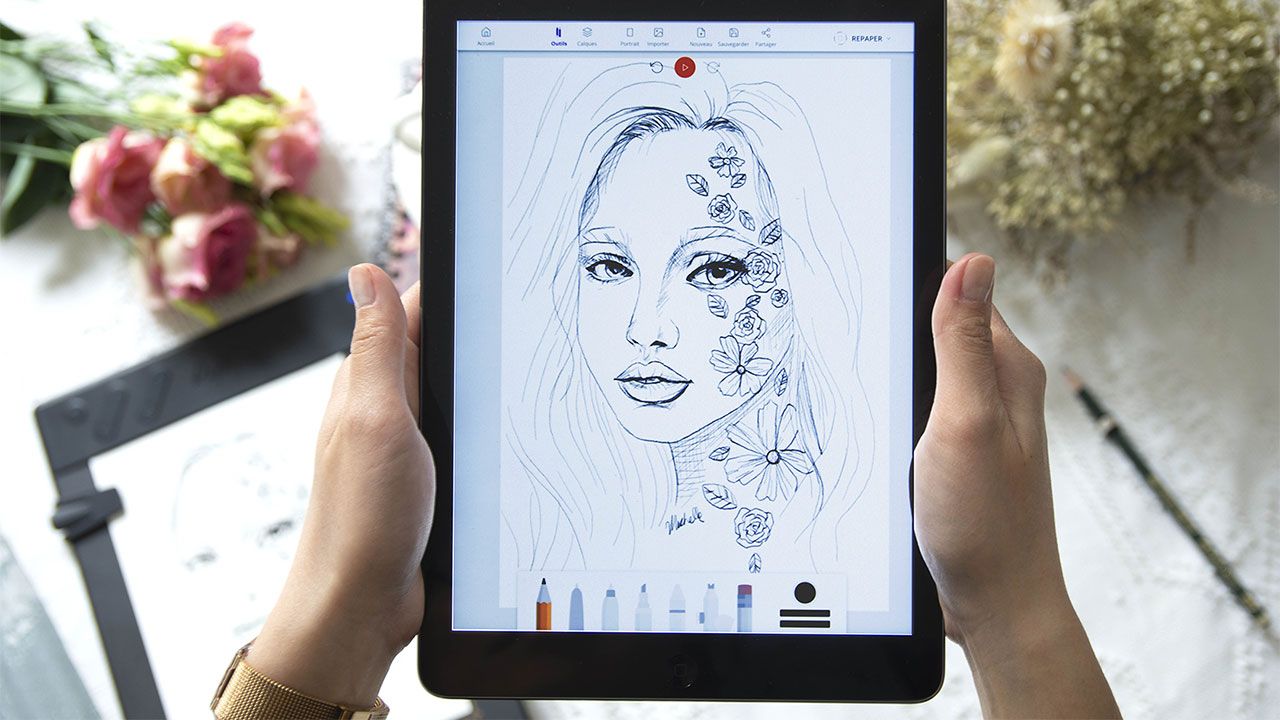
Your sketch is finally ready, you now have an idea of the different elements of your portrait, but it is still vague and incomplete. Whether you are drawing a realistic portrait or an illustration such as a manga face or a cartoon character, details are important to give a finished look to your work. Beginner drawers will naturally tend to make the general outline of the head before dealing with the details in the center. However, this is a mistake that should not be made if you want to have a satisfactory rendering, and, on the contrary, it is strongly advised to focus on the central details like both eyes. Indeed, even if each part of the face is important, starting with the eyes is an interesting option to exploit, this being the most striking element in a portrait. We can see it on famous portraits such as the Mona Lisa or the Girl with a Pearl, whose eyes catch the attention at first glance. Finally, refine your drawing, without hesitating to erase imperfections, to make your portrait more expressive and bring a certain realism to it. The eyebrows, the chin, the lips, the hair or even the expression lines... Focus on the details so that the final result is alive for the person who observes it.

Managing shadow effects.
For realistic portraits, comics, manga, or any type of illustration, shadows are an important aspect of a portrait, and they should not be neglected by designers, no matter how they draw. Shadows add many nuances to face expressions, and make your subject stand out and appear more lively. Start by defining your shadow areas roughly, and then refine them by gradually contrasting the areas you want to be more prominent without forgetting to blend them in. Using a pastel pencil to create shadows can be a great way to give a cleaner look to your finish.
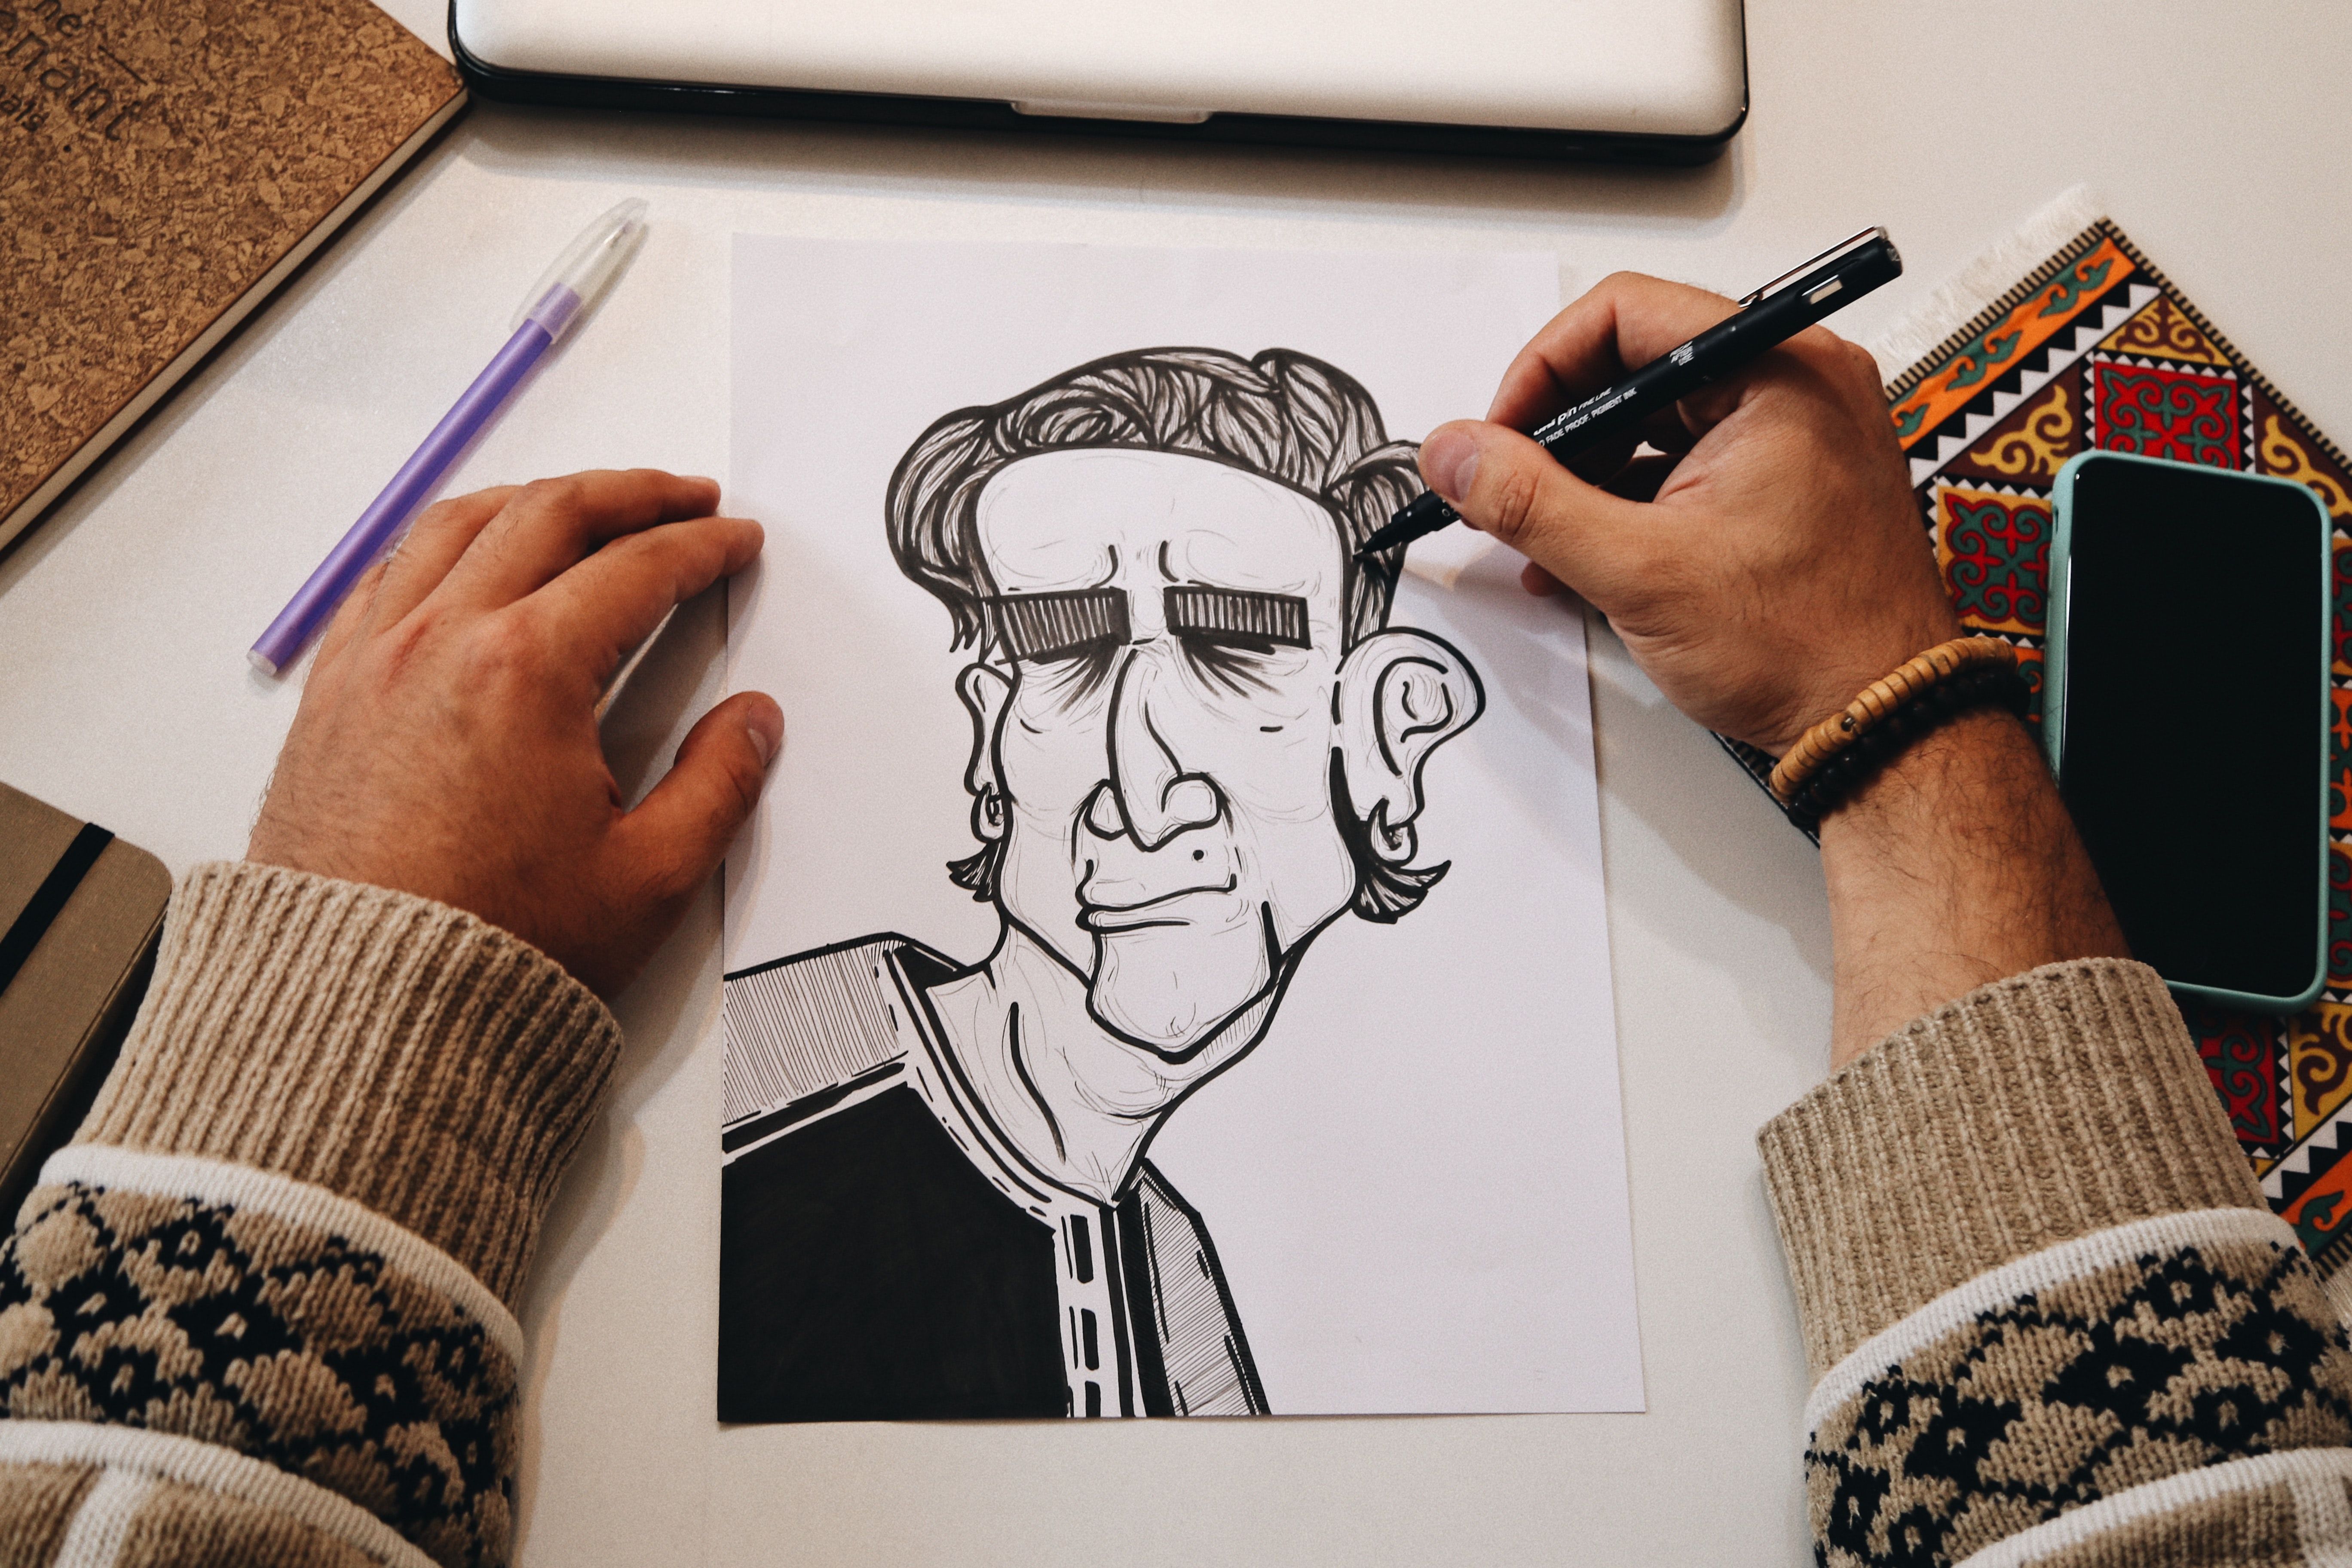
Inking the portrait sketch.
Inking is another drawing technique used by illustrators to finalize their drawings. It can be found in particular in the world of comics or illustration. Since inking does not allow for gradations on the shadow effects, as could be done with a traditional graphite pencil, it is necessary to be able to render the volumes and the lively side of the portrait only with a black-and-white work, thanks to the vertical and horizontal lines drawn with your black felt pen. The portraitist will have to make regular hatching to stylize his sketch and obtain a result presenting contours, shadows, light and volumes with a unique color and contrast.
To achieve quality inking, it is necessary to choose the right brush, with the right settings in your software, and it is advisable to try it out beforehand by making strokes in different ways to adapt to it and to learn how to manage the pressure and inclination of your new tool. In the same way, the stylus you use will be important in order to get the right feeling when you ink your portrait. This is even more true with a drawing tablet that offers you to ink your face drawing directly on your paper. That's why ISKN offers a pen in its Repaper application that is adapted to inking so that the result is as good as you expect. If you're worried about damaging your sketch, or if you want to work with different finishing styles from the same sketch, you can also use your stylus, and use the Repaper as a drawing tablet without a screen. This way, you can simply add a new layer over your sketch layer in your software and try your hand at inking without messing up your sketch. Many inking techniques exist and multiple tutorials are available to learn how to draw with this technique and get creative results with simple and stunning drawings.

Carry out coloring.
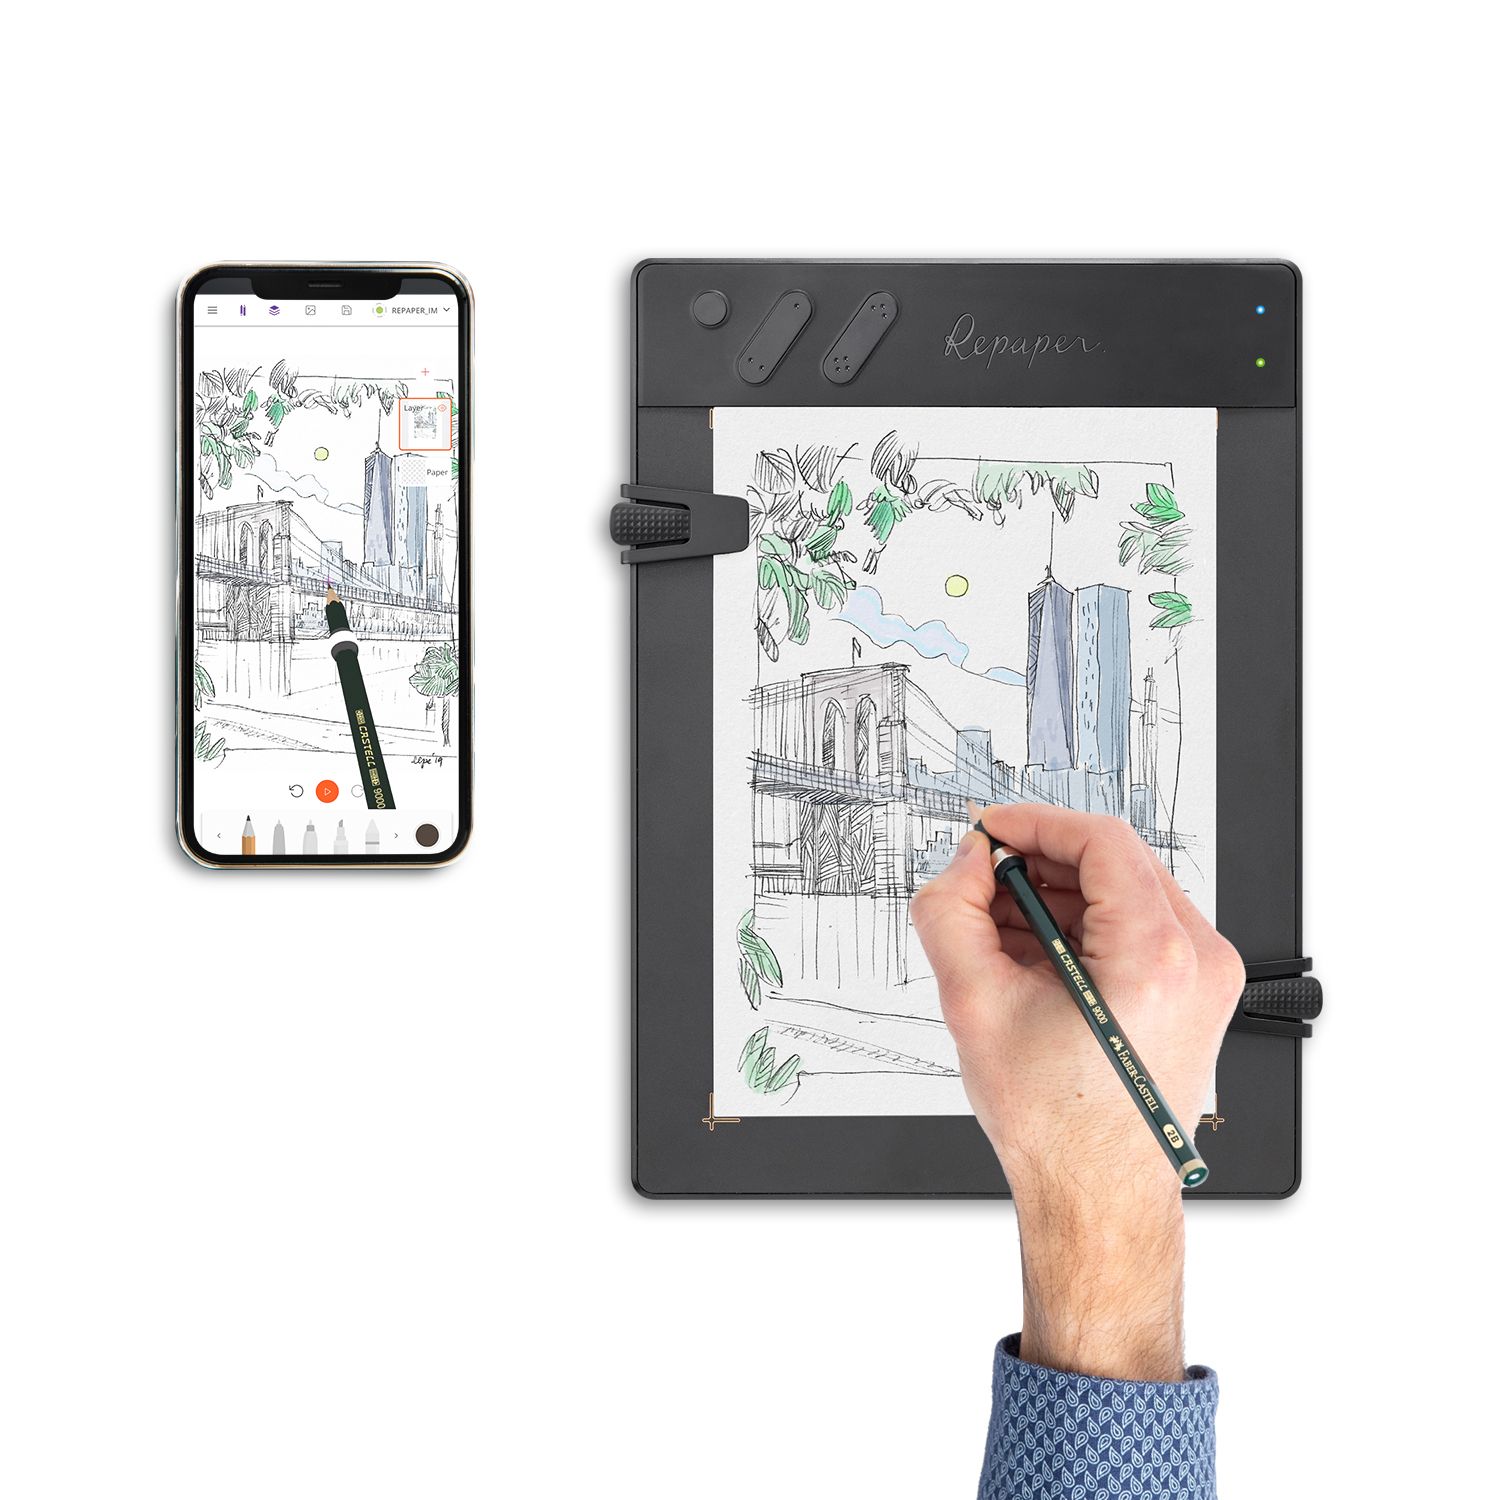
Coloring is the last step of your drawing. Even if not compulsory, it can really add value to your work, especially when drawing animation characters, a caricature portrait or for a manga drawing. In order to color your drawing properly, we can only advise the beginner to apply a new layer on his drawing software, and to take a stylus adapted for drawing tablet. The software color palette is, in fact, much more extensive than the material you might have at home, and it would be a shame to do without it. After choosing the right digital pencil on your software, such as a felt-tip, charcoal or pastel, each of which gives a different rendering, find your shade and the ideal value for each part you wish to colorize. Don't forget that managing the saturation of your colors can make your drawing vary completely. A strong saturation can quickly bring out the lip, the jaw, the nose...and give dynamism to your drawing. However, this often makes the drawing indigestible for the observer. A low saturation on the contrary, will give a very comfortable drawing to the eye, but can quickly make it a bland and unattractive work. It is up to you to find the right hues and settings by practicing and repeating over and over. It is therefore preferable, especially when you are learning to draw, to start coloring a simple drawing, without too much detail to find the right colors for each part of the portrait you want to make. This will allow you to use better color options on more detailed work later.

In short, to draw a portrait.
In this tutorial, we have seen that when it comes to quickly drawing a face, front or three-quarter drawing, it is best to arm yourself with the right tools to gain time and precision. The graphic tablet can be a great ally, especially for coloring, or for beginners who don't know the basics of drawing and want to use layers to practice after making a proper sketch. Practice, and thanks to the different tips we have mentioned, you will manage to make realistic and detailed portraits, in all drawing styles.
Discover more

How to draw a character?
Learning how to draw a character is something that may seem obvious, but beginners are often faced with a disappointing result when they start not to copy a model, but to make their own creation.

How to draw in 3D or in perspective?
Discover how to draw in three dimensions, and explore the different techniques used for 3D perspectives.
How to draw caricatures: techniques for creating humorous drawings.
From the history of caricature, to the tricks to make them, discover the specificities of this particular art to draw your most beautiful caricature.
Newsletter
Keep up to date with iskn news and events