
How to draw a character?
Learning how to draw a character is something that may seem obvious, but beginners are often faced with a disappointing result when they start not to copy a model, but to make their own creation. Not getting lost in the details and learning to unlearn are the keys to success in drawing a character easily, and using the right materials can also make the task of the designer easier.
Prepare your equipment.
Traditional or digital drawing?
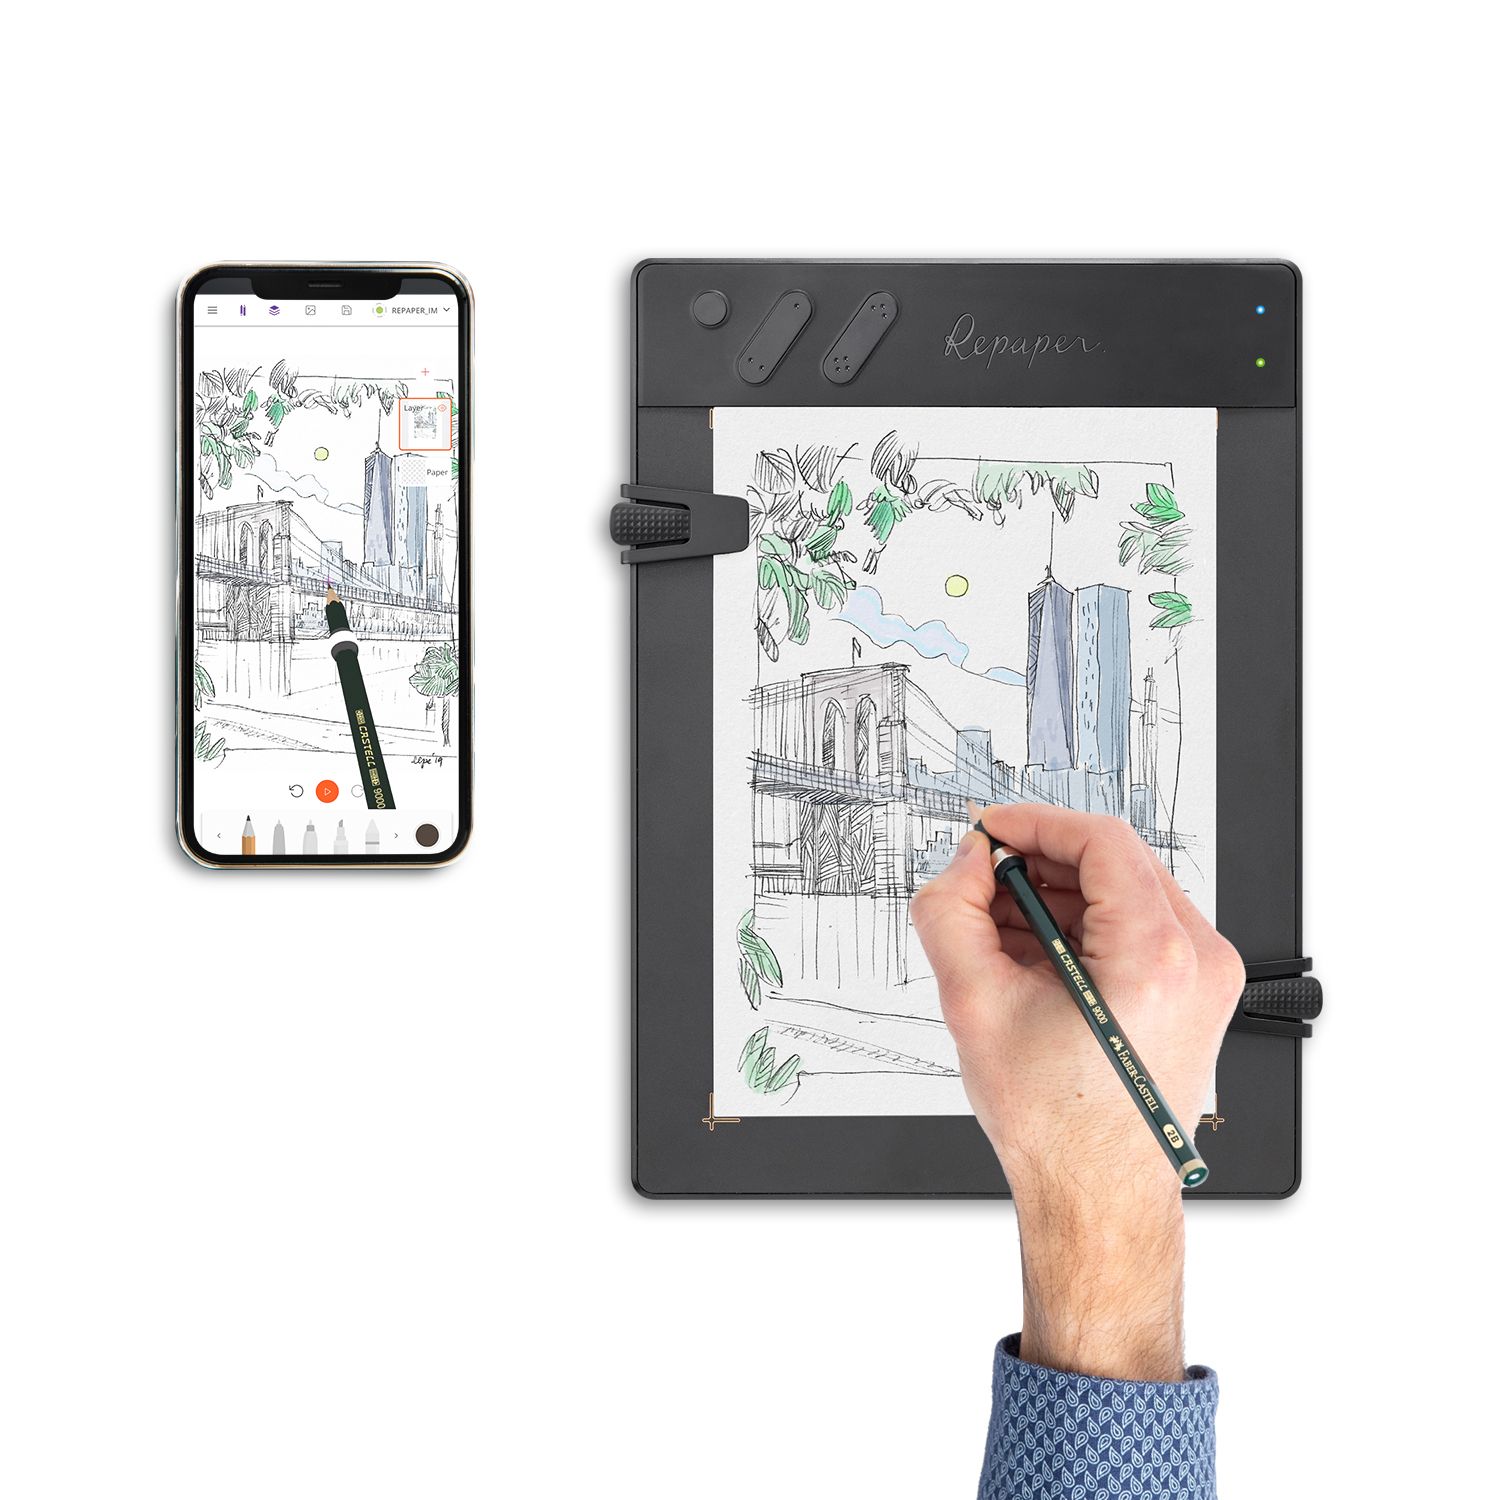
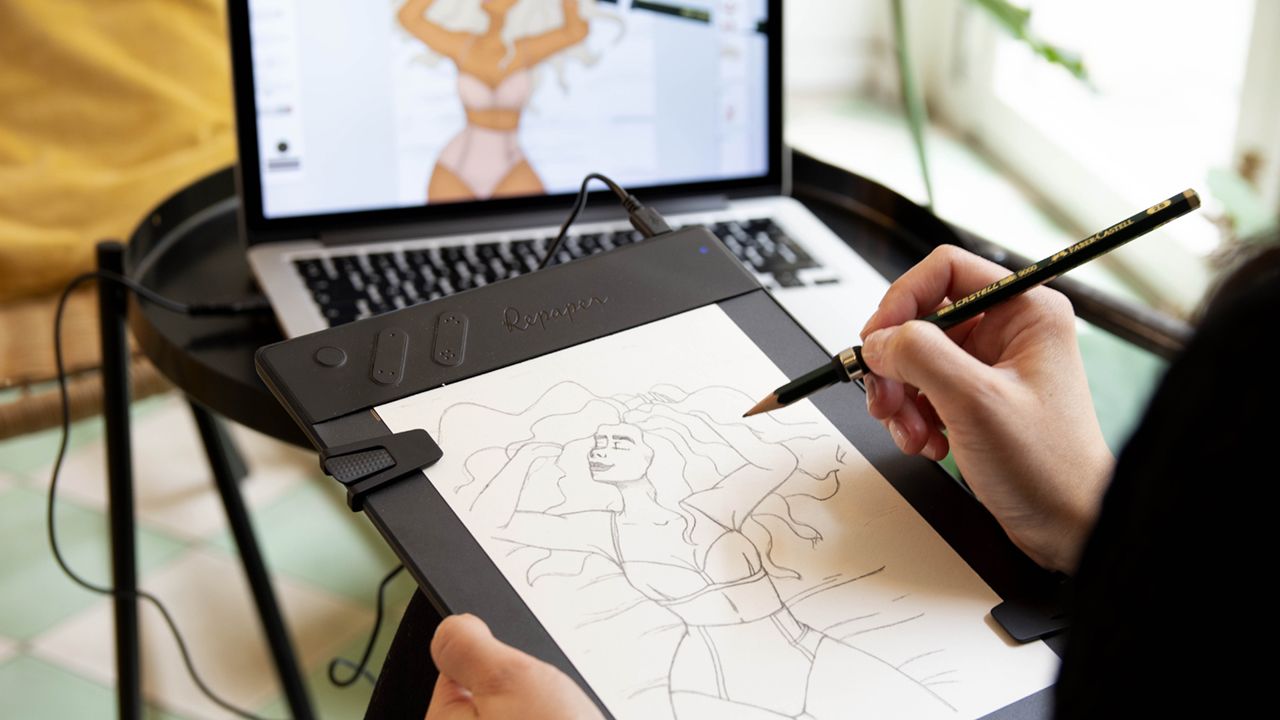
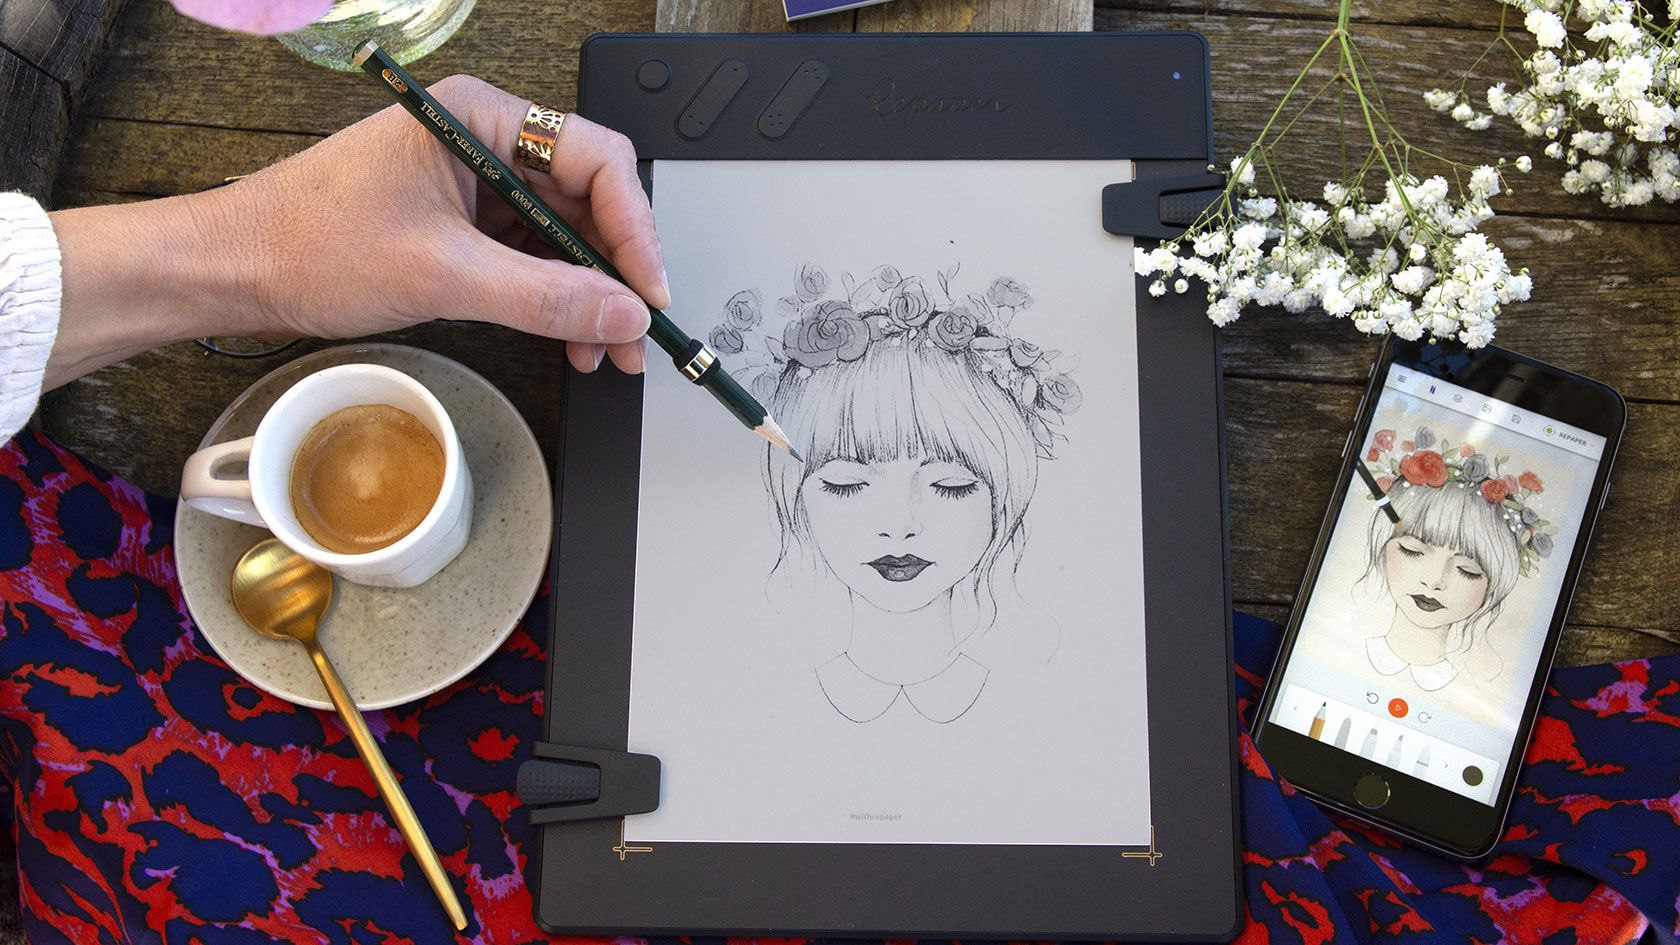
When learning to draw a character, one may wonder what equipment to use. On the one hand, traditional drawing is more natural, and learning to draw in this way, without having to worry about hand-eye coordination, between the graphics tablet and the computer screen, is a real advantage when you already have to concentrate on getting your drawing right, and learn the basics in order to be able to make a neat sketch. On the other hand, the combination of the drawing tablet and the drawing software is a real plus when learning to draw. The shortcuts of the stylus or tablet, as well as the options offered by the software, make it possible to work more efficiently, to easily go back to your mistakes, and to save your work. If you don't know what to choose, using a tablet scanner can be the solution. As with the ISKN Repaper tablet, you can place a sheet of paper directly on the tablet's work surface, and after installing a magnetic ring around your favorite pencil, you draw as you would traditionally, with the same feel, while taking advantage of the multiple options of the drawing software. Using this type of tablet as a standard graphic tablet also allows you, thanks to a digital pen, to ink and color your sketches without making mistakes, and with less equipment than traditional inking or coloring.

The computer should not be an obstacle to creation.
Unlike what you might think when learning to draw, the computer can be a great ally if you are well equipped. As we have seen, the scanner tablet is already a solution to learn in a natural way, without the need for long tutorials to manage your hand-eye coordination, besides it allows you to save time by reproducing your work in parallel on the drawing software. We mentioned coloring and inking, which, when you are not used to them, can be a real headache if you don't want to mess up your sketch. The use of felt pens is irreversible on paper, but the drawing tablet brings you a real solution to this problem in case of error during your creation. After having made your sketch on paper, use the appropriate pen, and by using a new layer on your graphic software, make your inking or colorization without worrying about making mistakes. You can undo a missed line with a simple press on the pen, and redo as many times as necessary until you get the expected result, all without damaging your basic sketch. Moreover, when drawing a character, the drawing tablet and the layer management are once again a precious help, as soon as you want to draw characters in complicated postures. By taking a reference photo from the Internet, you can easily use a new layer on top of the photo to redraw the segments of the different body parts, as explained in the following sections, and draw directly on it afterwards. In this way, you will save a considerable amount of time when working on the postures of your character.

Simply draw the basics of the character.
Get back to basics.
When learning how to draw characters, beginners are quickly tempted to go into details by focusing first on the clothes and faces. This is a mistake not to be made, and learning how to draw a character correctly means going back to the basics of drawing. To make a character, which will look realistic in the end, the beginner artist must first focus on the anatomy, making a sketch with simple shapes. Making a stick figure, even though it may seem like a very childish method, is very effective in getting the right proportions of your future character, and thus being able to draw easily afterwards. With horizontal and vertical segments forming the skeleton, you can easily sketch the different parts of the human body, such as the spine, the pelvis, the arms and forearms, the leg bones, and of course the upper body with the head, neck and shoulders. These geometric shapes will be perfect for drawing the rest of your sketch.

Add the joints and define the moving sections.
Once your first simple drawing is done, it's time to embellish it with articulations and potentially moving sections. Drawing these elements does not require any special drawing techniques, and this way of drawing is regularly used by illustrators and 3D animators. To do this, it's very simple, just add small circles, all of the same size, to the intersection between each stick you may have sketched before. This should correspond to the natural joints where the different parts of the body are mobile. Similarly, the spine and neck are made up of multiple sections that make the whole thing flexible. Then add small horizontal lines along both of these elements to show that they can offer movement afterwards, unlike the other bones, which are entirely rigid.
Create the overall shapes of the body.
If so far your character drawing is more the work of a 3 year old than a realistic drawing, it's time to change that by adding the body shapes around your base. Drawing the human body with simple sticks is not without meaning. They make it easier to see the proportions and perspective of your drawing. This avoids that, when drawing the body shapes, your sketch is completely deformed. To draw these quickly, it is again very easy: you need to add a cylinder around each stick to give it a volume effect. To do this, simply draw two ellipses on either side of each stick (with the stick passing through the center of the oval), and join them with two straight segments to form the cylinder. This is where perspective and proportion really take shape. For example, drawing a pond usually requires a larger ellipse at the top than at the bottom. Similarly, if you want to achieve a perspective effect, the closer the body part, the larger the cylinder, and vice versa. There are different body parts to sketch in this way: the chest, pelvis, abdomen, arms and forearms, legs in two parts, and the head represented by a simple circle. The hands and feet are less important at first, and can be drawn later.

Make more complex characters.
Look for and create poses.
After practicing simple drawings with a character often depicted from the front and without movement, you can repeat the same drawing technique, but with moving bodies. A simple method to learn how to draw postures easily is to find photo references on the Internet. Many artists use this technique for both objects and people. These will show you the position of each part of the human body in a particular position, which will make it much easier to draw the skeleton of your character. If you feel more comfortable with certain body movements, you can also create your character's own poses, but this requires rigorous training before you can make such drawings without your character being completely distorted.
Draw the skeleton.
Once you have found your posture reference, you can repeat the same drawing technique as for a simple drawing. The only difference will usually be in the curvature of the moving parts of your character (the spine and neck). Follow the curves of these sections of the human body, and repeat the same process. The sticks in the upper and lower limbs will also be in motion. Although they remain straight, these bones are not mobile, so they rotate around the joint to achieve the dynamic effect of the character's posture. They can also be more or less short depending on the perspective you will give them later.
Incorporate perspective.
When you want to create a character in a particular position, the perspective plays a big role in order for the drawing to be successful. It is at this point that when drawing the different cylinders, you must not neglect this aspect to give this effect of depth that will make your sketch as realistic as possible. The method remains the same as with a simple face position, the ovals at each end of the cylinder just need to be the right size, mixing proportion and depth. It is advisable at this point to practice several times on the same posture, from A to Z, and to compare your different attempts in order to see the problems you may have encountered, as well as your progress.
Finish with the details.
Add the various detail elements.
If you have successfully completed your first sketch, all what is left is to add the details to your drawing. Start by drawing the hands and feet roughly, then draw the main features of the face and hair. Follow with the clothing, accessories, and adjust the details of each element. There is not one technique you should use for this part, it will depend on the style of drawing you want to do, and whether it's for cartoon or realistic drawing, you can use the basic character creation technique. Only your creativity and style will make the difference.
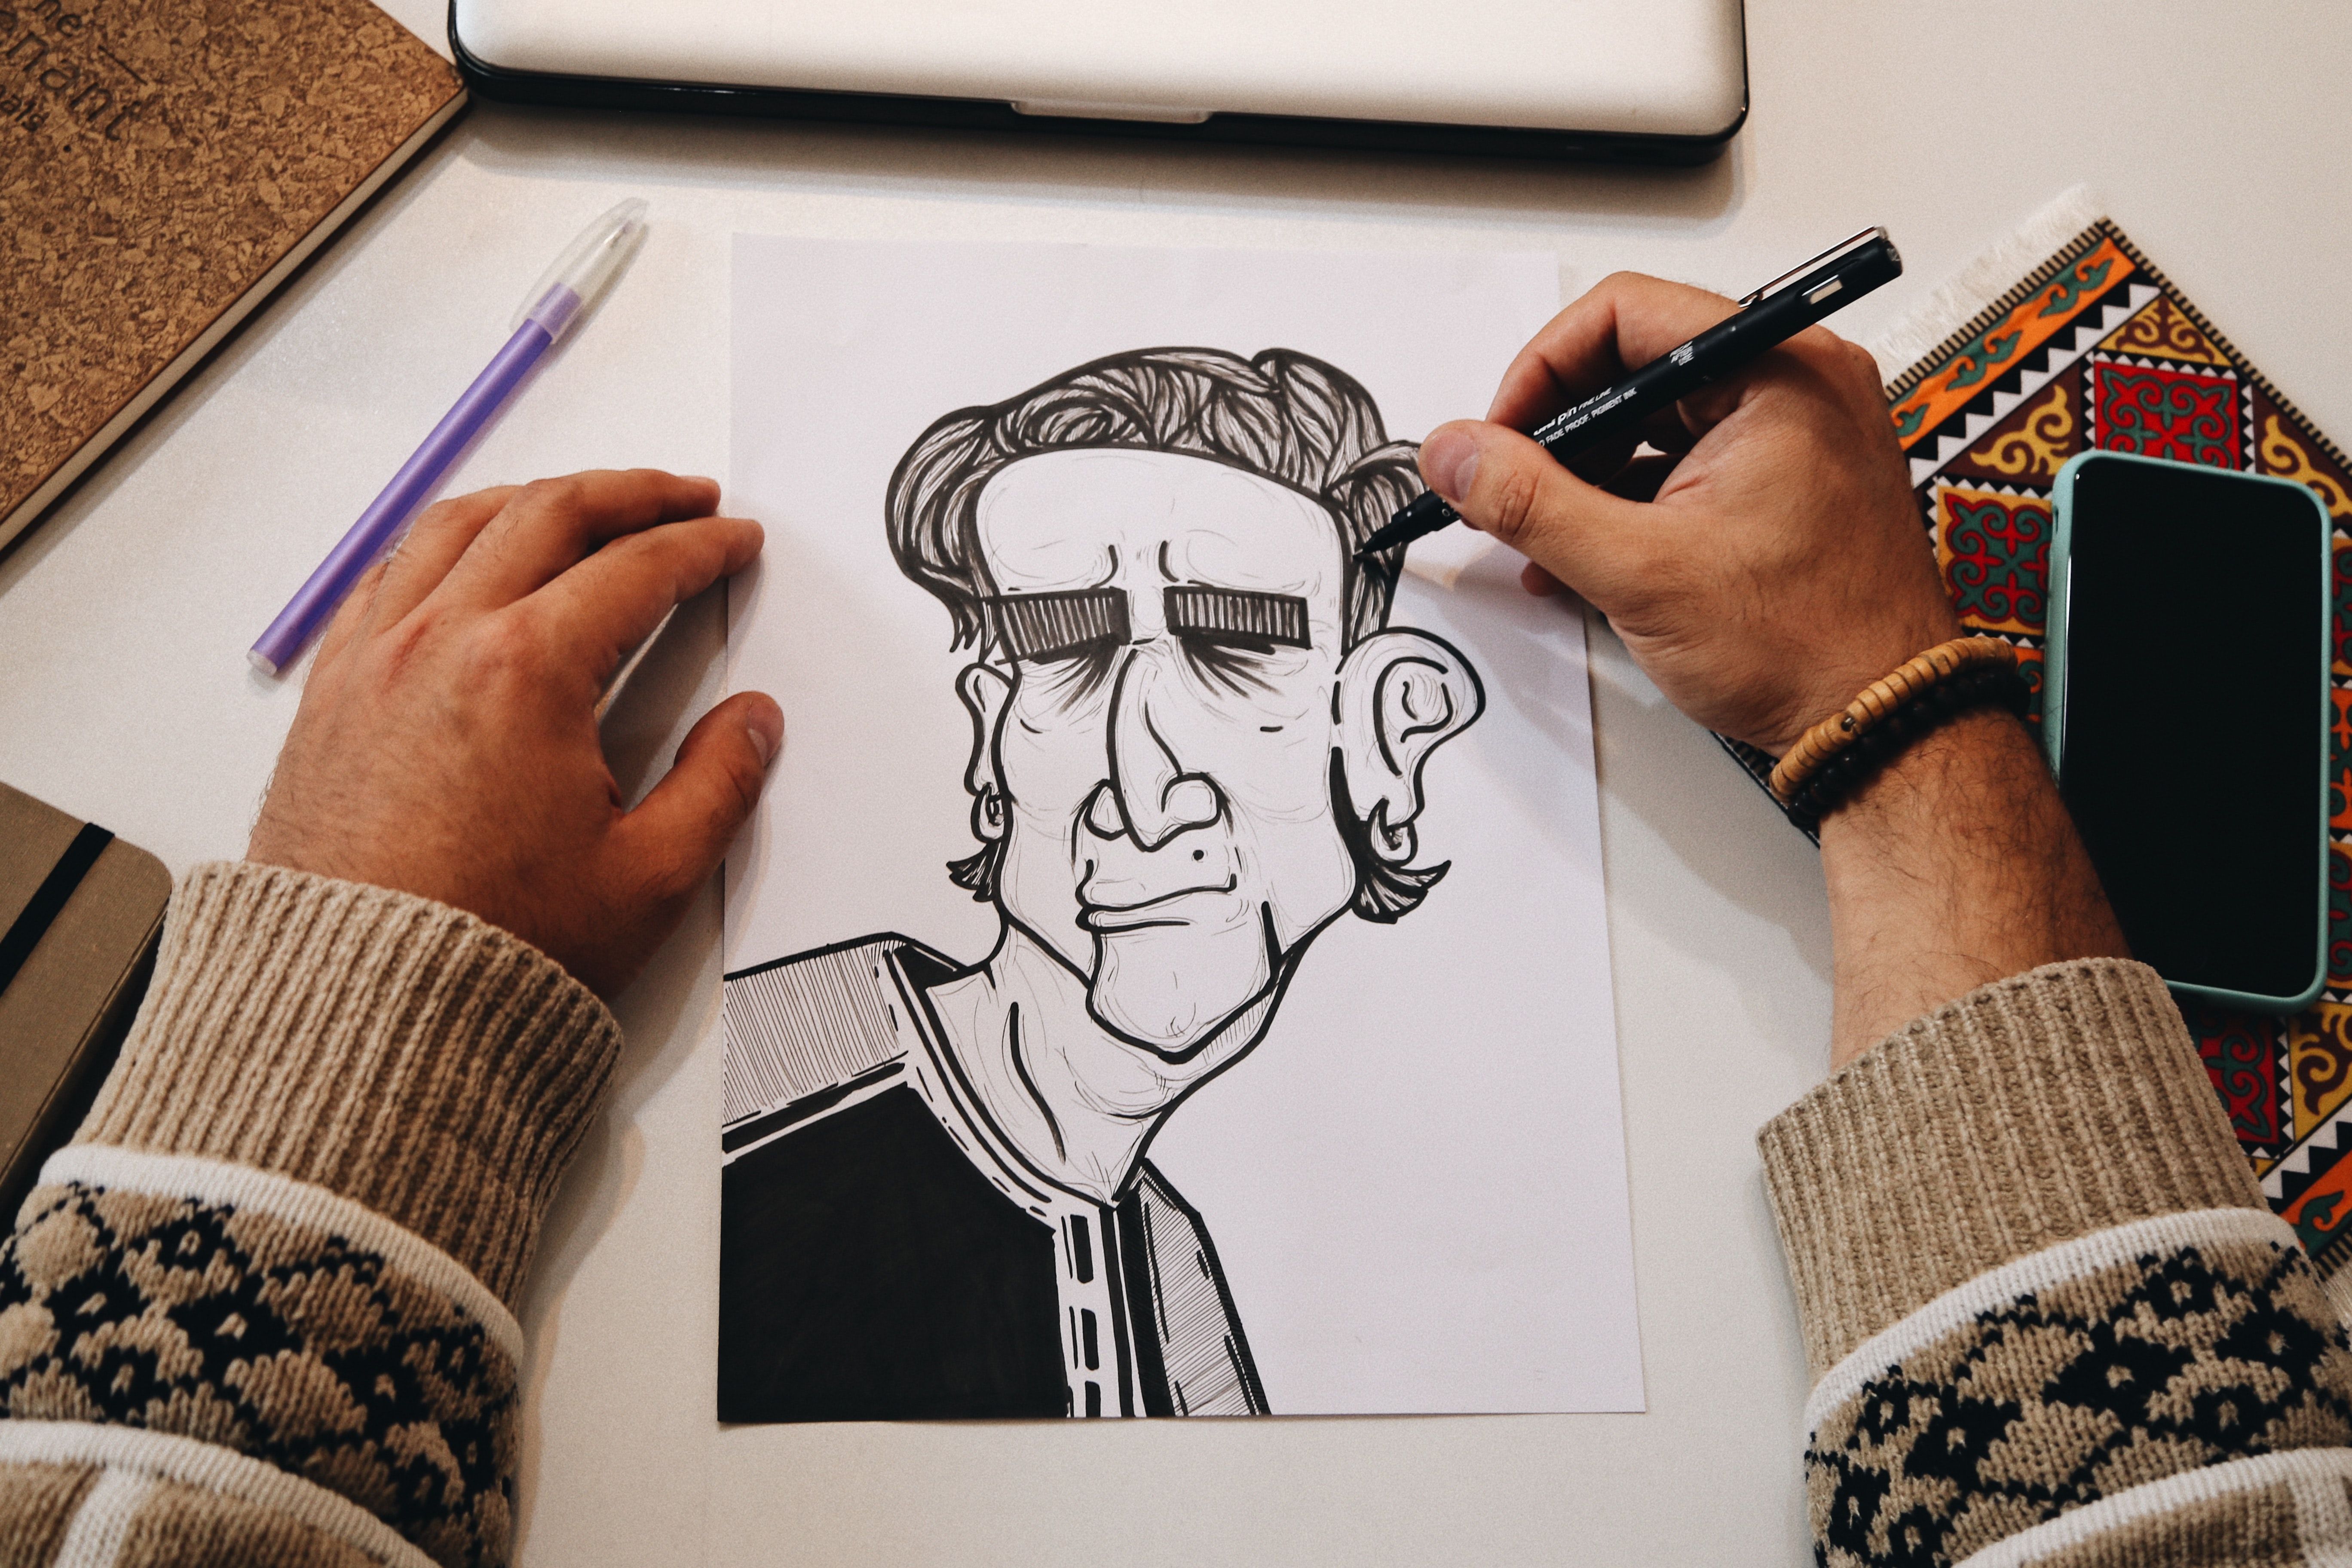
Ink your drawing.
If you are satisfied with your sketch, you can begin inking your drawing. Redraw the outlines and details you want to stand out with a black marker. The purpose of inking is to clean up your sketch (often made up of a multitude of small lines), so that it is not too heavy to look at and becomes pleasing to the eye and easy to analyze. If you want to keep your drawing in black and white, this is also the time to hatch your drawing in certain places to indicate areas of shadow and light.

Color your character.
If you wish, although this step is not mandatory, you can also color your character. This will give it a dynamic look, and with the variation of shades, you can easily add the shadows making your drawing more alive. Always start by choosing the main shade, and then add the shadow and light effects afterwards by taking the eyedropper to select the color and change it slightly (darker or lighter), selecting different brushes for a more natural look.
Drawing a character takes practice.
Although it may seem simple, drawing a character requires a method, which does not require years of drawing experience, but must be followed step by step to obtain a satisfactory result. If the drawing tablet can be a precious help when you start to make more technical drawings, practice will be your best ally in order to see your drawings improve from trial to trial.

Discover more
How to draw a portrait? Easy Tips and Tools for Beginners
How to draw a face? How to draw it with ease and with the right tools? Knowing how to draw a portrait is not easy and these are questions that the beginner illustrator quickly asks himself.
How to draw caricatures: techniques for creating humorous drawings.
From the history of caricature, to the tricks to make them, discover the specificities of this particular art to draw your most beautiful caricature.
How to create a Manga? Tools, Techniques, and Digital Mastery
Manga has been popularized all over the world through mythical works such as Dragon Ball, One-Piece or Naruto, and many beginners want to learn drawing in order to create their own Japanese comic books.
Newsletter
Keep up to date with iskn news and events