How to print digital drawings?
As soon as you start making a lot of drawings, it can be interesting to make prints, either to put them on a whole variety of different mediums, to exhibit them, to make communication, to illustrate books and magazines, or simply to keep memories in photo printing format, or even to make printed T-shirts for example. Many events can lead you to print your drawings, and if traditional printing on a classic digital printer can allow you to keep a souvenir, going through more professional printing solutions will be essential for anyone who wants to make copies in large quantities, or for small series of excellent quality prints.
What equipment do I need to print my digital designs?
A software to set up the printing of your work.
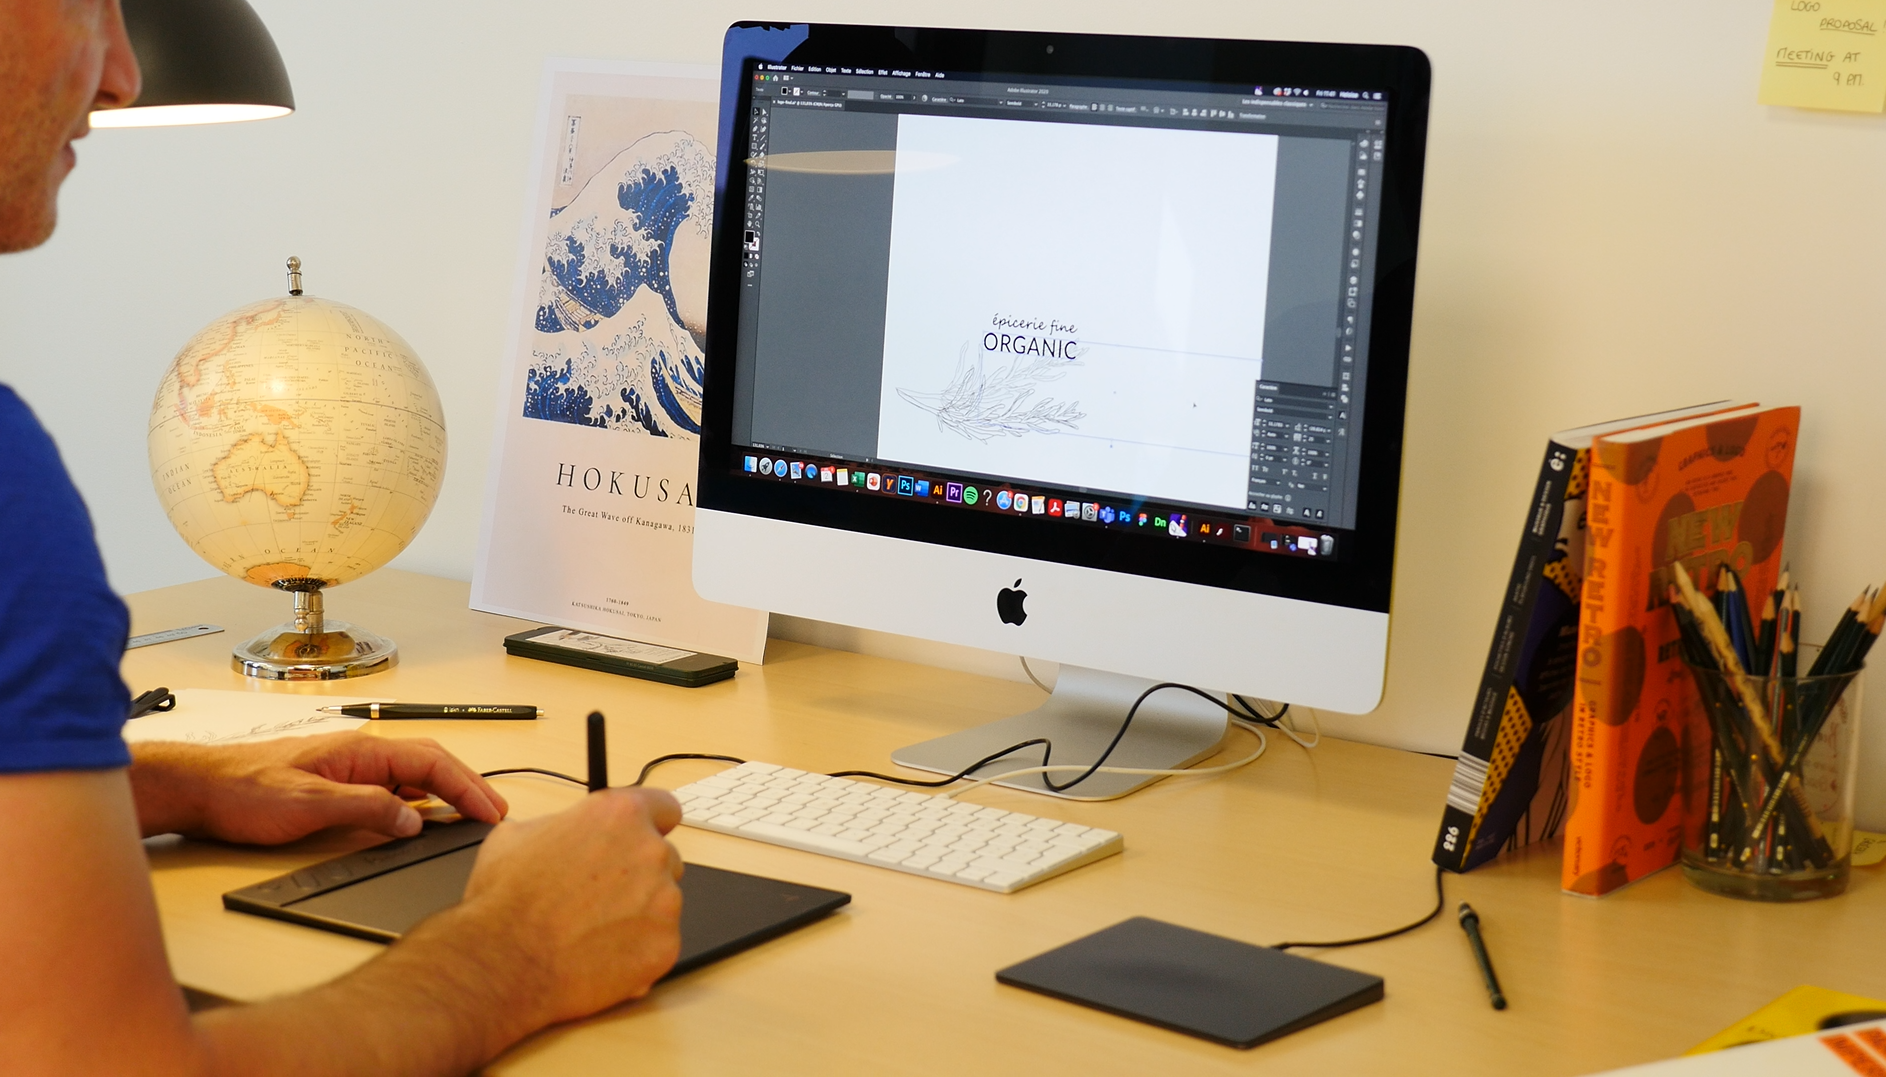
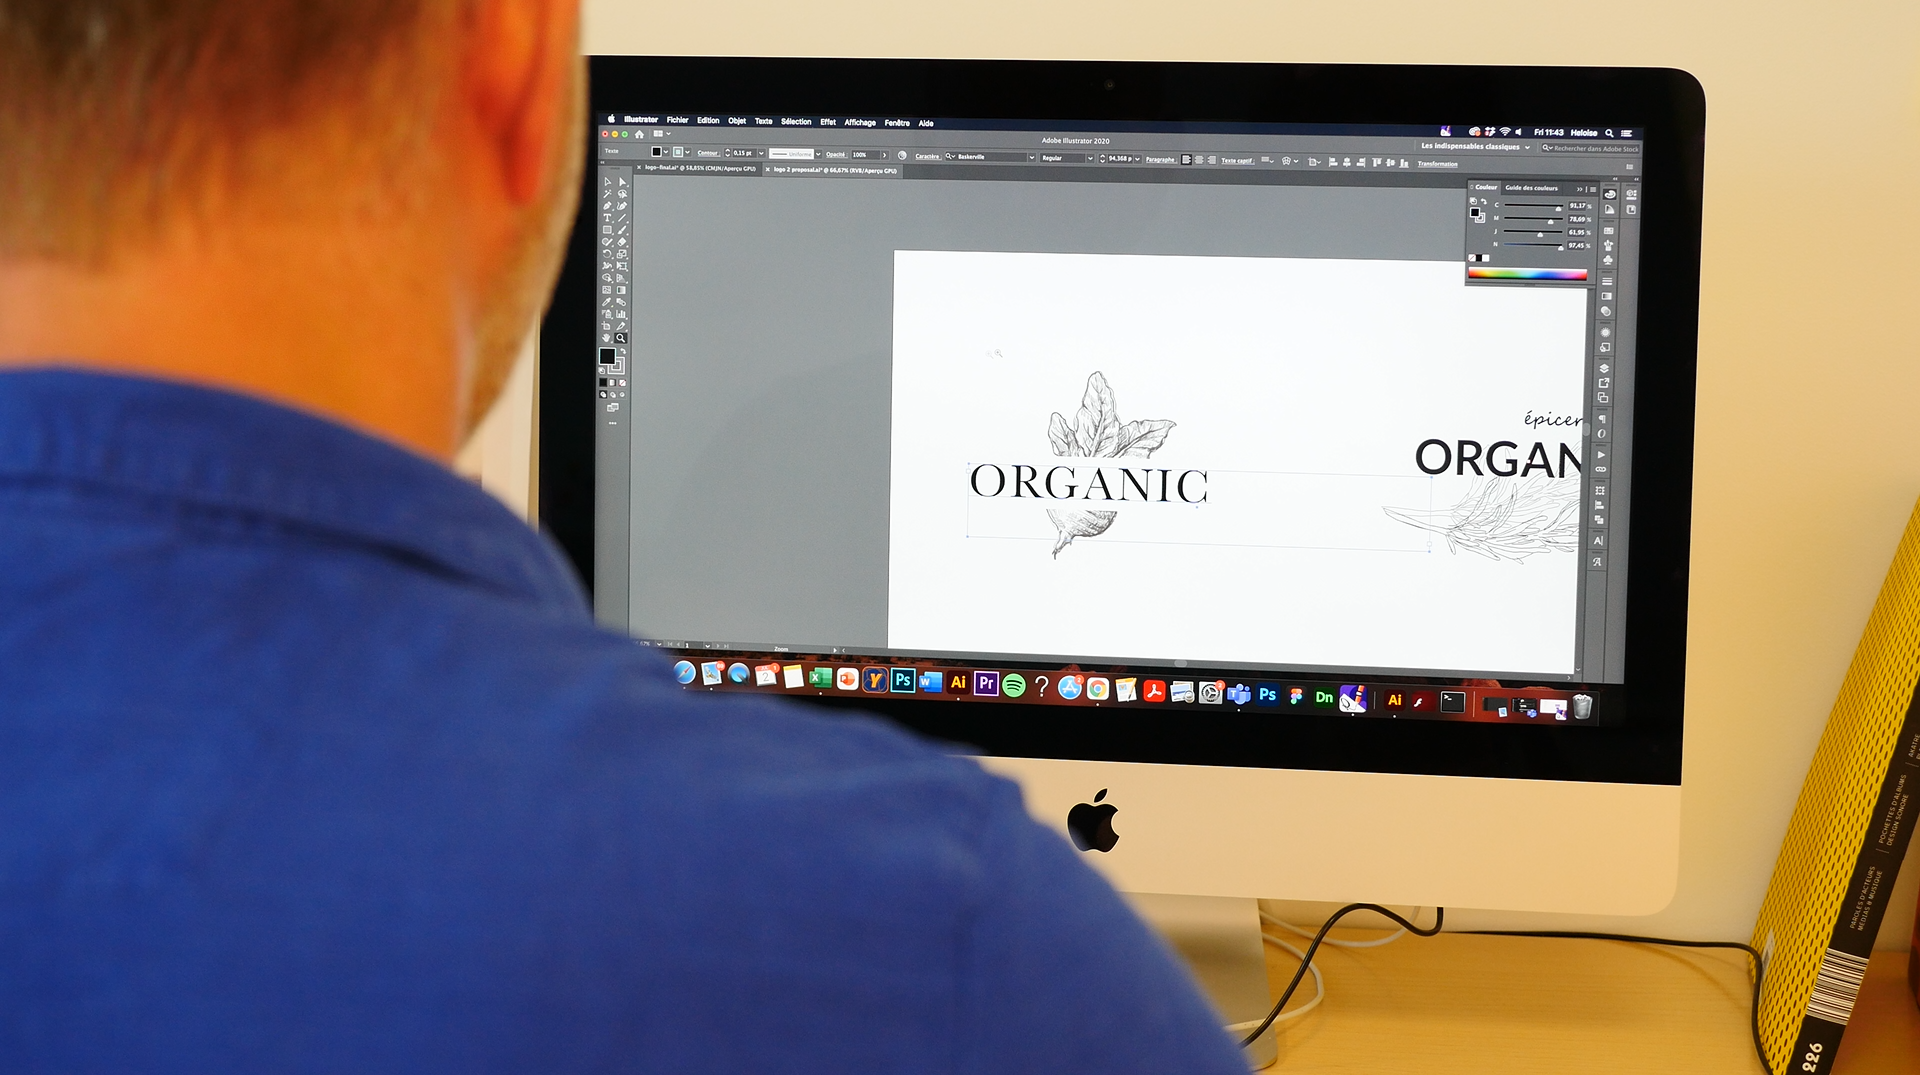
In addition to providing the necessary tools to draw efficiently, graphics software allows you to adjust all the parameters essential to a good print. Whether it is via the Adobe suite, with Photoshop, Illustrator or Indesign, graphics software such as Krita or Corel Draw, or even with free software such as Gimp or Inskcape, they all offer options for adjusting the resolution of your image, or resampling it to make enlargements. It only remains for you to choose the ideal software according to what you want to achieve, depending on your habits and the tools offered. You will have the choice between vector software for illustration or animations, or raster software for pixel-based drawings.
A scanner to make prints of your notebook drawings.
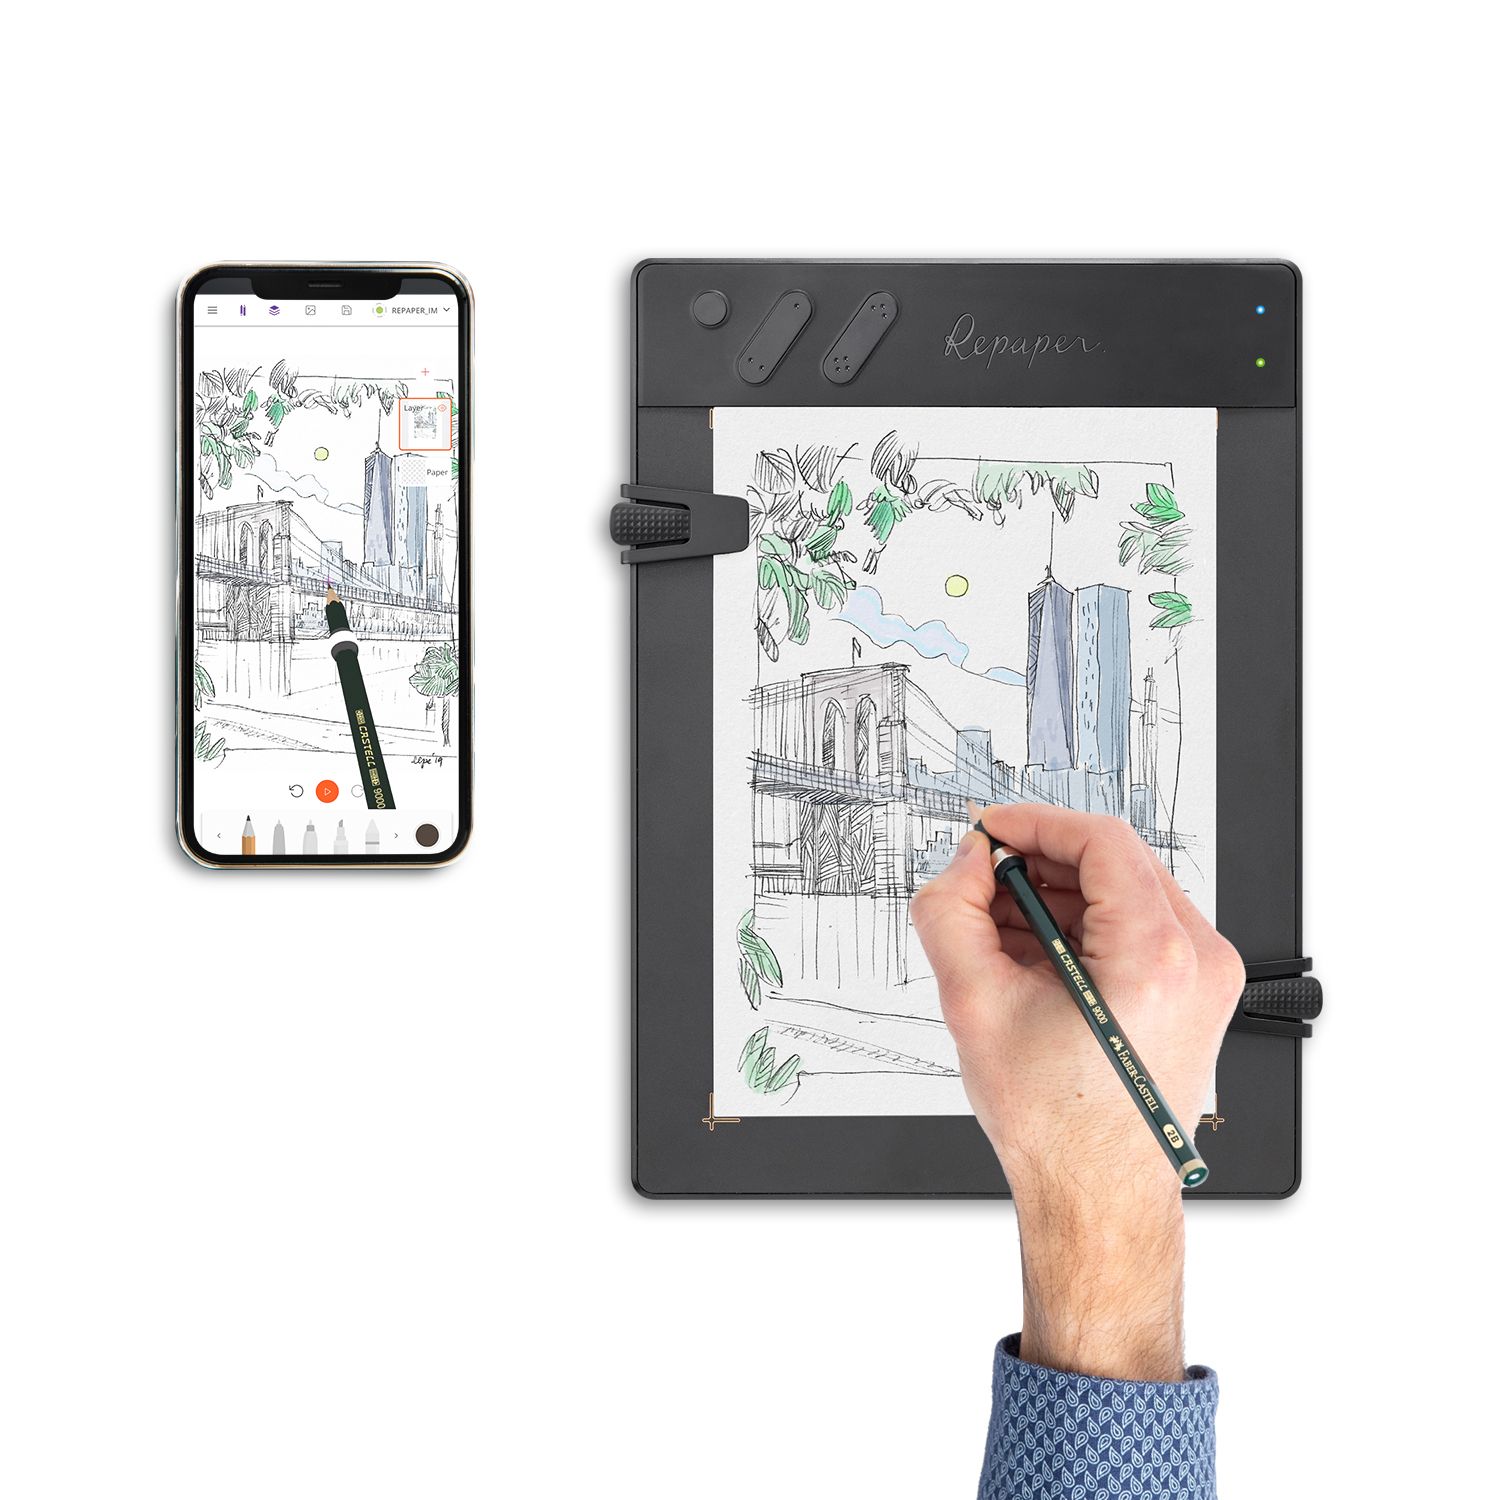
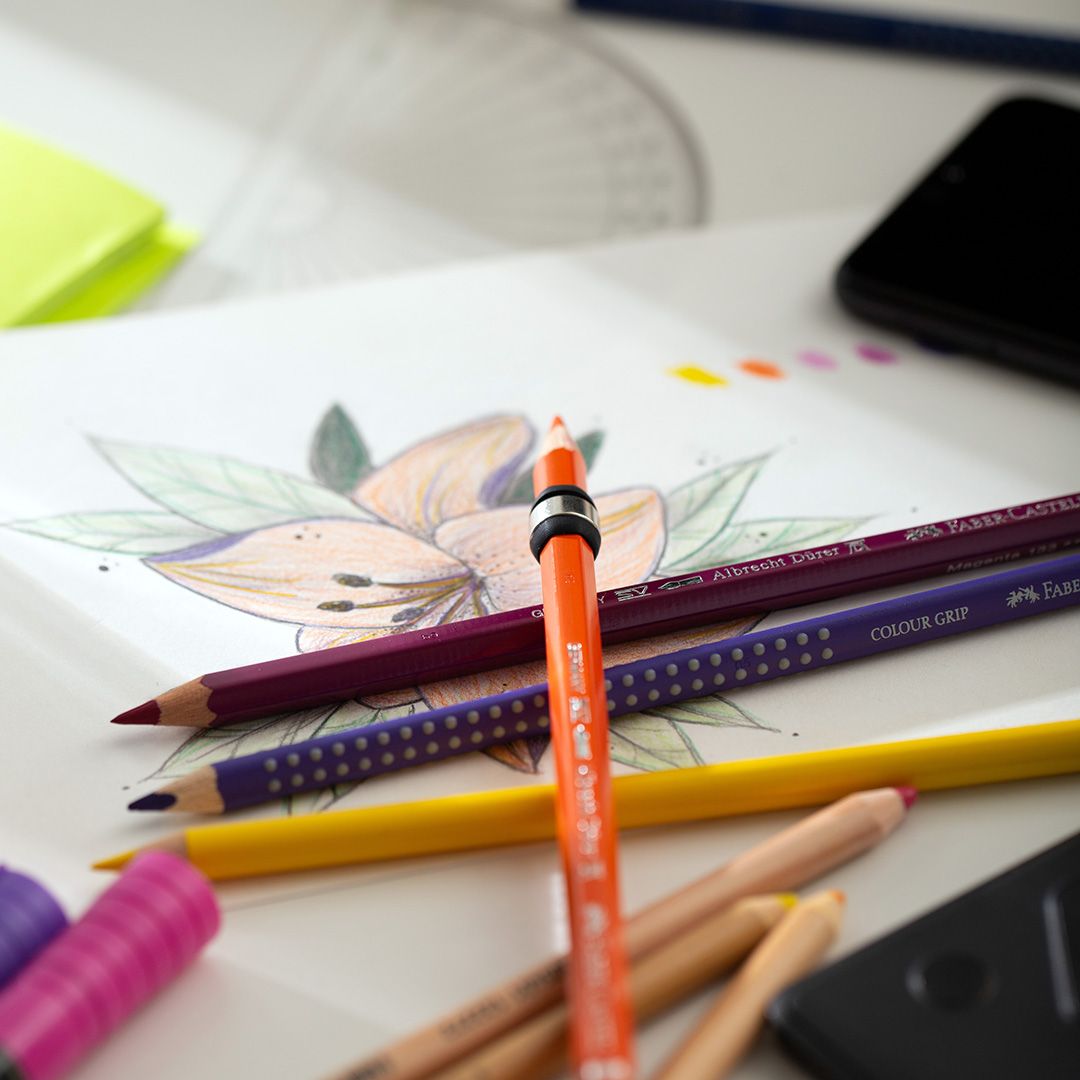
Paper drawing enthusiasts may also need to digitize their work to make prints, whether for sale, or to create communication tools, such as books or comics. There are several solutions to meet their expectations. The first is to use a scanner. It allows you to digitize in high definition the paper drawings you could make, but you will have to select a good digitizing device, in order to obtain a sufficient resolution when transforming your classic drawing into a digital one. All you have to do then is to set up the device correctly with the compatible software, according to the desired size and resolution, and to integrate your drawing, now in digital format, into your favorite graphic design software in order to make the final touch-ups and to program the printing parameters. A second similar solution is to use an excellent digital SLR camera to take a picture of your design and retouch it in a graphics program. This solution is however relatively obsolete, because even if the quality can be excellent, it requires extremely precise lighting conditions and positioning of the camera. Moreover, these two solutions are not very convenient, as they require numerous retouches on the graphic software, in order to remove the small imperfections due to the digitization. It can be interesting, for designers who want to stay on paper, but have a digital format of their drawings, to have a hybrid graphics tablet, like the Repaper from ISKN, to mix the comfort of traditional drawing with the power of graphics software. By placing a sheet of paper directly on the work area of the graphic tablet, and installing a magnetic ring that responds to the angle of the preferred pencil, it is possible to draw directly on paper, with traditional tools, while having the drawing materialize directly on the graphic software, with the selected digital tools. This saves time, scanning the drawings is no longer necessary, and the resolution of the image is already prepared beforehand. No need for resampling or retouching, with a graphic tablet scanner everything is effective in a single stroke of the pen.

A good printer for home printing.
A good printing equipment is essential to obtain a colorimetric rendering and inking precision for an excellent quality print. Among the different printing machines, you can opt for an inkjet printing machine, which will be able to accept papers with a greater thickness, and which will have a better control of the colors by its capacity to mix and accept pigment-based inks, much more effective for a quality rendering for works of art. Forget laser printers even if they have a much higher printing speed, as they are more adapted to black and white low quality prints.
Paper, ink and a suitable medium.
Consumables such as paper and inks used, as well as the different printing media on which your digital designs will be printed, are essential elements to take into account when making prints. In any case, it is advisable to choose a non-acidic paper in order to optimize the rendering of colors and to have a better durability of your work. In the same way, the choice of your ink will be essential for the various digital printing techniques. Two major solutions are available to you. If the inks with dyes allow you to have a sublimation of colors, and a time of drying much faster, the duration of behavior in time will be limited. If you are printing a work intended to be sold and kept over time, pigment-based inks are ideal. They are suitable for all types of media, and even if their marking seems less brilliant than an ink with dyes, their durability will be much more important. All you have to do is choose flexible or rigid supports in order to preserve or display your work after printing, and to show it off to everyone.
Why not go to a professional?
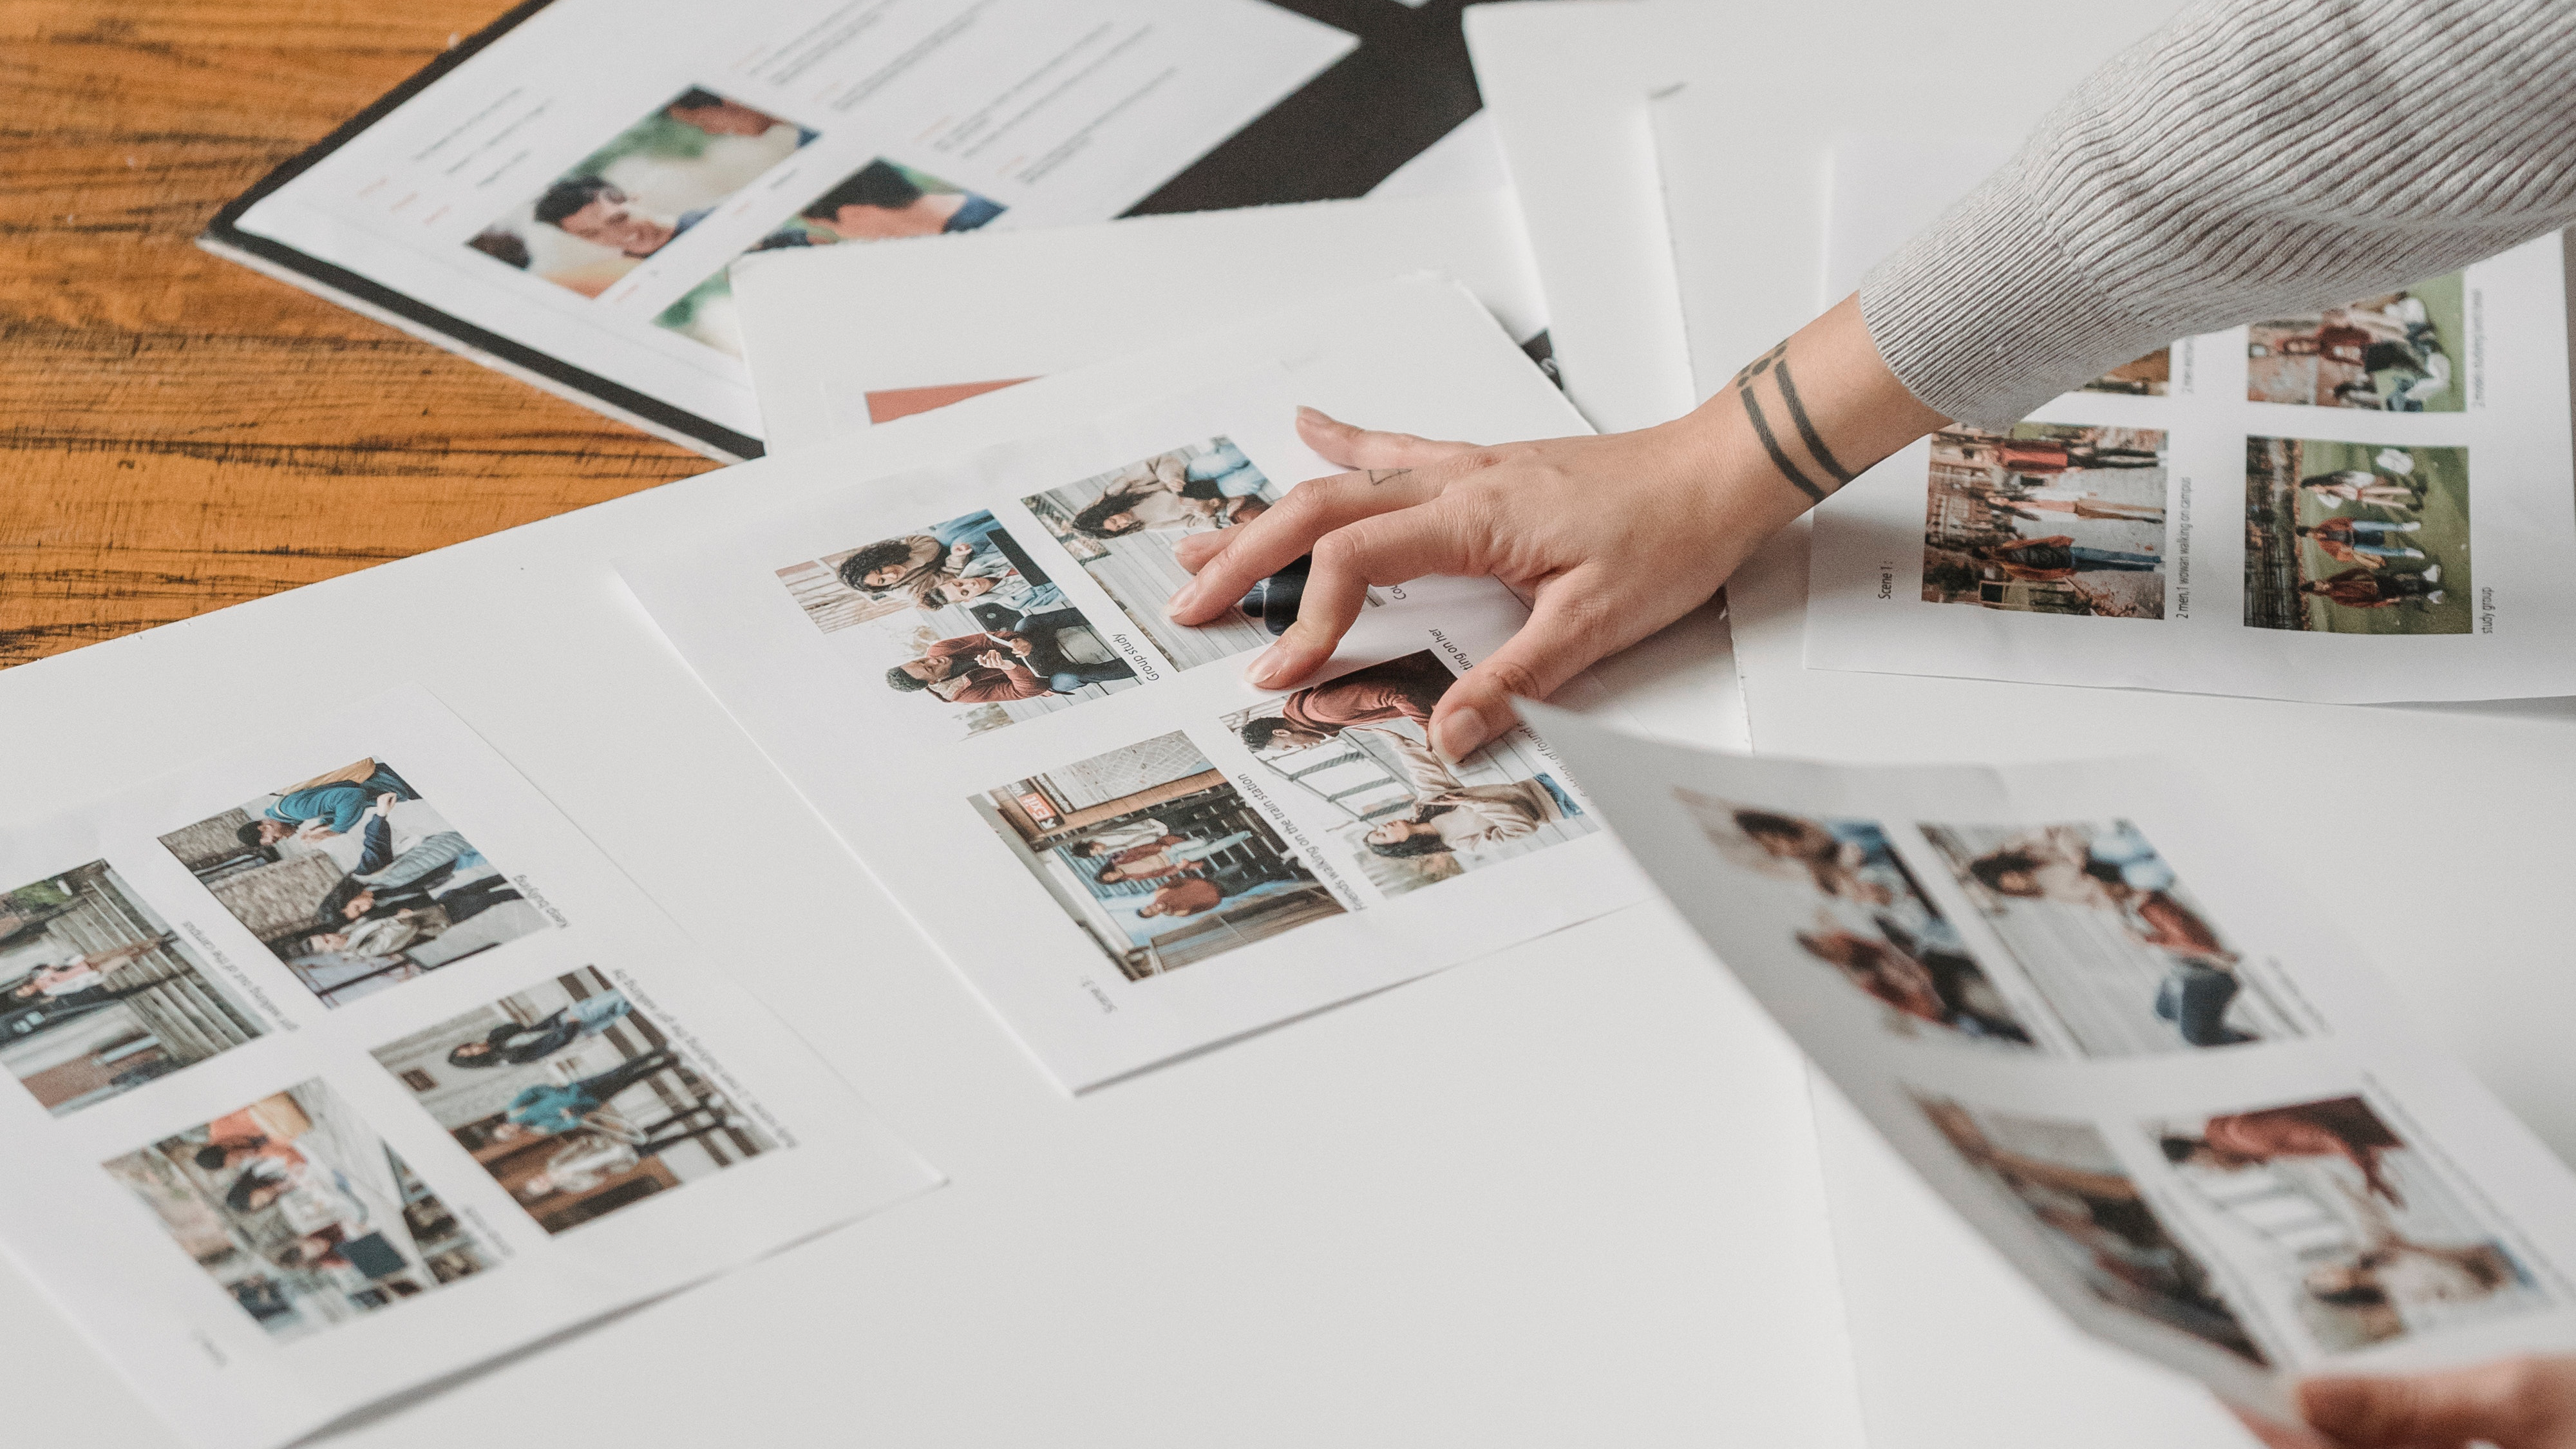
As we have seen, printing a work of art at home requires equipment that can be expensive, and whether it is for small quantities, or to make many prints, it can either be expensive in consumables, or make the investment unprofitable. It may then be worthwhile to go through a printer specialized in printing from digital files. A printing specialist can indeed offer you a wide range of services and finishes, thanks to its digital machines and its many latest generation printing machines, and thus allows you to make all types of projects, such as personalized communication materials, business cards, printed tarpaulins, posters, flyers, and even screen printing and flocking for those wishing to make textile printing. Similarly, in order to display or sell one or more of your digital designs, printers can provide you with excellent results for all graphic arts, using different direct printing techniques on various types of media. In order to have the expected quality, as well as a reactivity with any test, it will be necessary for you to provide to your professional a file perfectly configured, this one being completely based on what you will give to print directly on machines.

Essential tips for quality prints.
What is DPI?
The DPI (Dots Per Inch), or PPP in French (Point Par Pouce), is a unit of measurement to indicate the resolution of an image. It corresponds to the number of dots made by your printer in one inch, or for the screen, the number of pixels in one inch (we speak then of pixel per inch). The greater the number of dots, the higher the definition of your image and the better the print quality. It is then advised, in the parameters of the graphic software, to set your image in 300 DPI minimum, even in 400 DPI if you wish a print in very high resolution. If you turn to professional printers or to a print-on-demand shops, the minimum quality required by these companies will be 300 DPI for most of them. Be careful, the increase in DPI will often have the effect of reducing the size of your image in order to gain in resolution and sharpness, it will then be necessary to turn to resampling if you wish to carry out a large format digital printing
Think about resampling!
If it is initially advised to increase the resolution (dpi) without resampling, in order to rework at best digital drawings, when you want to make an enlargement for a large format printing, resampling your image is essential. Digital resampling allows you to print in a format suitable for all types of large format media. The principle of this digital technique is to add pixels, thanks to the artificial intelligence of the software, on small and medium-sized images, in order to enlarge them without losing resolution, thus in dpi. Very much used by advertisers in order to realize their visual communication, this technique allows to vary the format of printing of an image and proposes digital prints keeping at most the nuances of the original image. All you have to do is go to the resolution settings of your graphics software, such as Photoshop and Illustrator, and select the "resample" box when you change the size of your visuals. All that's left is for you to save your files and print them, or send them to your print shop or professional printing house.
RGB or CMYK?
The RGB (red green blue) and the CMYK (cyan, magenta, yellow, black), are two of the options available for the colorimetric profile of your image. If the RGB provides a range of the most important colors, those being determined digitally, it will be especially used for images available on a computer screen, the pixels of your screen being able to adjust easily to these colors. For a print, it will however be preferable to use the CMYK profile, which corresponds to mixtures of all four colors, and which will be read as such by the printer. You can however create your images in RGB, but beware, when printing, a conversion to CMYK will be mandatory, printers using mixtures of real pigments. So you might as well work on your files dedicated to printing directly in CMYK, because, even if you can have a less vivid rendering, it will be close to what you will get in reality.
Bleeds and cut lines.
The management of bleeds is all too often forgotten when starting to print a digital drawing or a photo print. It is important to specify that during the printing of your works, in particular at the printer, it is rolls of paper which are used as medium to print, and not independent sheets. A digital cut is then made according to the size of the file indicated, but a margin of error due to the thickness of the blades and the positioning of the paper at the time of the cut is to be anticipated. It is therefore necessary to allow for some flexibility in the size and to allow for a "bleed" of 3 to 5 millimeters on average. The bleed corresponds to a continuity of the image, not having for purpose to appear once the cut carried out. This printing technique, to be arranged beforehand, allows you to avoid having a white edges during the final rendering, and to obtain an image with a perfect rendering. You can manage the bleed options in the printing parameters of your image, directly on your graphic software. These will be integrated into your files to send to the printer, or when you want to print on your printing machine. Be careful though, some consumer printers leave a white outline no matter what. You can compensate for this by investing in a printer dedicated to high quality printing, or by deleting the margins in the properties of your printer.
Export in the right format.
Finally, you are at the last step before sending your file to your printer, or before printing it on your personal printer. You will need to export your digital design in a format that meets the best conditions for what you want to do with it. For magazines, as well as for artistic prints, it is interesting to export your files in "TIFF" or "JPG" format. The "TIFF" format is more interesting, however, as it avoids data loss during compression, unlike the "JPG" which will have a slightly lower quality. For communication tools, such as flyers or posters, it is often necessary to print your digital works on different formats (posters, flyers, kakemono, ...). The vectorization of your design, for an export in PDF is then the right way to adapt to all formats, without loss of quality.
Conclusion
As we have seen, printing digital drawings is not trivial. From the choice of the scanning tool, to the software, to the printing tools and the parameters to be set, there is a whole path to follow before being able to print your drawings in the desired quality. Don't forget the final objective of your printing, in order to set all the options as well as possible, and to obtain a work in real format that will dazzle all the observers.
Discover more
The 5 best video editing software
Edit and produce your most beautiful videos with the most efficient software in the field!
How to Learn to Draw: Mastering Art through Practice
Learning to draw is a long process. Discover the tips to progress and learn drawing in a fun and motivating way!

Drawing on a computer: how to draw on a computer?
Thanks to the computer, it is now possible to draw without limits and without having to spend hundreds of euros in drawing materials consumed at a high pace.
Newsletter
Keep up to date with iskn news and events